

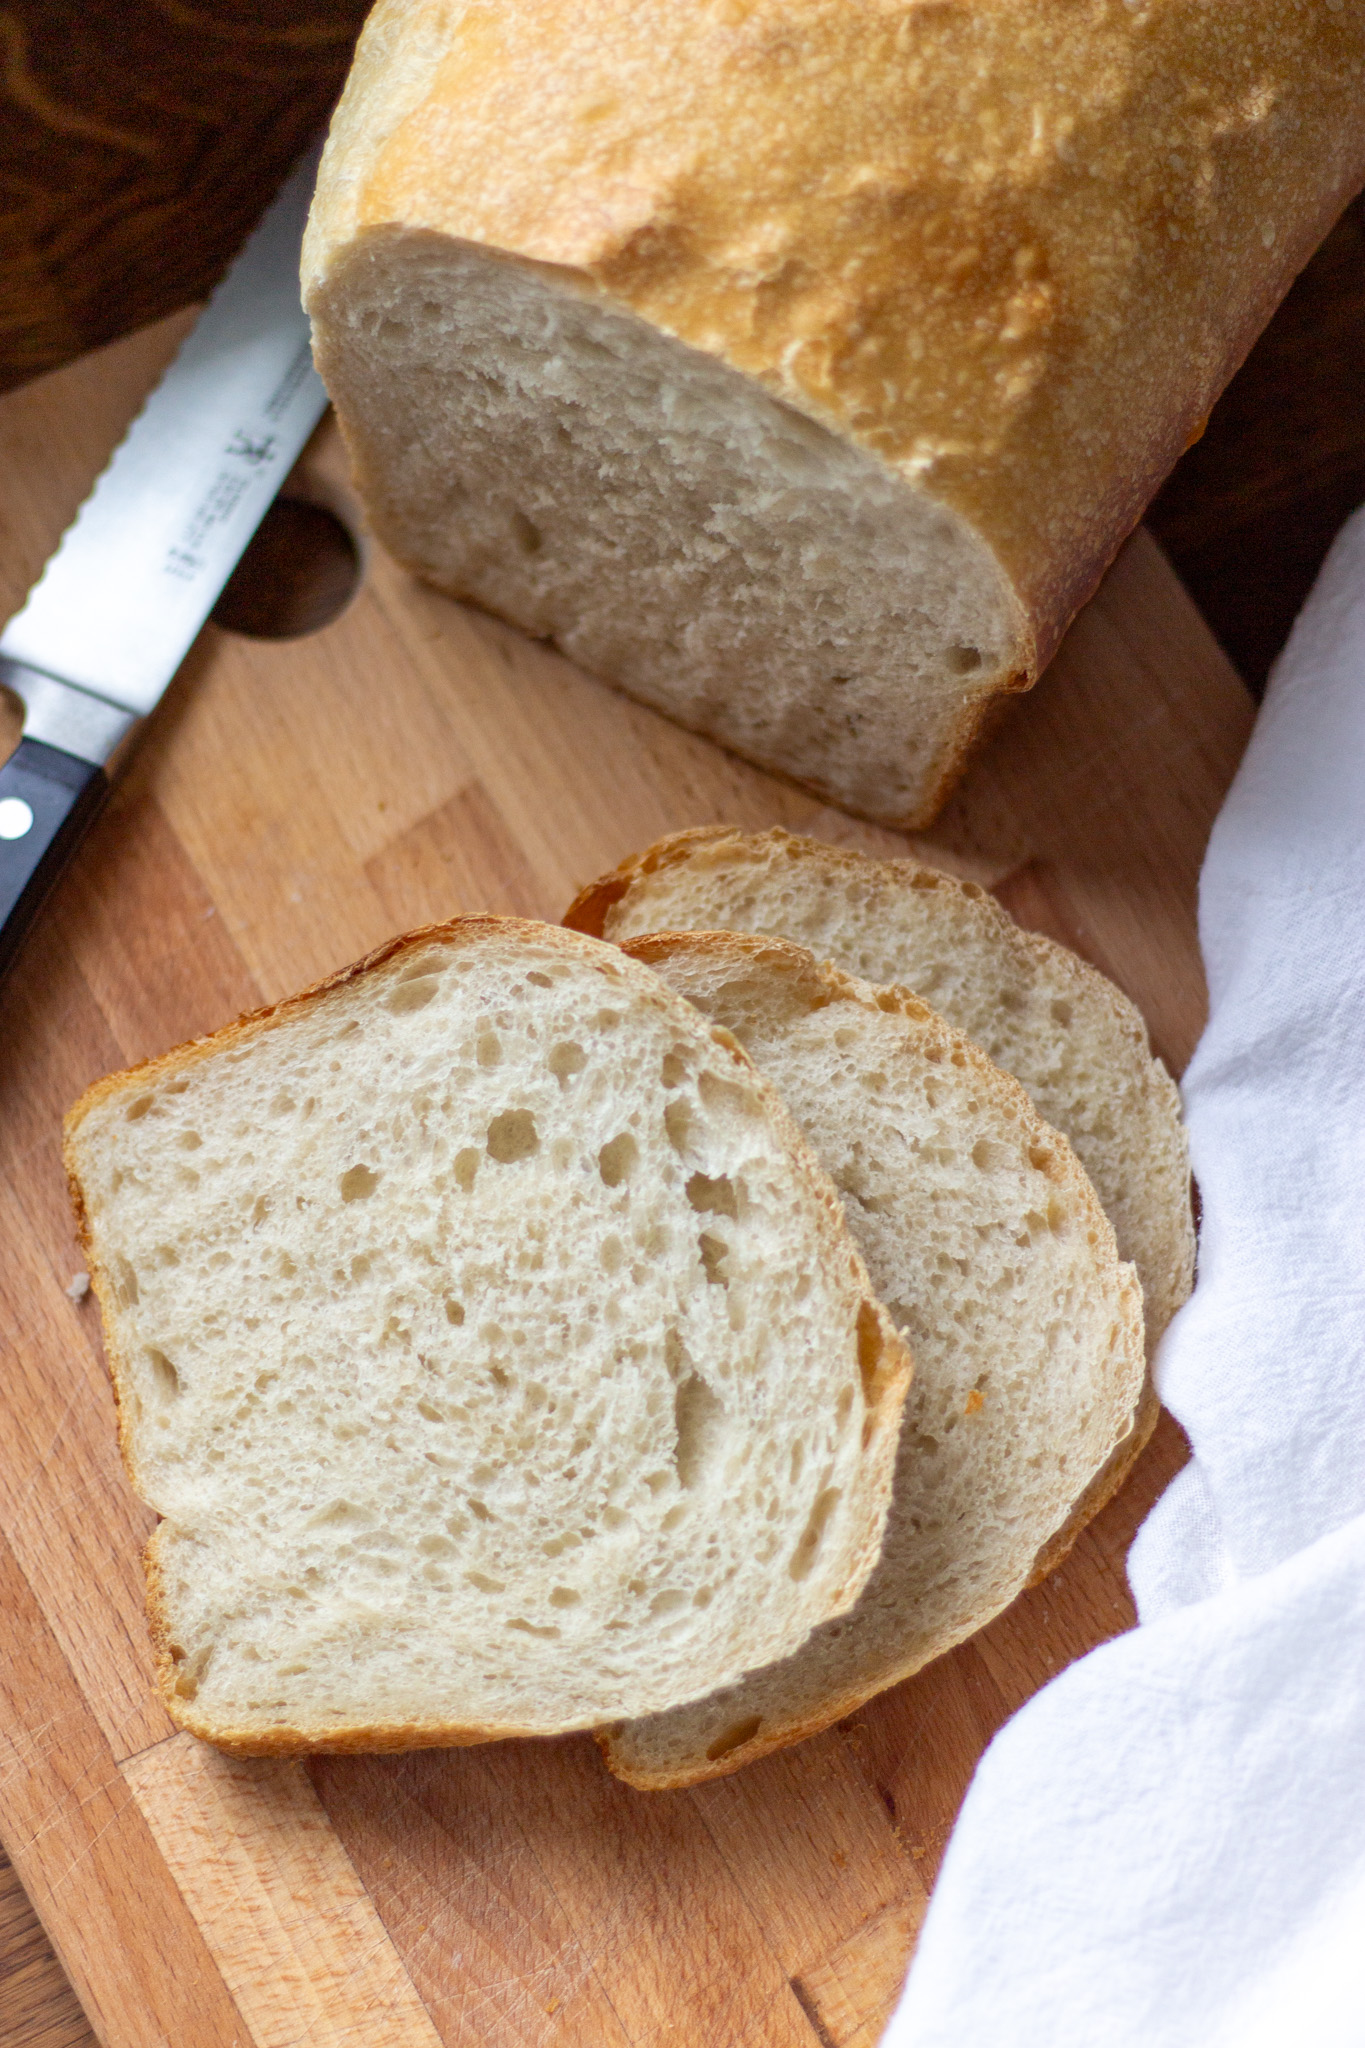
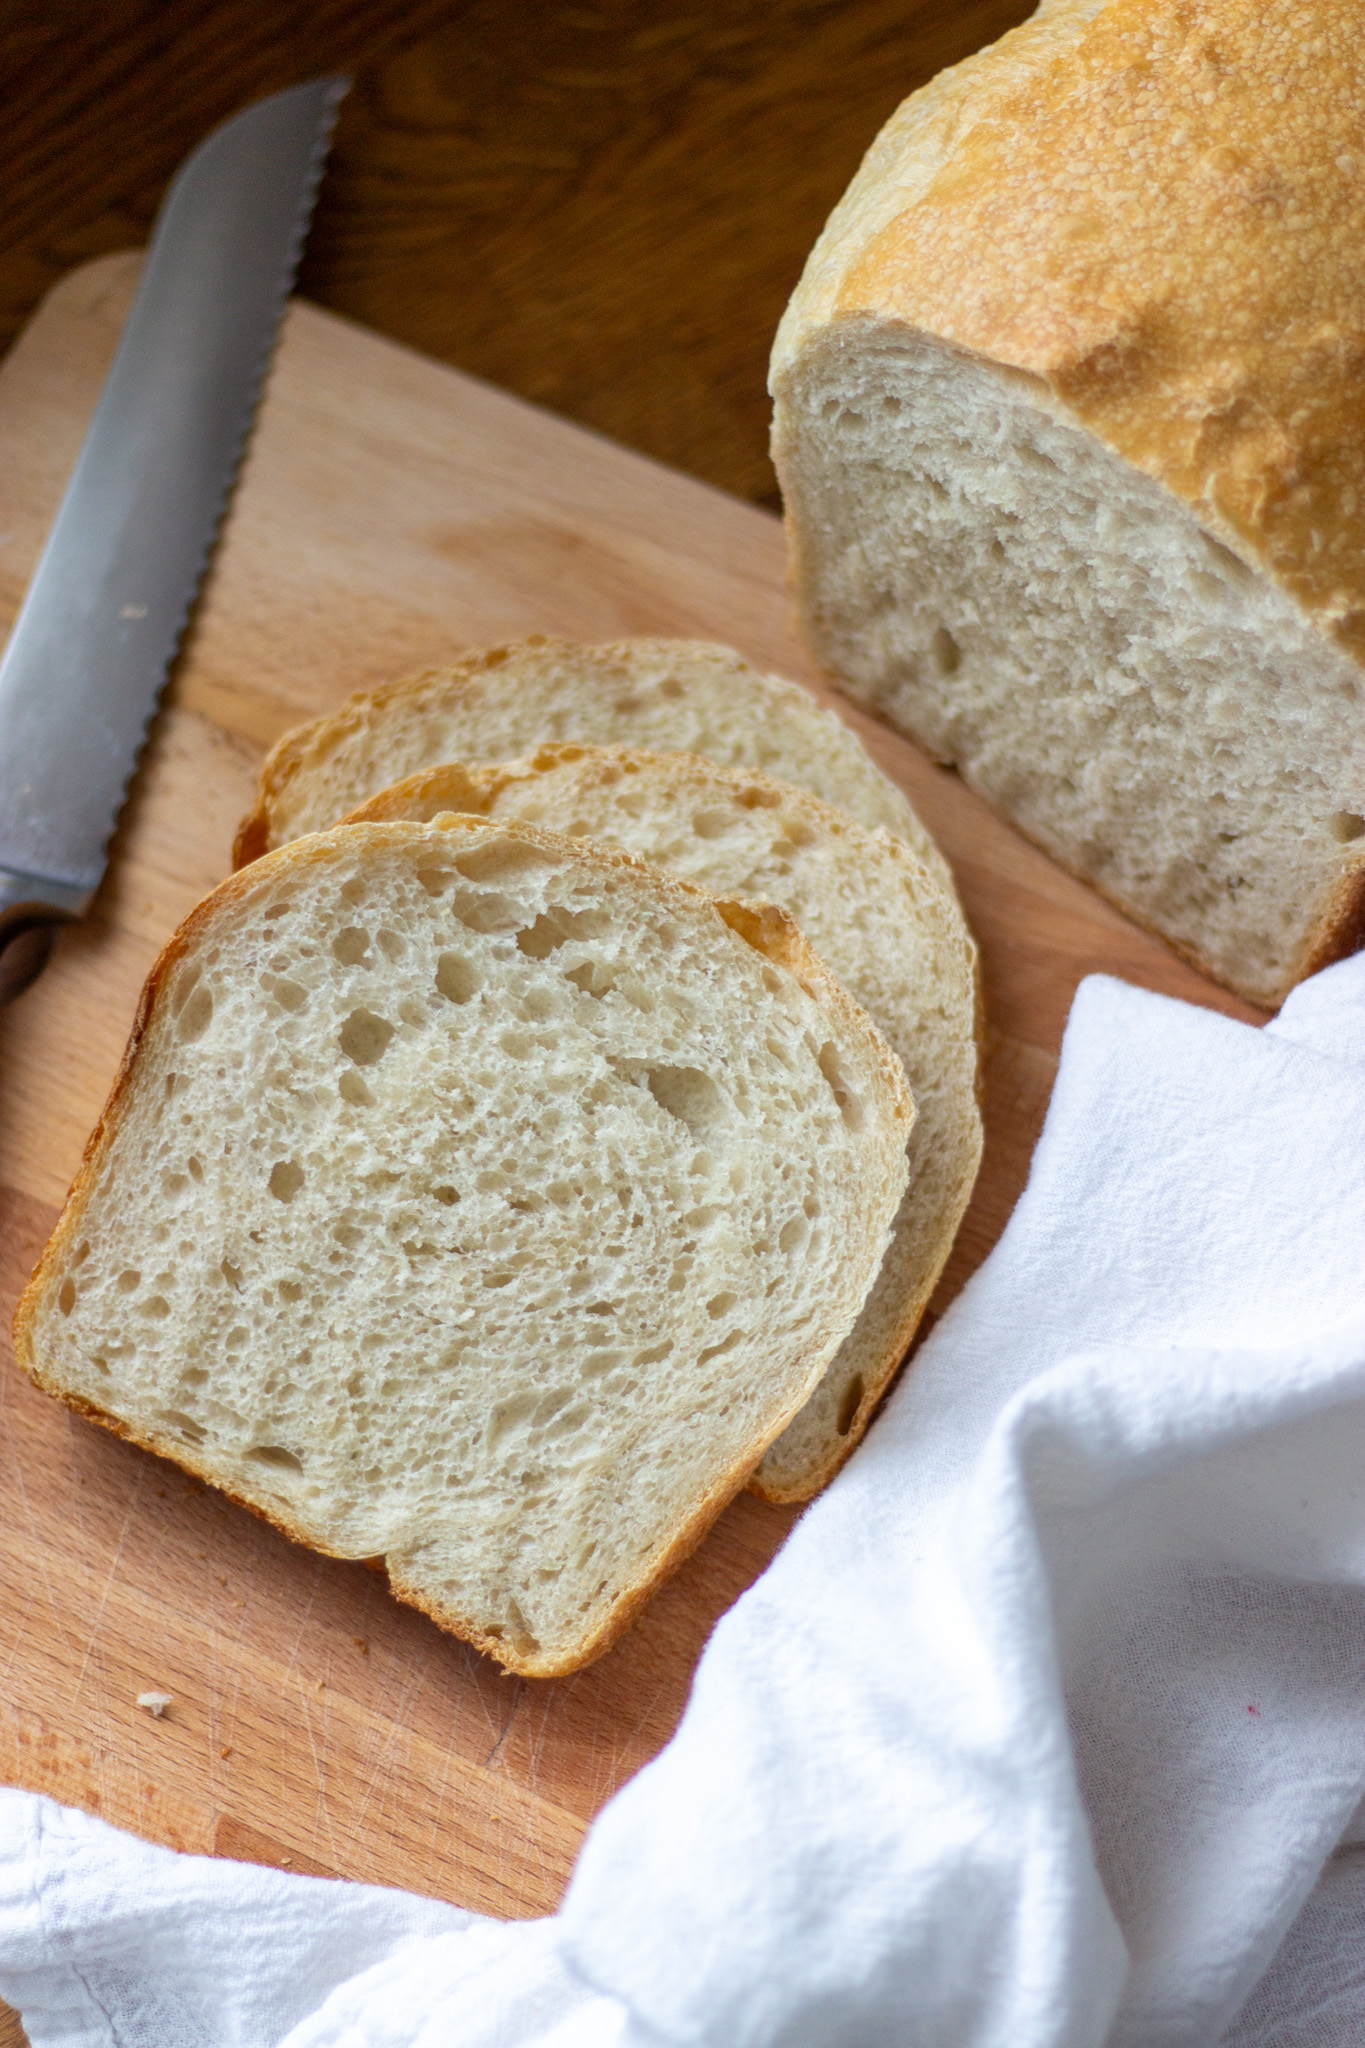
A soft and fluffy sandwich loaf leavened entirely with a sourdough starter. This recipe uses volume measurements.
Inspired by this well-loved sourdough sandwich bread recipe. This dough is so nice to work with, and the bread is every bit as soft as the original.
I've had lots of people ask me for my sandwich bread recipe in cups over the years, and here's what I've come up with! This is not the *exact* recipe, because I think working from grams to cups results in really persnickety measurements that are overly precise and cumbersome and just not fun to make (do you want to measure out 1 ⅓ cups flour plus 2 teaspoons? I don't!).
So here's what I've come up with. After a LOT of attempts. The measurements are easy, the dough is so pleasant to work with, and the bread is every bit as good as the original! Plus, you can do it all without a scale.
This will produce a slightly bigger loaf than the original recipe, so I do recommend a 9 by 5-inch pan if you have one!

Ingredients
A really soft sandwich loaf only requires a couple extra ingredients. Here's what's in this one:
- Water - The only liquid you need here: Room temperature water.
- A bubbly, active starter - Of course! This is the only leavener in this recipe.
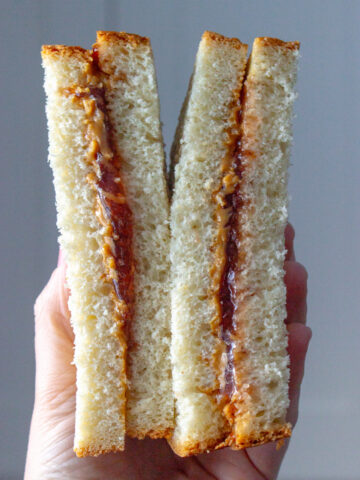
- Sugar - There's a very small amount of sugar in this recipe and I highly recommend you don't omit it! It adds the slightest hint of sweetness, makes the bread softer, and improves shelf life.
- Oil - The job of the oil here is to improve the texture of the bread - it's one of the things that gives this that springy sponge we know and love in a sandwich loaf. Use any neutral oil you like here - I typically use olive oil.
- Bread flour - I like the added structure bread flour gives here. You can use all purpose, just know your dough will be slightly wetter. The most important thing with measuring cups of flour is to spoon and level it - this will prevent too much flour getting packed into your cup.
- Salt - The MVP of bread making.
How to make sourdough sandwich bread
This is a really easy, mostly hands-off recipe. Here's how to do it:
Mix the dough
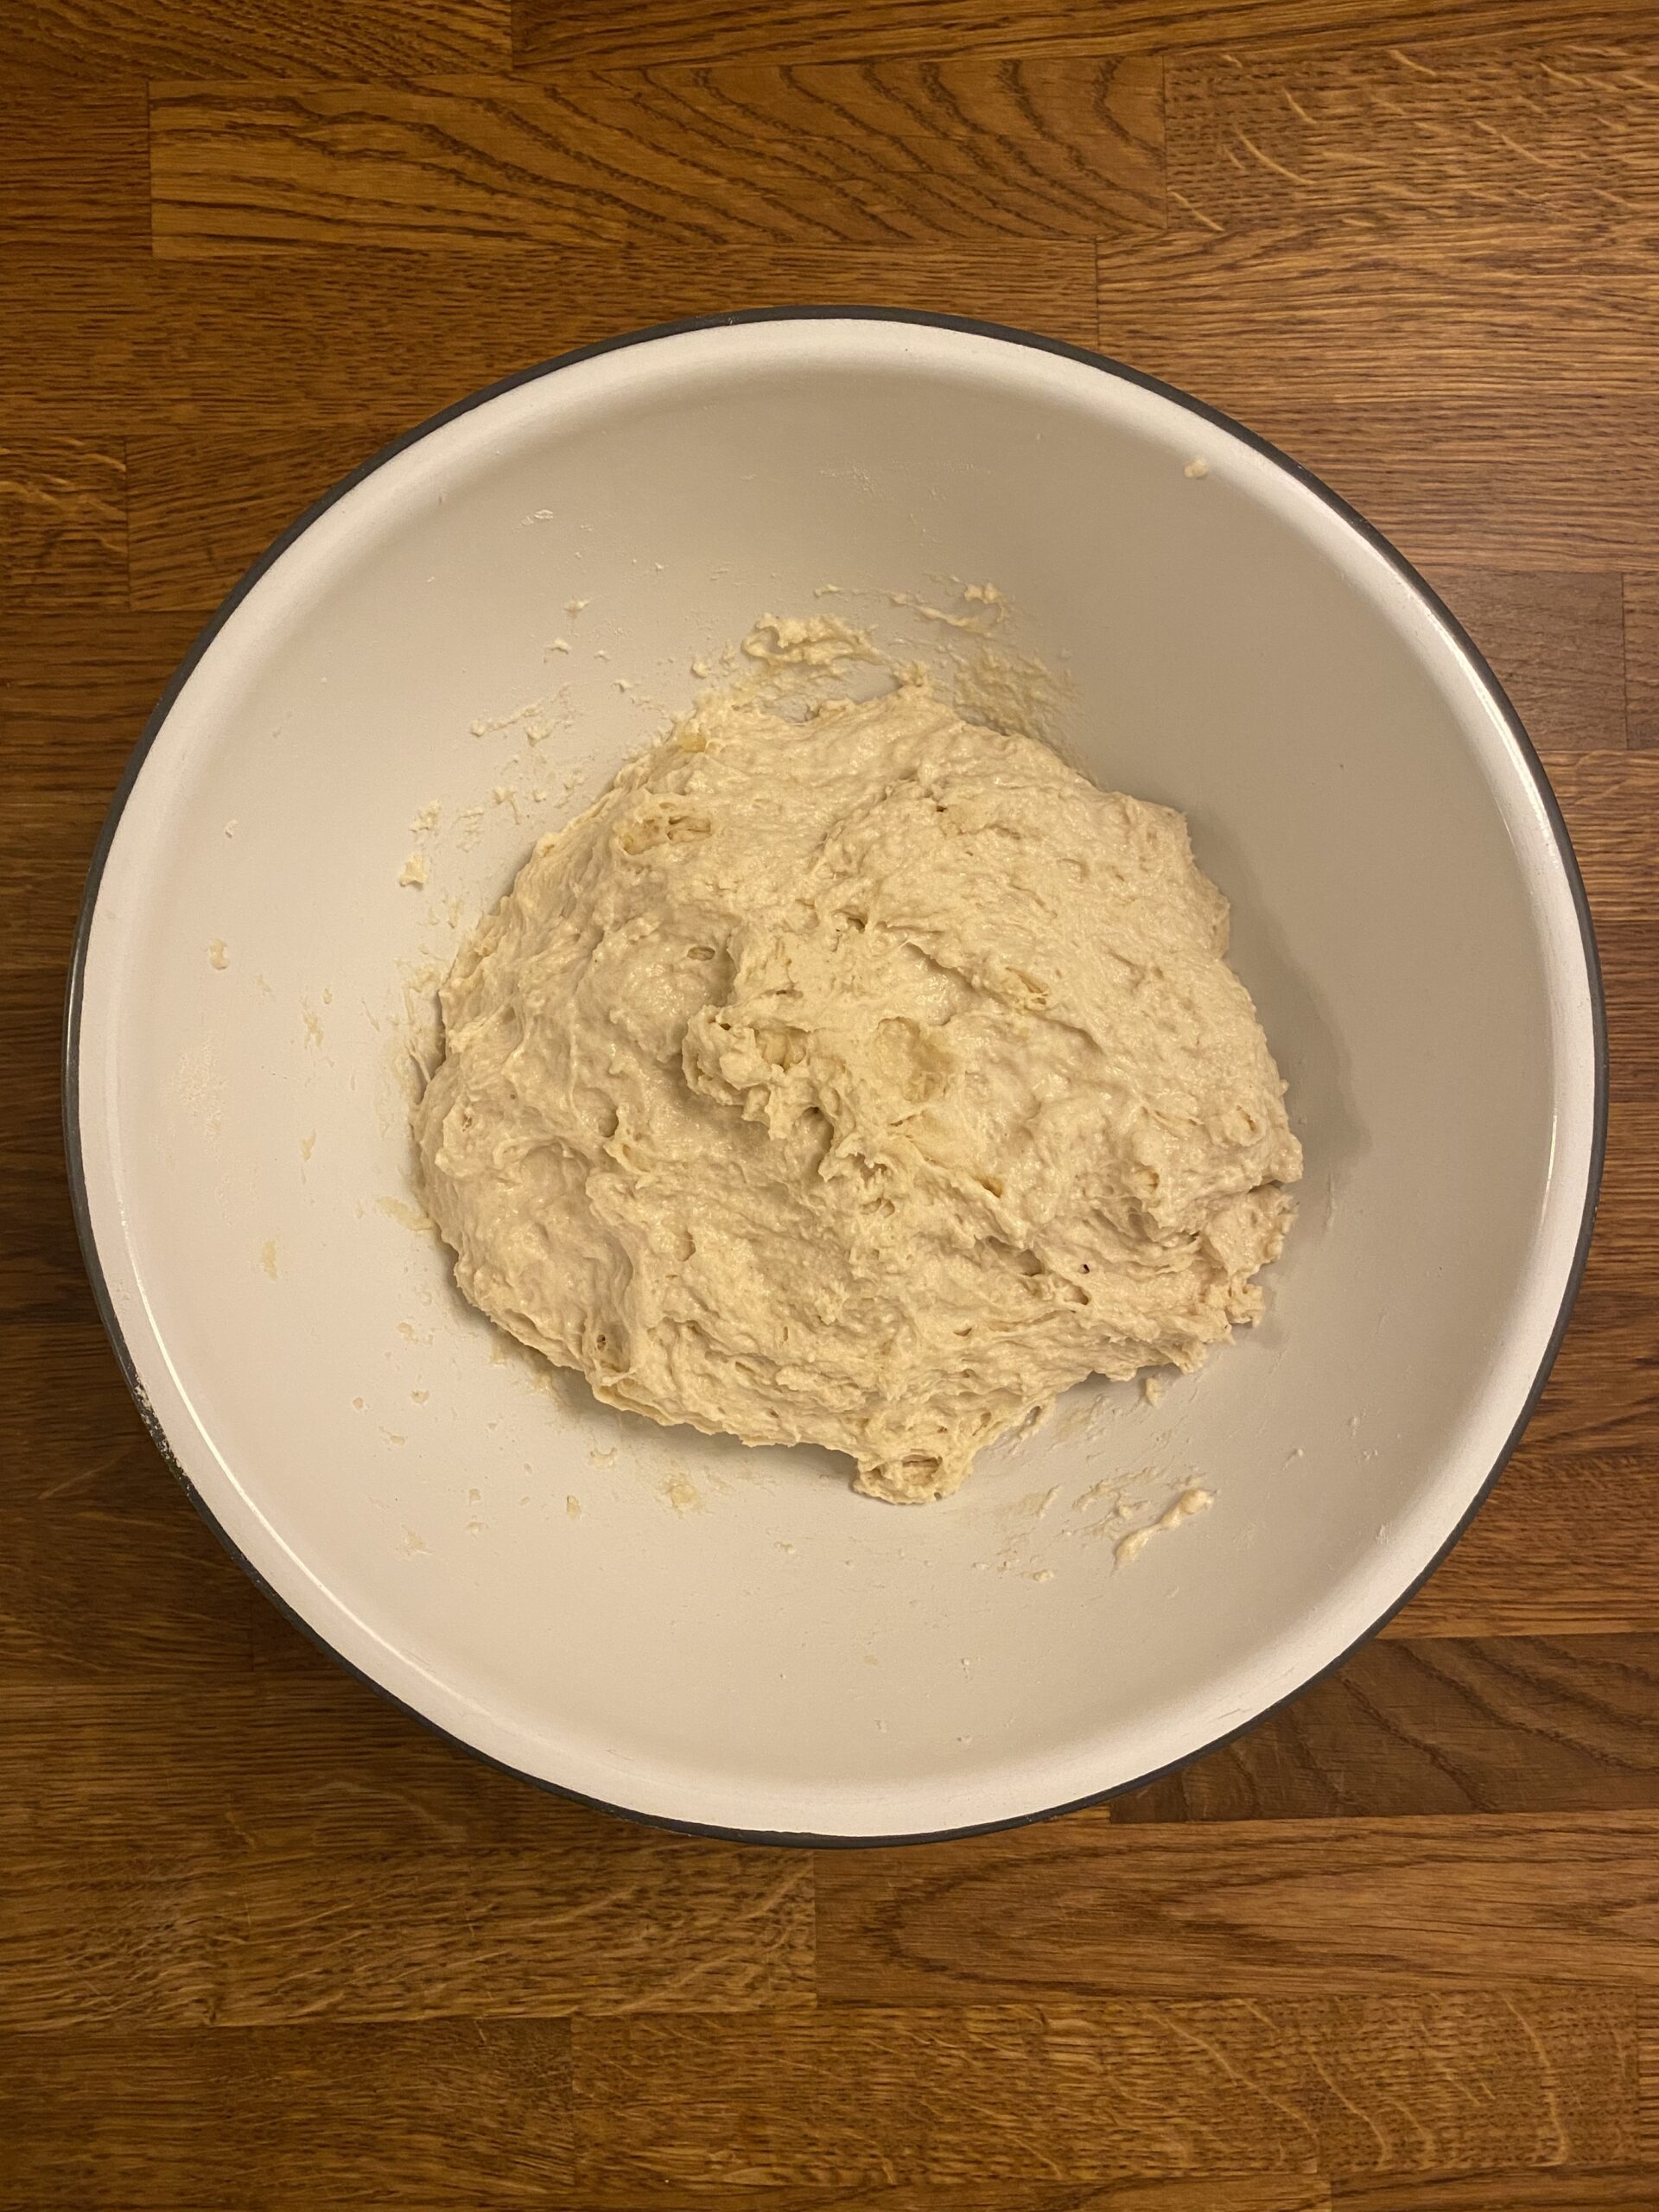
Start by combining the water, starter, sugar, and oil in a large bowl.
Then add the flour and salt and mix until no dry flour remains. I always use my hands when it gets too difficult to do with a fork. It will be a shaggy dough at this point, but should look very well combined.
Stretch + folds
After the dough is mixed, cover it and let it rest for 15-30 minutes. This will allow the gluten to begin to relax.
Then, do a round of stretch and folds to shape the dough into a ball in your bowl. Then, cover the bowl well and let rise at room temperature until doubled in size.


See? No coming back for endless stretch and folds, no kneading. I told you this was hands off!
Shaping
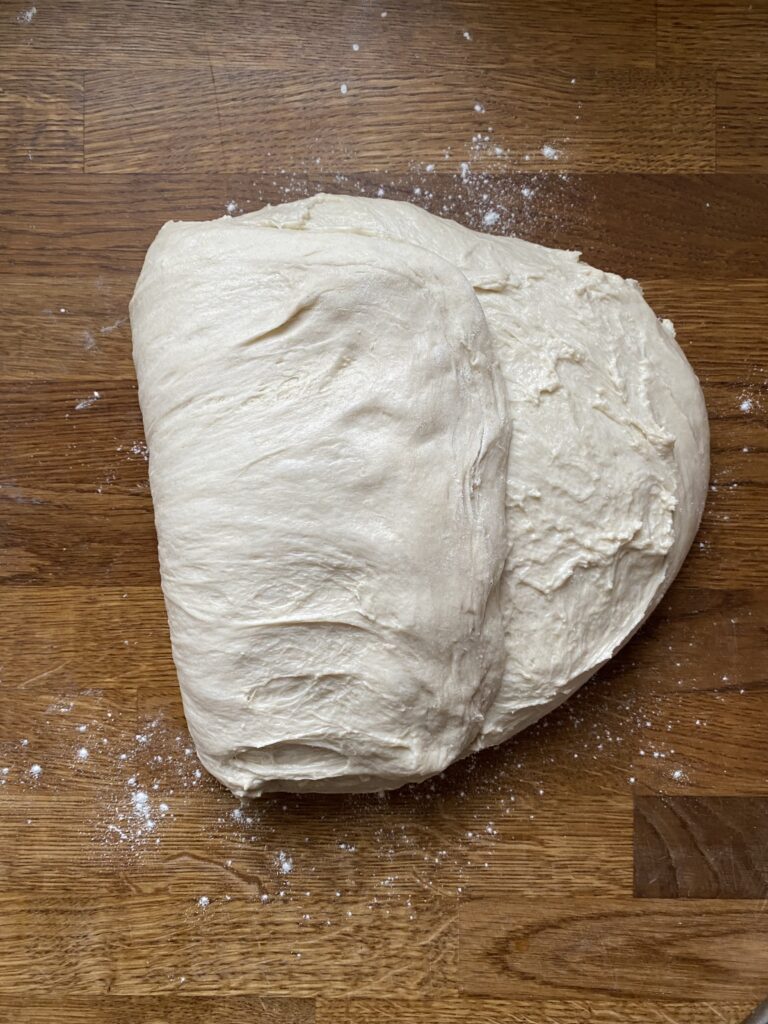
Once your dough has doubled in size, turn it out onto a lightly floured surface. Press it out to pop any air bubbles that may have formed during the first rise and form it into a rough rectangle.
Fold it in thirds like you would fold a letter. Pinch the edges to seal. Then turn the dough over and pull it across your work surface gently to tighten slightly.


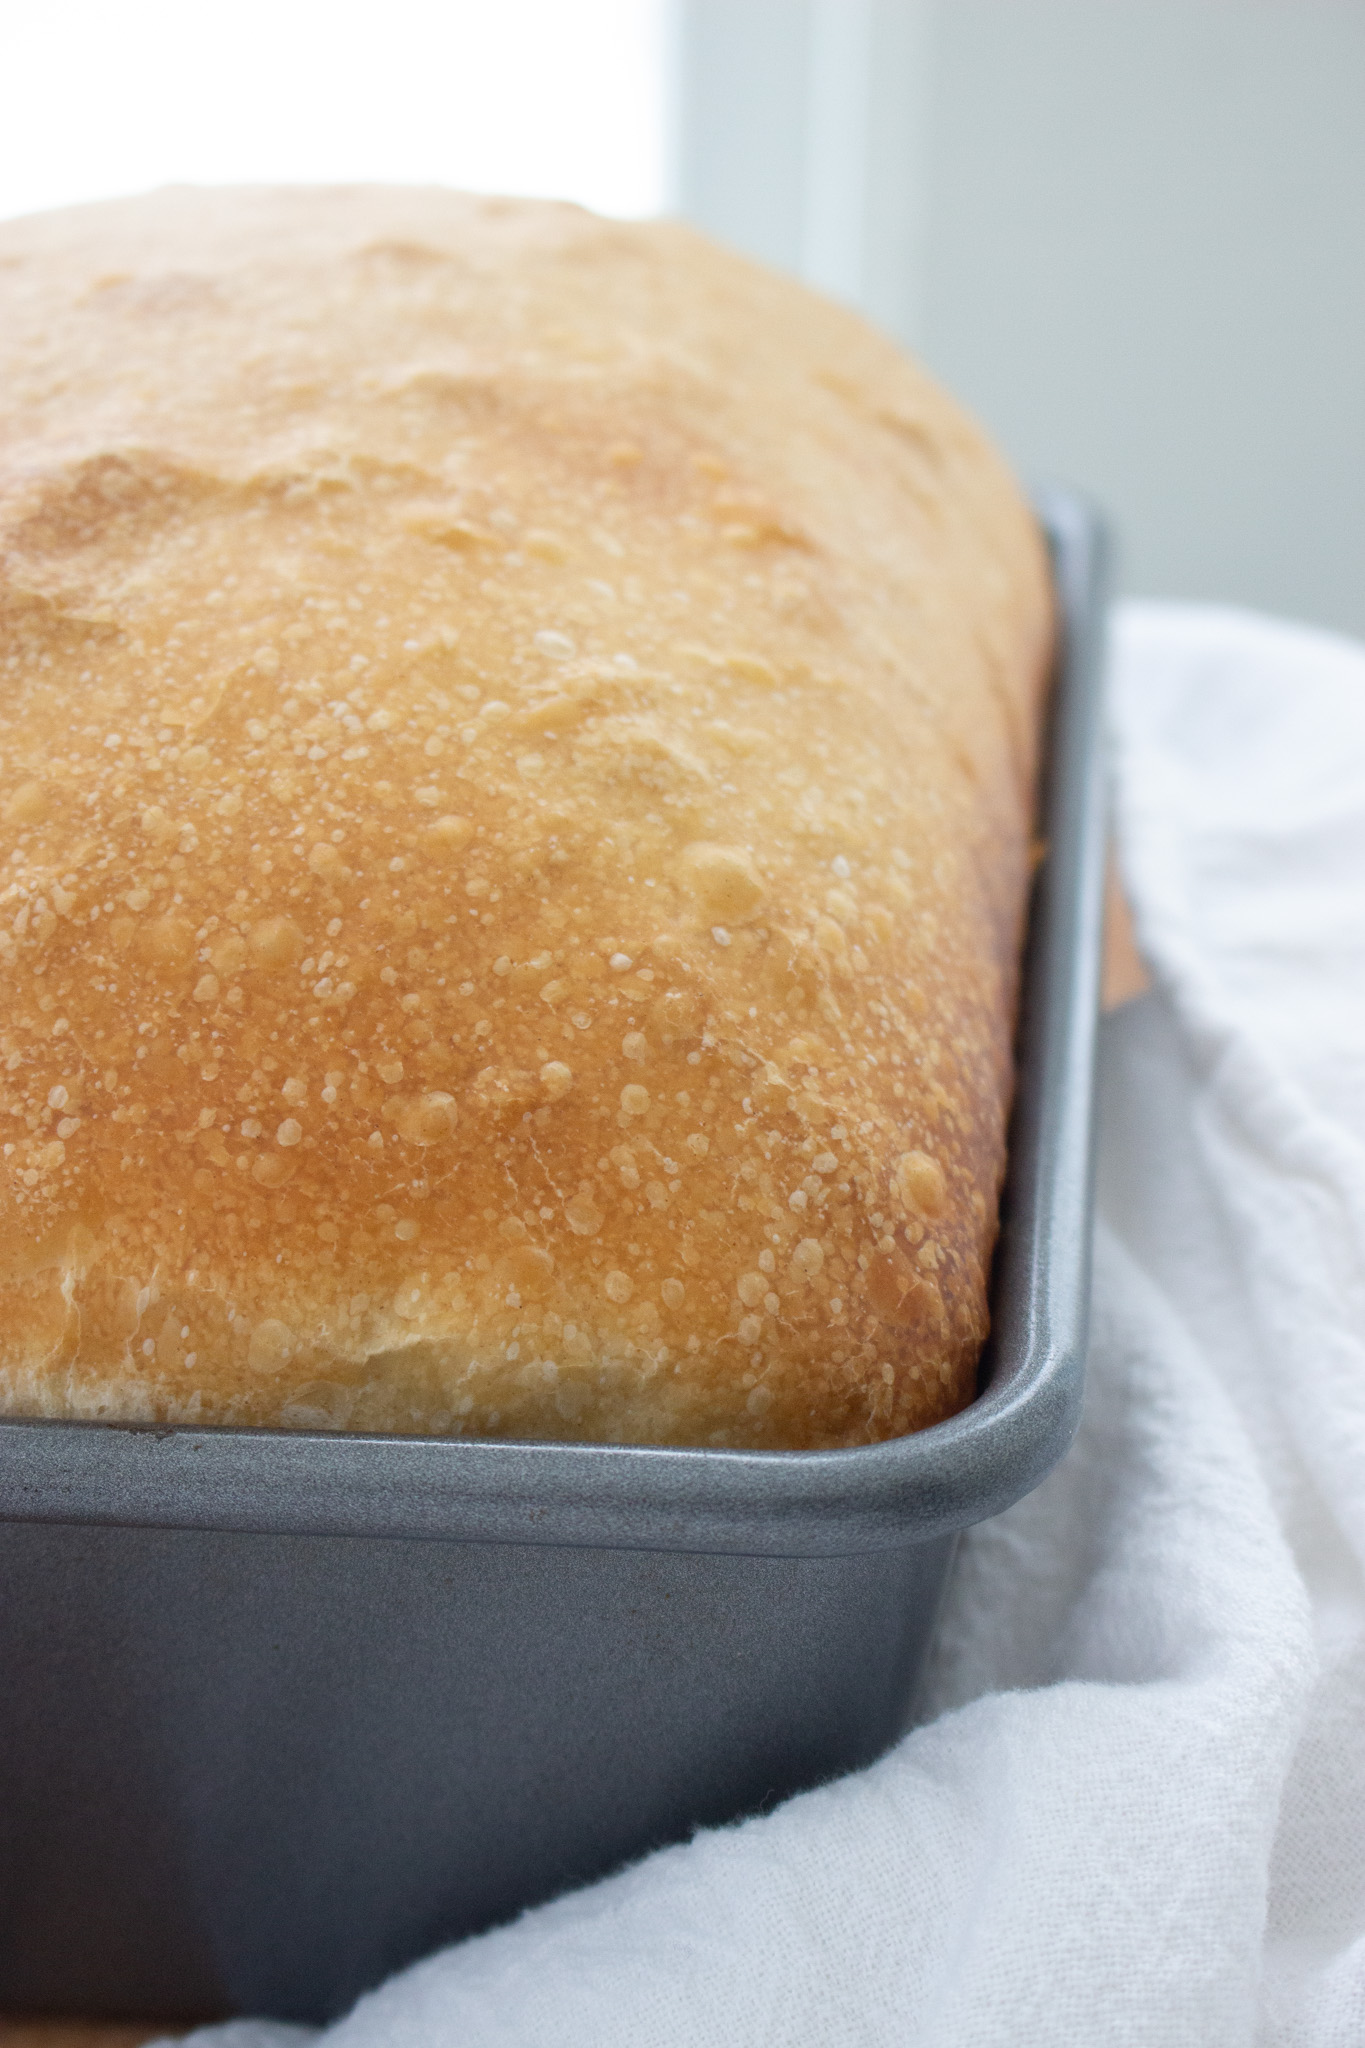
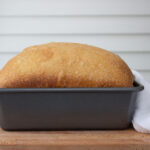
Place seam side down in a greased 9 by 5-inch loaf pan. Cover well and let rise until dough peaks 1-inch above the rim of the pan.


Baking
Bake in a 375 degree oven for 45-50 minutes, until bread is baked through and browned to your liking.
Let the bread cool for 10 minutes in the pan before inverting to release. Then cool at least and hour on a wire rack before slicing.
Storage
This bread will keep for up to 5 days in a plastic bag at room temperature. You can also freeze it for up to 3 months.
I highly recommend making an extra loaf to slice and keep in your freezer!
Tips
- If you want a softer crust: bake the bread on the lower half of your oven, and tent with foil if it's browning too quickly - 20 minutes into baking is a good time to check for color.
- Score the loaf down the center before baking to prevent any blow outs.
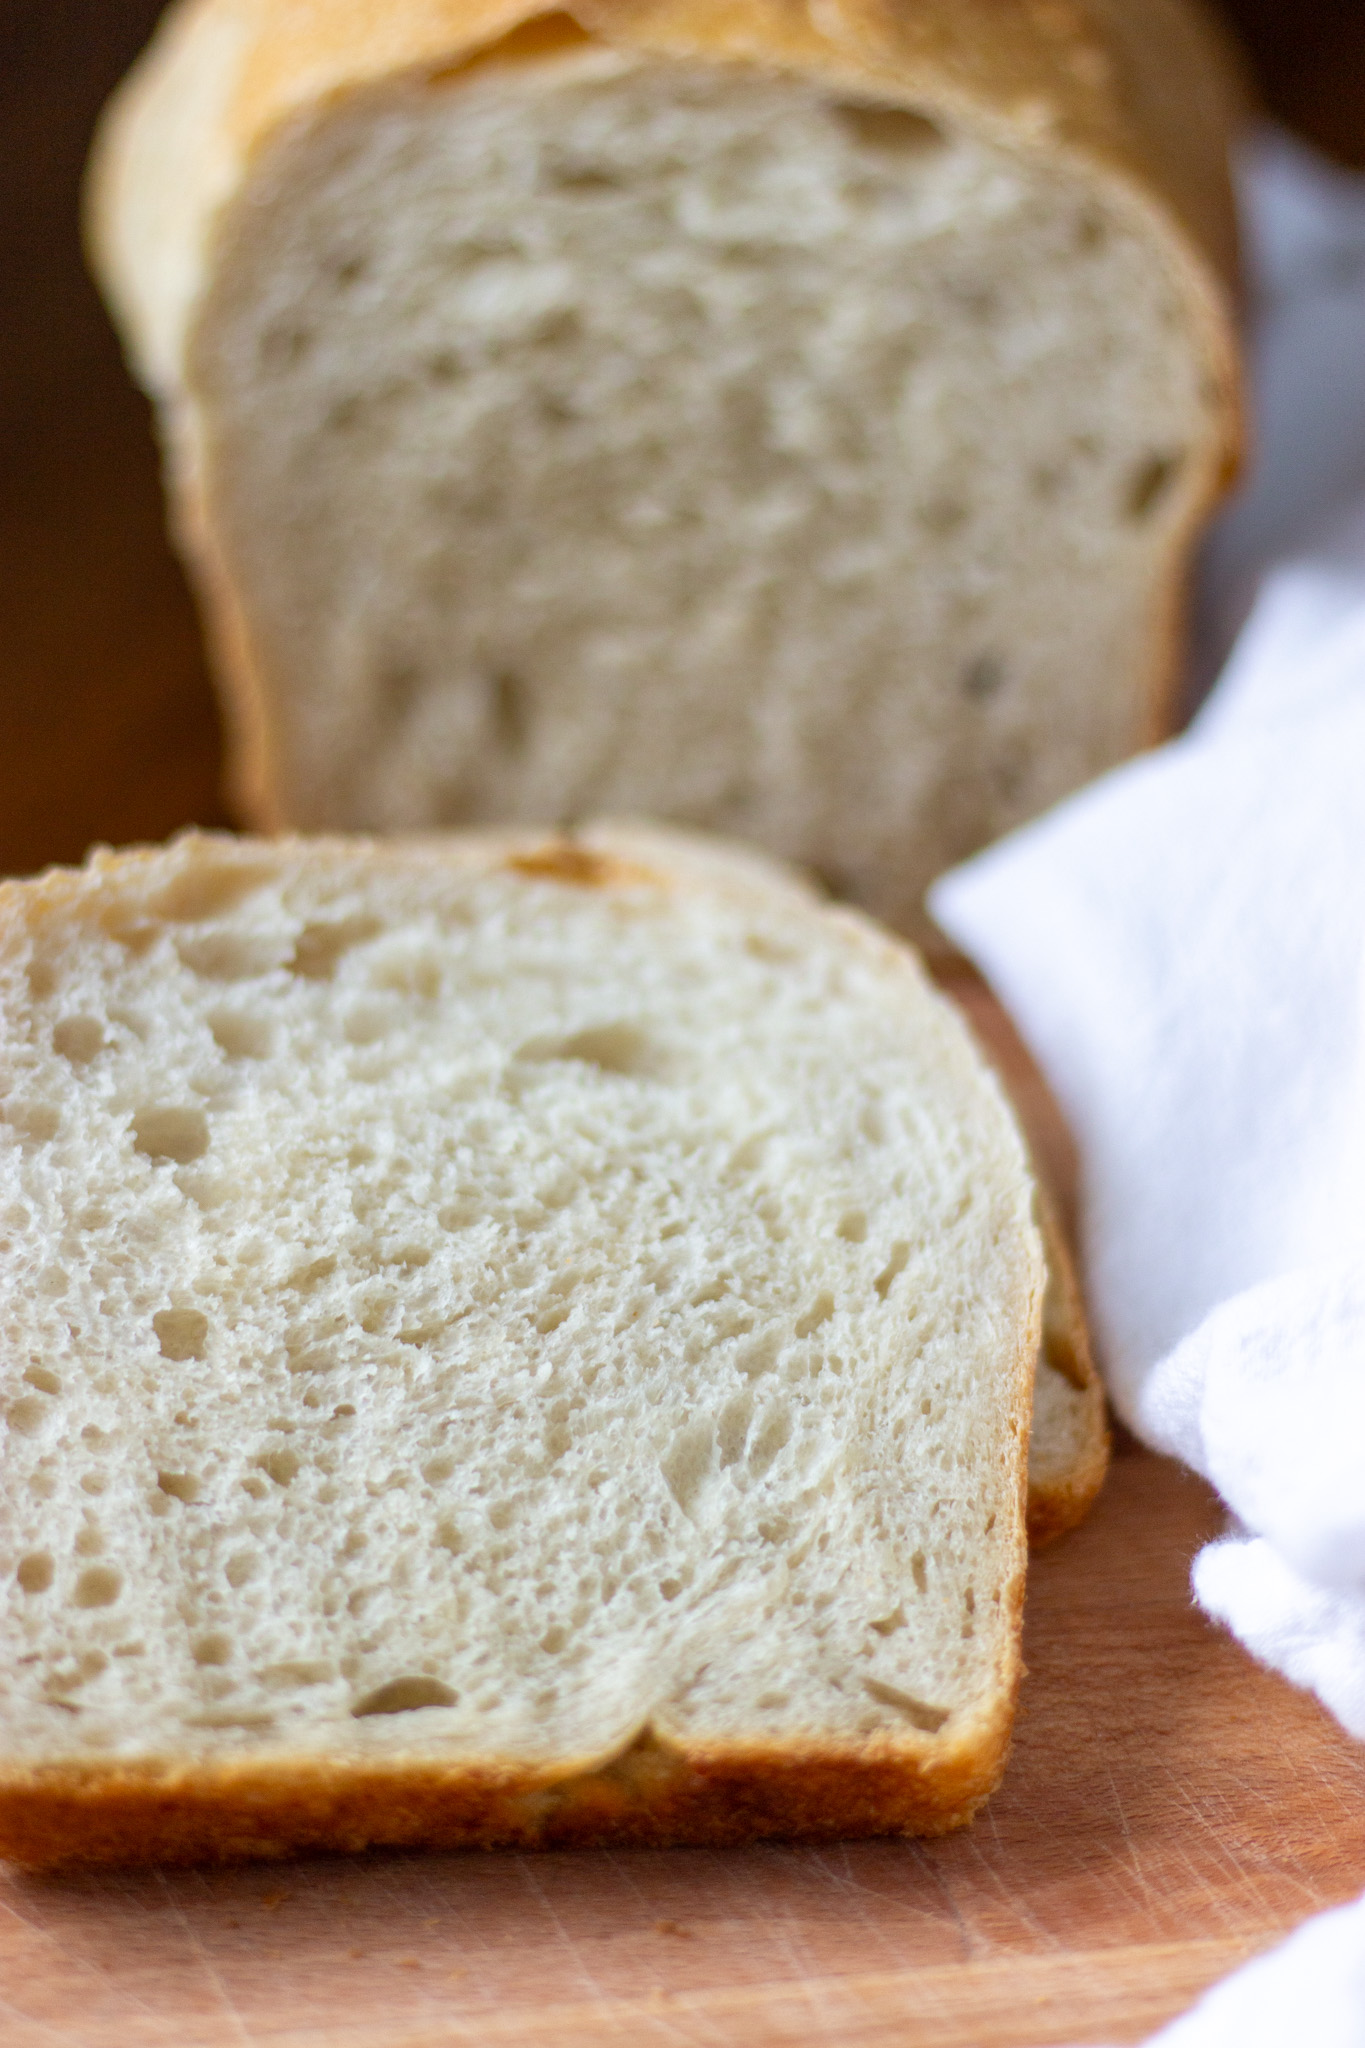
- Cool bread is easier to slice - Let this cool completely before slicing to store.
Soft Sourdough Sandwich Bread (Volume Measurements!)
Ingredients
- 1 ¼ cups water
- ½ cup bubbly, active starter
- 1 tablespoon sugar
- 2 tablespoons oil
- 4 cups bread flour (spooned and leveled)
- 2 teaspoons salt
Directions
- In a large bowl, combine the water, starter, sugar, and oil. Add the flour and salt and mix until no dry bits of flour remain. Cover and rest for 15-30 minutes, then perform a round of stretch and folds to form the dough into a tight ball. Cover and let rise at room temperature until doubled in size, about 8-12 hours.Grease a 9 by 5-inch loaf pan. Turn the dough out onto a lightly floured surface and shape into a log. Place seam side-down in the prepared pan and cover well. Let rise until the dome comes 1-inch above the rim of the pan. This will take about 2-3 hours. Bake on a lower rack in a 375 degree oven for 45-50 minutes, until baked through to an internal temperature of 200 degrees and browned to your liking. If it's browning too quickly, you can cover the top with foil. I usually cover mine for about 20 minutes into baking since my kids like a soft crust!Cool for 10 minutes in the pan, then invert to release and cool completely on a wire rack.


Leave a Reply