

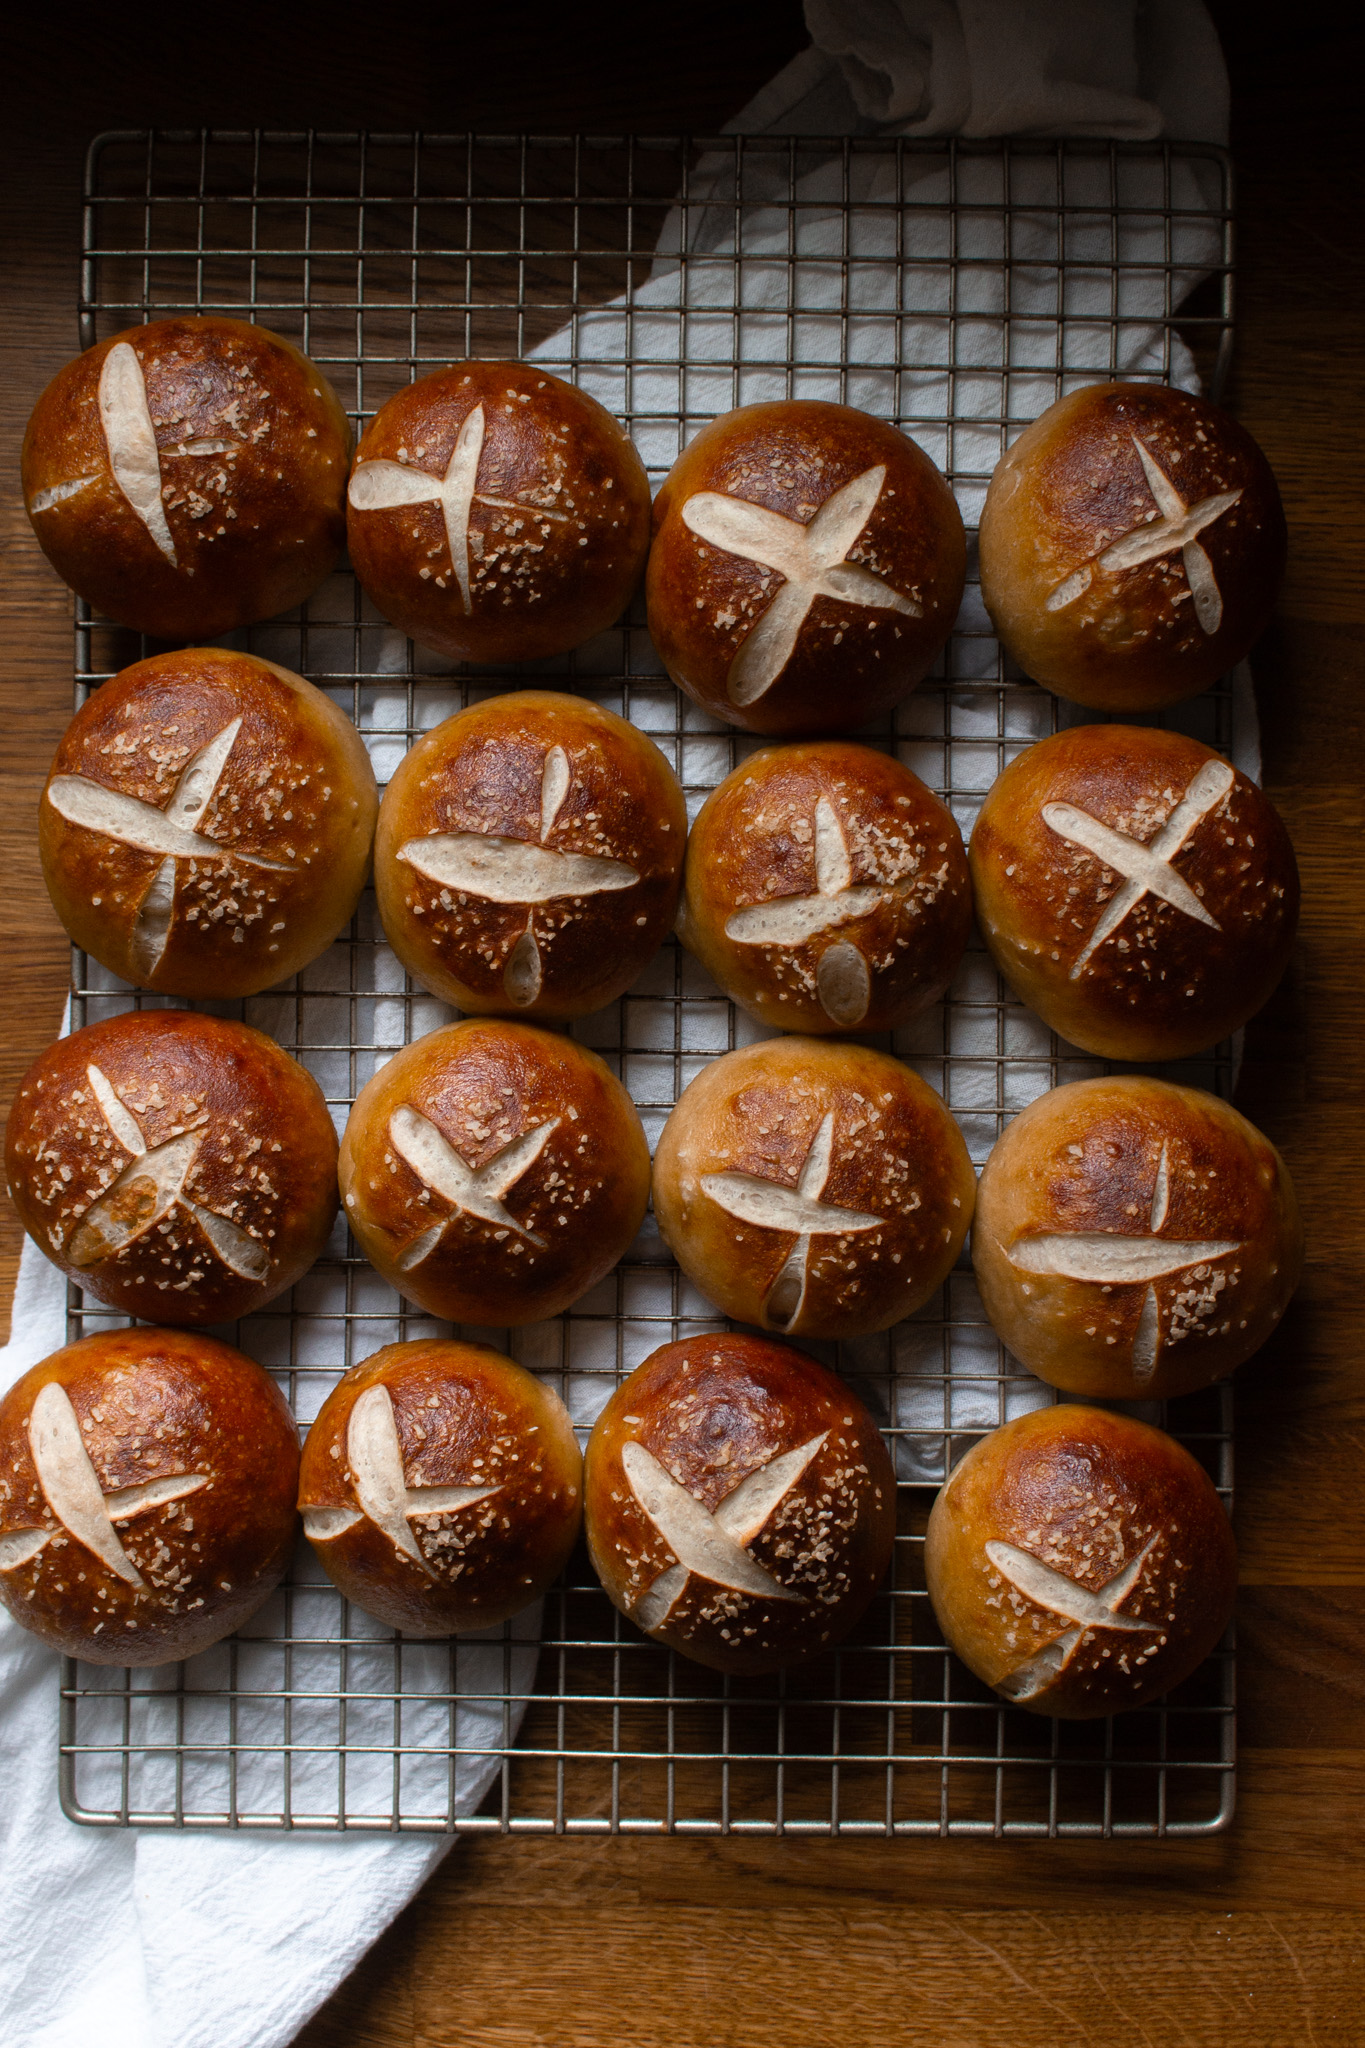
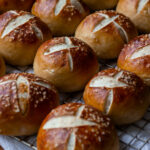
Soft pretzels, in bun form! These sourdough pretzel buns are perfect for sandwiches, or as a regular dinner roll. These use just sourdough starter for the rise and are so easy + fun to make. They are phenomenal fresh from the oven, and leftovers make amazing sandwiches, too!
This recipe is especially great for confident beginner bread bakers, because you'll get lots of practice shaping, and the dough is really easy to work with.
If you're looking for a fun variation on a traditional dinner roll, or want to jazz up some grilled burgers, you MUST try these pretzel buns!
At my college dining hall we had a sandwich station, and occasionally they had pretzel buns as a bread option. People would flip out. The line would span the entire cafeteria. I only tried them a couple of times (because they went so quickly), and the sandwiches they encased were sublime.
But it turns out, pretzel buns are really straightforward (and fun!) to make at home, so you can have your own sublime pretzel bun sandwiches, for just a fraction of the cost of college tuition 😉
Pretzel bun dough
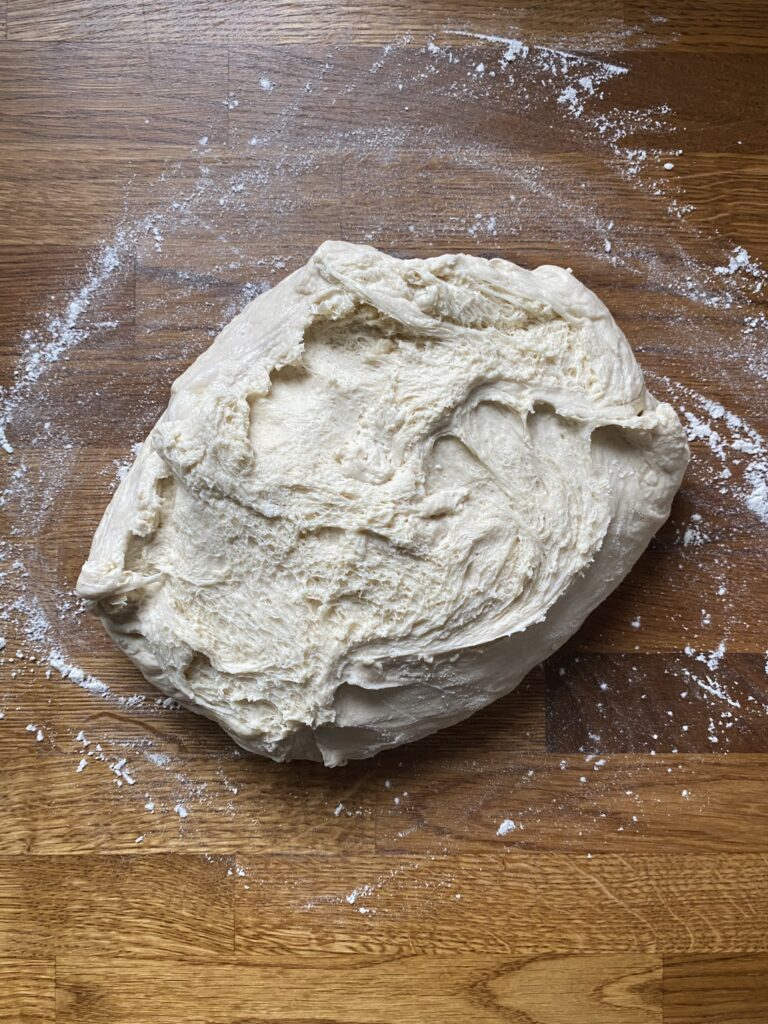
What you need to know about this dough is that it is stiff! Just like bagels, pretzel dough has relatively little water in it, which means it's an arm workout to mix, but VERY easy to shape.
The ingredients
For the dough, these soft pretzel buns have the usual water/starter/flour/salt, and two very important additions:
- Butter - melted butter adds the BEST flavor to soft pretzels, and adds richness to the dough.
- Brown sugar - there is a tiny amount of brown sugar here. It adds a very, very subtle hint of sweetness, and helps to improve shelf life, texture, and browning.
Mixing the dough
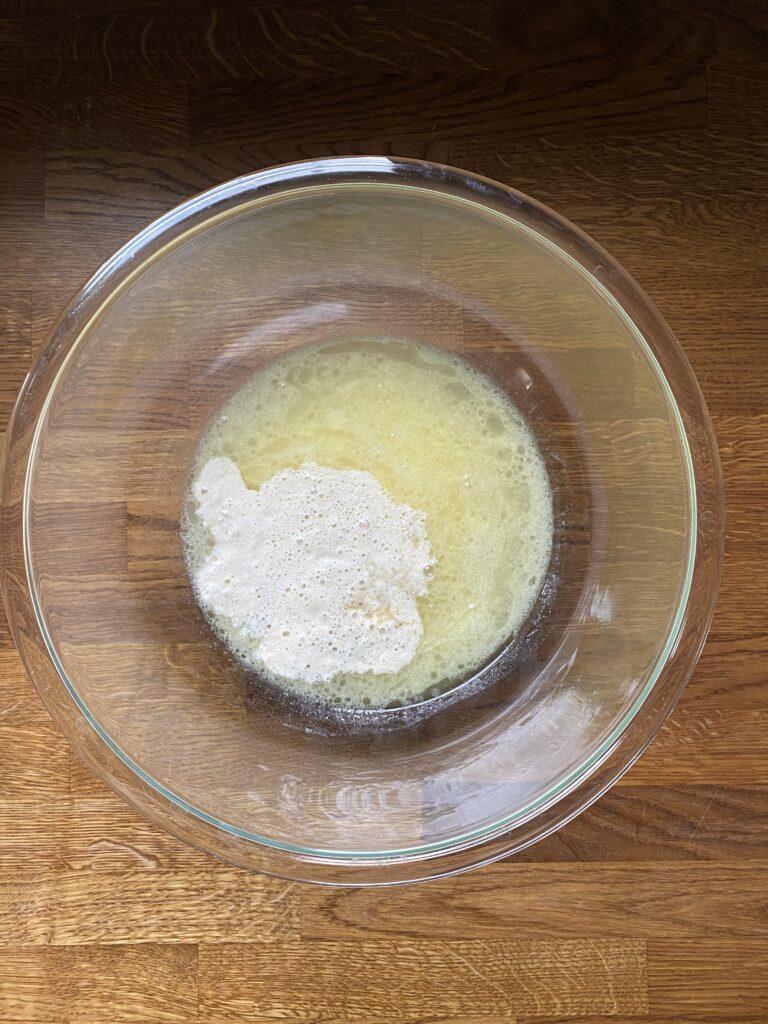
Start by mixing the melted butter, water, starter, and brown sugar with a fork in a large bowl. (I like to melt my butter in a glass bowl, then add the other ingredients straight to that).
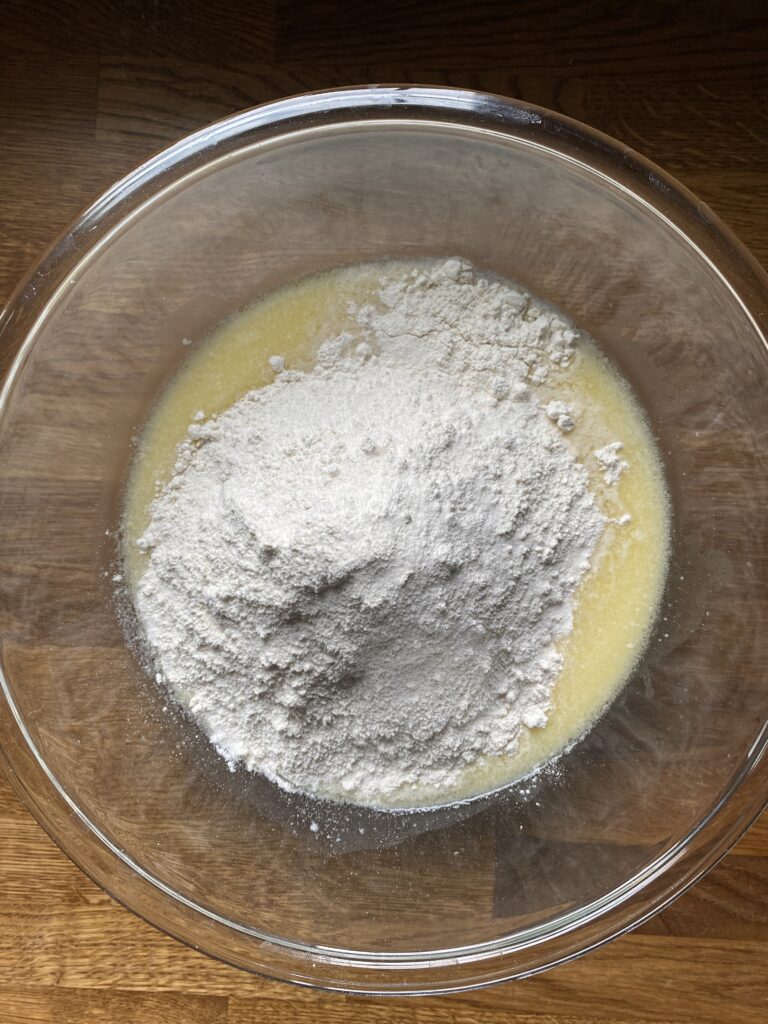
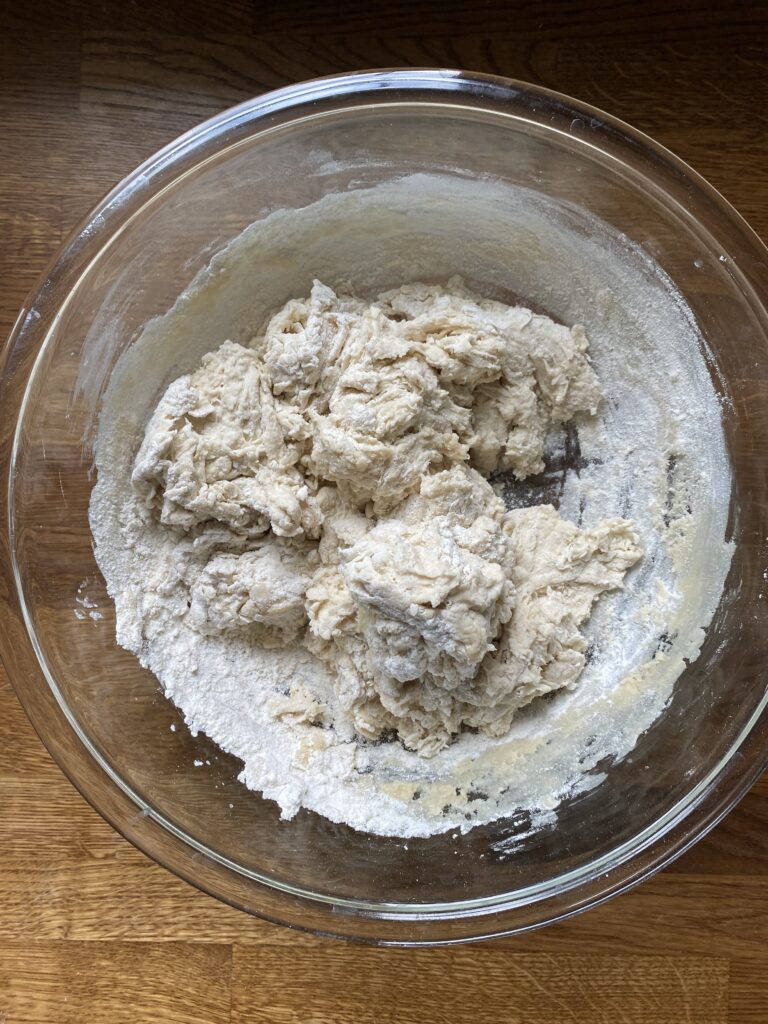
Then, add the flour and salt. Mix it some more with your fork until you don't see any super wet spots. At this point, I switch to mixing with my hands.
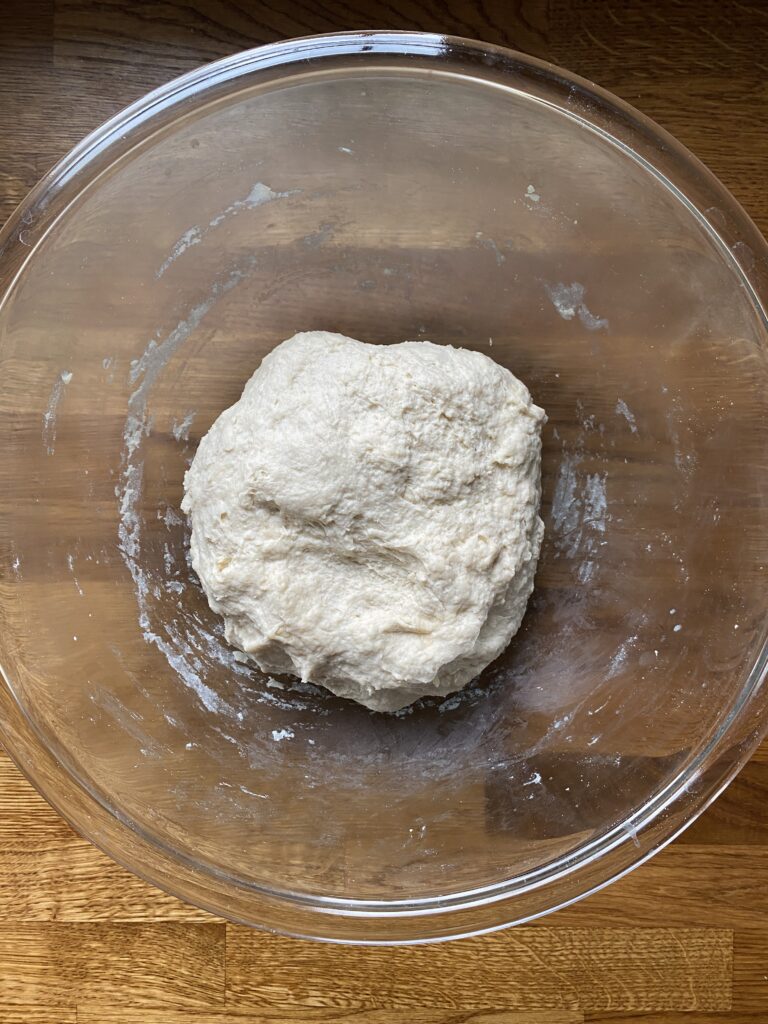
Again, this is a STIFF dough, so it will take a good 3-5 minutes of work to get it to be cohesive. And you don't have to leave it in the bowl! I take mine out and work it together with both hands in the air.
(You can most definitely use a dough hook on a stand mixer for this step. Just keep the speed on LOW, and it's ready when the dough is cohesive).
Then, return it to the bowl and cover. Let it rest for about 30 minutes.
Stretch + folds and the first rise
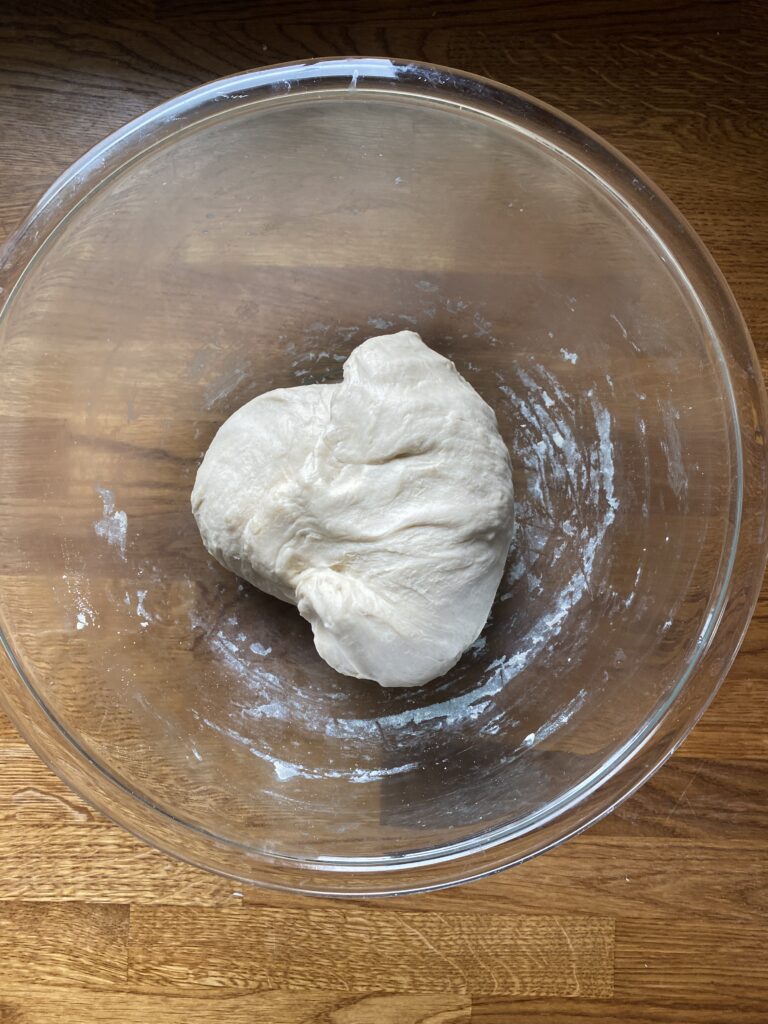
I like to do one round of stretch and folds for this dough. This is mainly to shape it into a nice ball for the rise, but it does also contribute some to building the gluten structure. If you miss this step, don't stress about it.
After one round of stretch and folds, cover again and let it rise until doubled in size. This will take about 8-12 hours, but watch the dough rather than the clock!
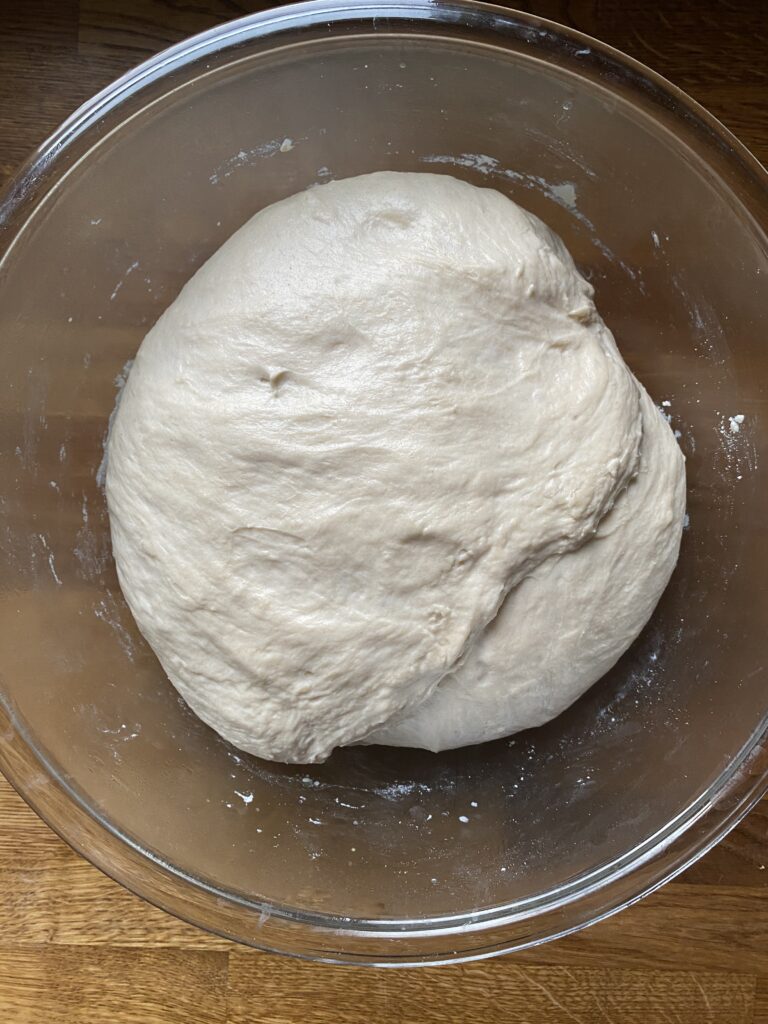
Signs it's done with its first rise include:
- A substantial rise (roughly doubled in size) with bubbles throughout the dough (you'll need a clear vessel to be able to judge this).
- The beginnings of air bubbles on the surface of the dough.
- A domed top of the dough.
Congratulations! You've made sourdough soft pretzel dough. Now let's shape it into buns!
Shaping + the second rise
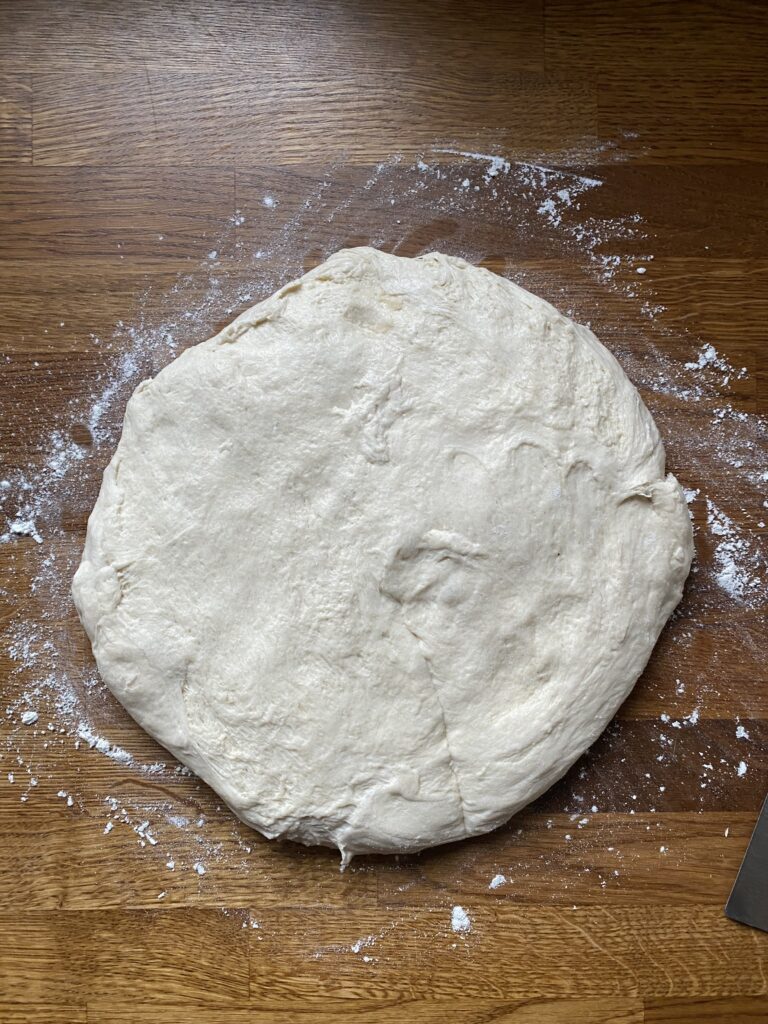
To shape this dough into buns, turn it out onto a very lightly floured surface. You really don't need much flour here, and too much will make this task harder. So start with a light dusting - you can always add more if you need it.
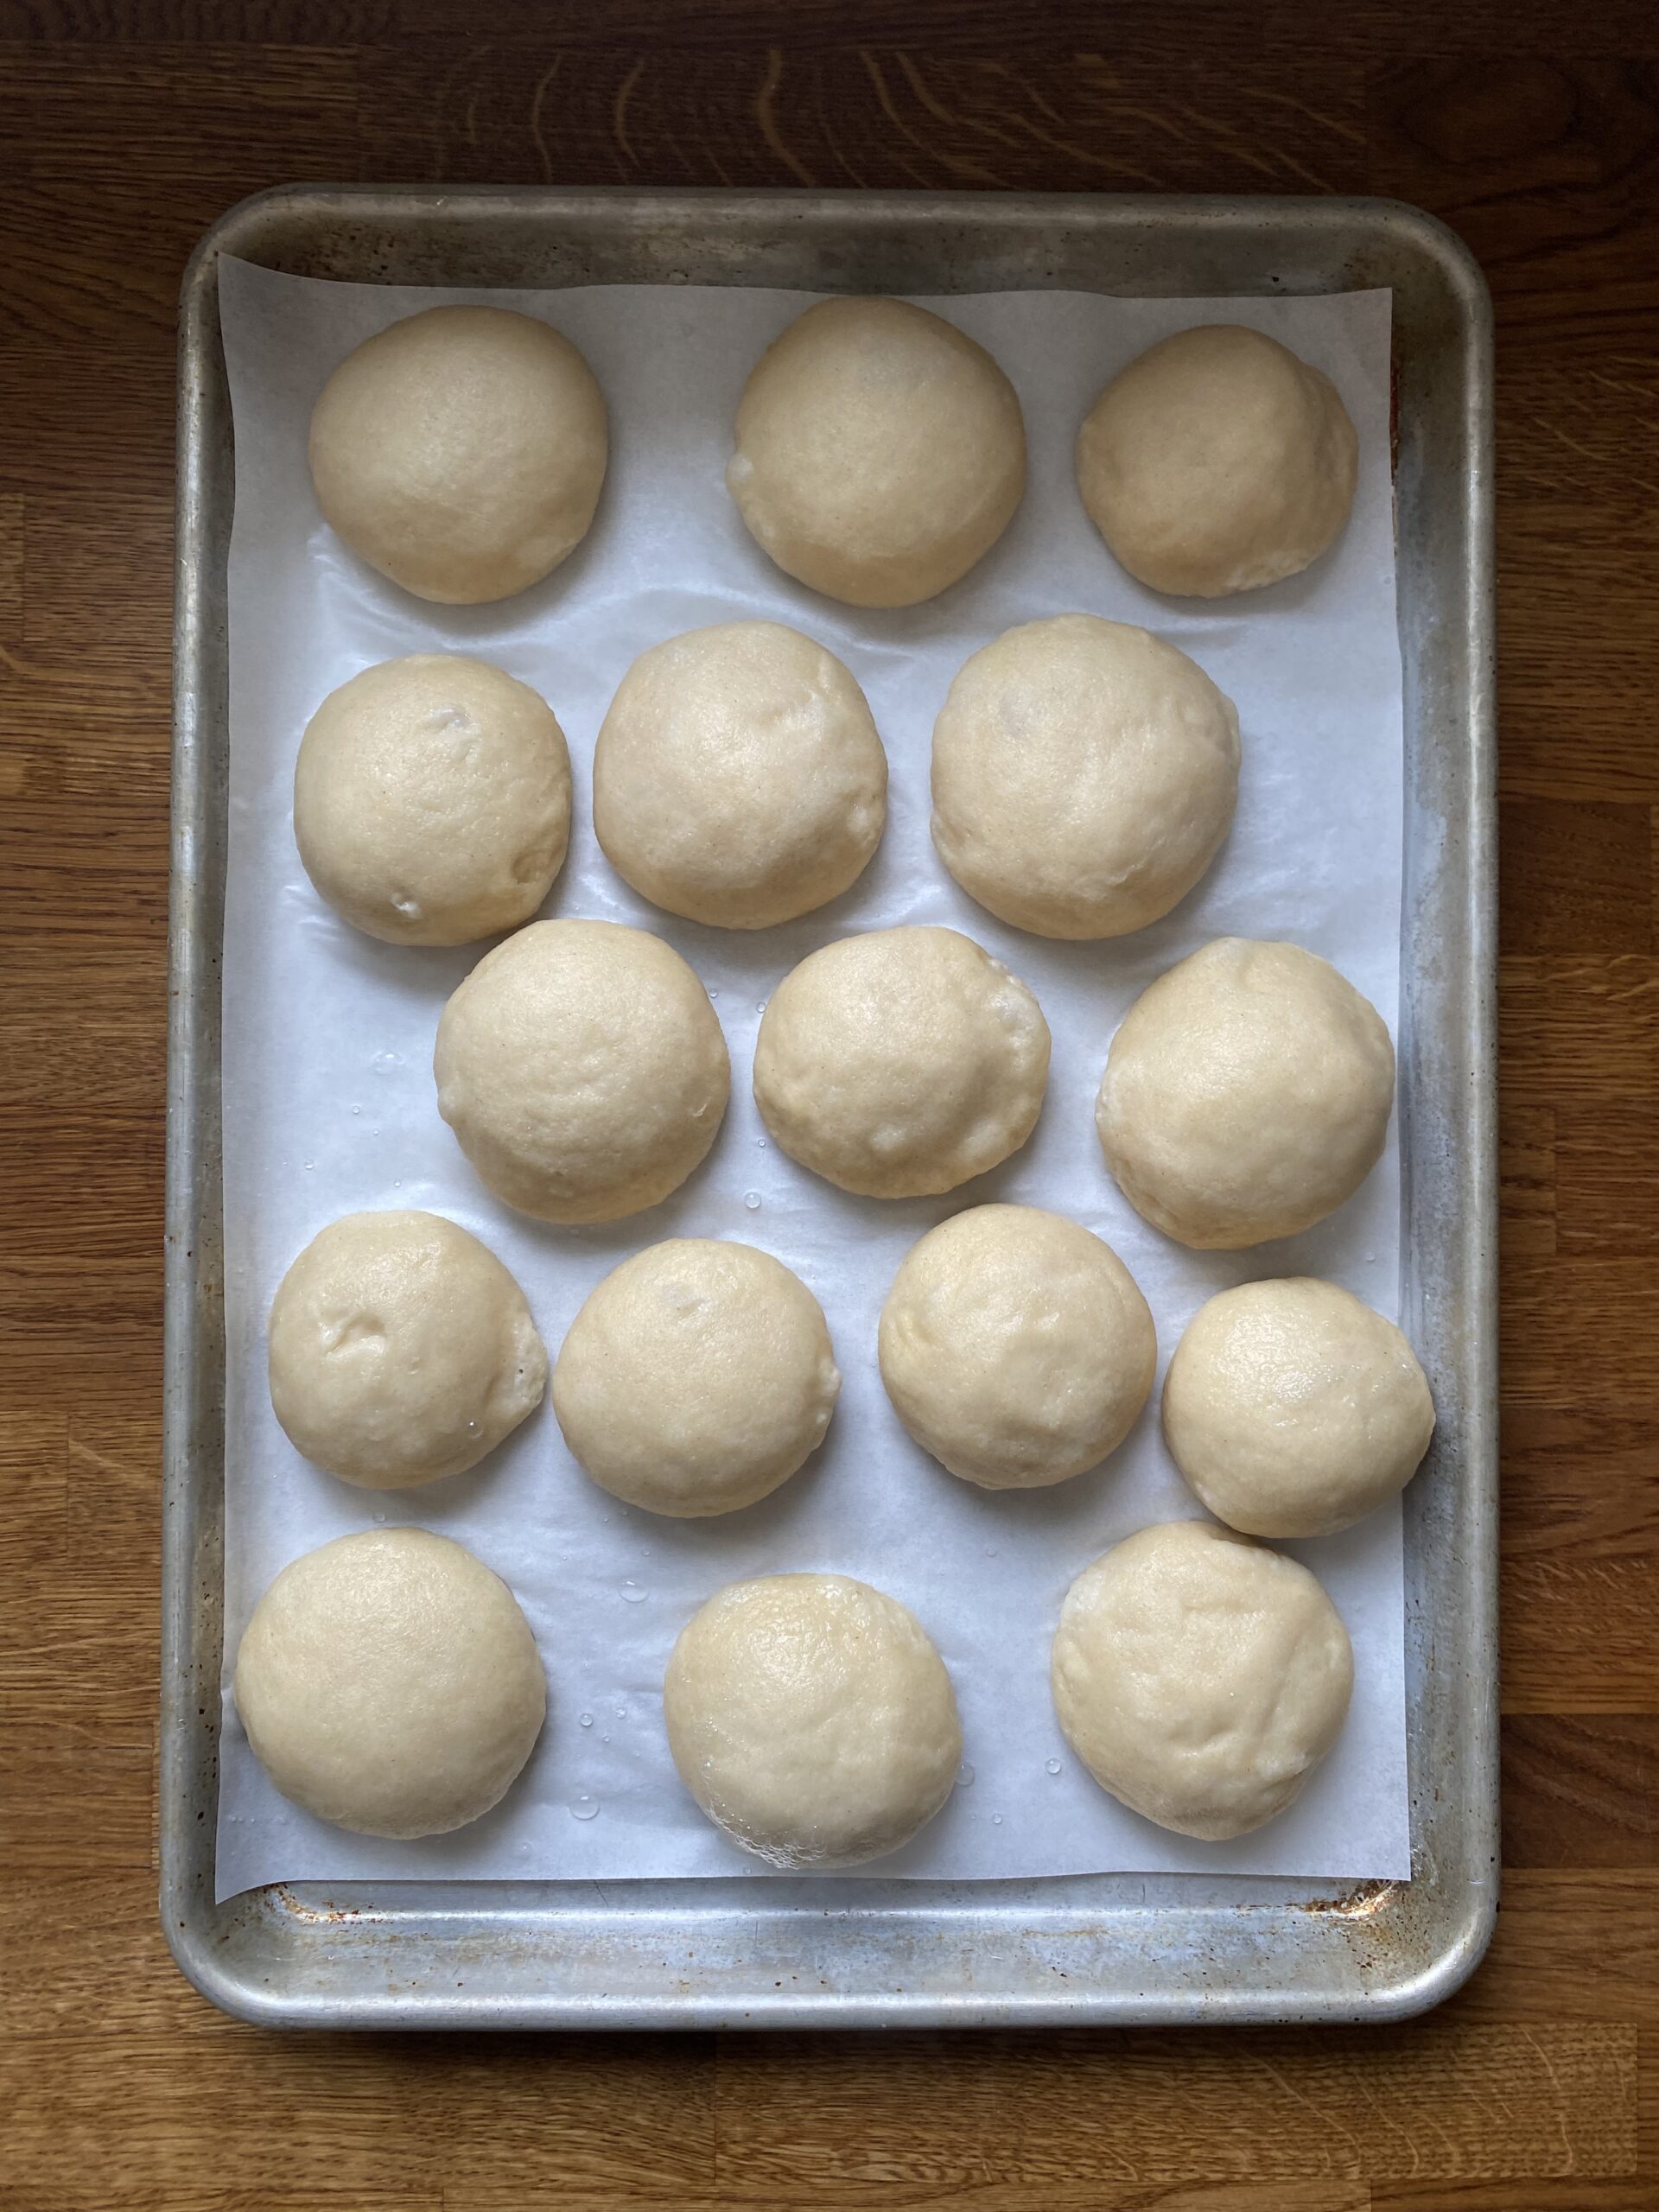
Press the dough out into a disc, popping any large air bubbles that formed during the first rise as you go. Use a bench scraper to cut through the middle of the dough 8 times, making 16 triangles.

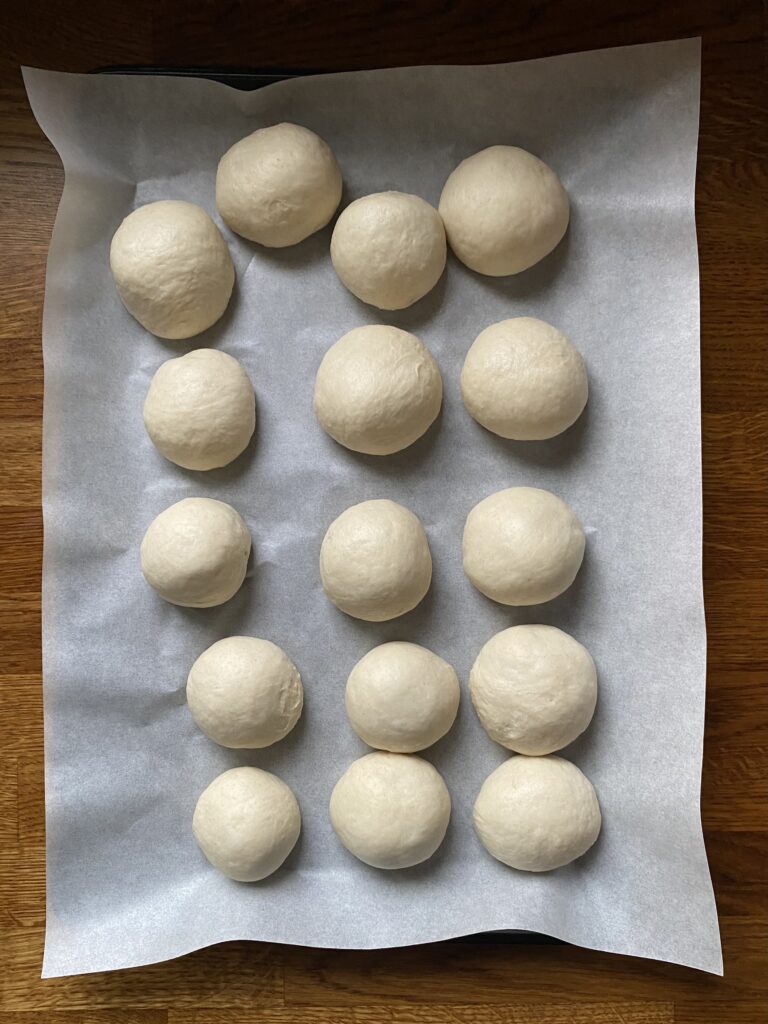
Take one triangle at a time and roll it from the point outward, then tuck the ends in and roll it against your work surface to seal the bottom. Place it seam side down on a baking sheet lined with parchment paper. Repeat with all the pieces of dough.
Then, cover very well and let rise for 2-4 hours more, until rolls are puffed up.
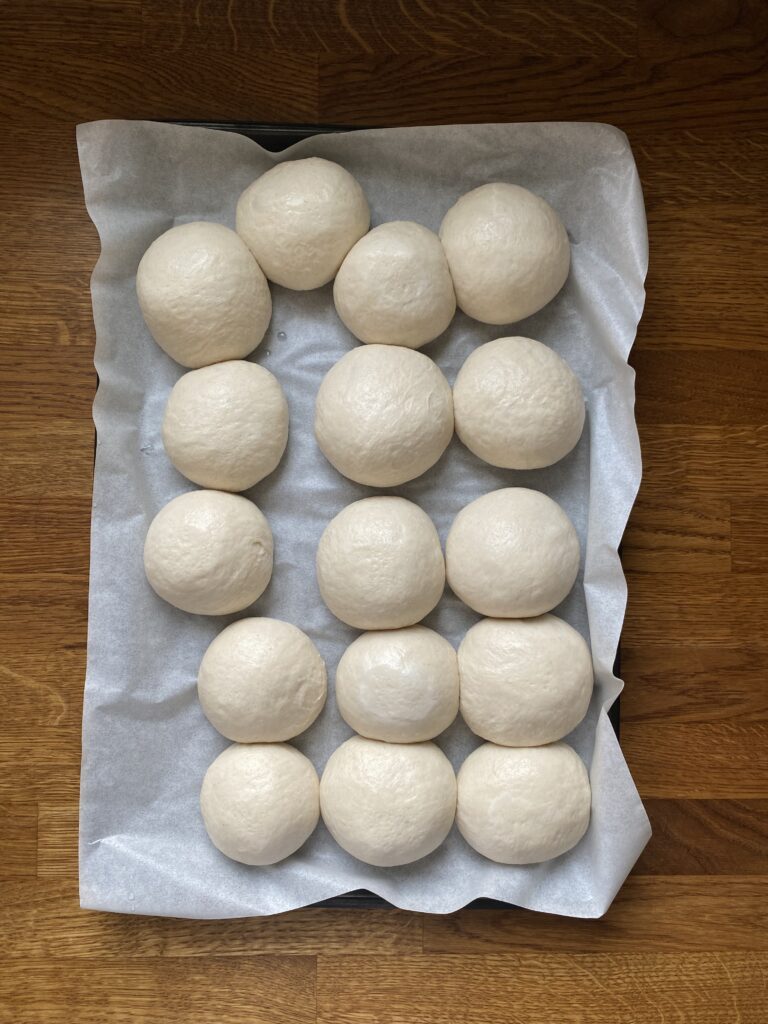
An alternate schedule - If you want to make the second rise longer, you can pop the shaped rolls into the fridge. Make sure they're VERY well covered so they don't dry out. I've put mine in the fridge overnight toward the end of the second rise and at the beginning of the second rise with no problems. I have not had much luck with these actually rising in the fridge, so if you're refrigerating at the beginning of the second rise, you may need to leave the rolls to rise at room temperature for a few hours after you take them out. They MUST be substantially puffed up before proceeding with boiling and baking, or they'll be under proofed and the texture will be all wrong.
Boiling + baking
Boiling soft pretzels in a mixture of baking soda + water is key to their thin, shiny crust, chewy texture, and distinct pretzel flavor. This step goes quickly, so make sure to have everything ready before you begin.
Boil water and baking soda together in a small saucepan, then add 2-3 rolls at a time. Boil for 30 seconds total, flipping halfway through, then remove to a baking sheet lined with parchment paper. (You can add them back to the baking sheet they did the second rise on).
Once they've all been boiled and arranged on a baking sheet, brush them very lightly with an egg wash. Be careful not to do too much here, as the egg wash can pool at the bottom of the buns and form an unpleasant coating.
The purpose of the egg wash is to help with browning, and to ensure the salt sticks. Which brings us to one of the most important ingredients in a pretzel...
THE SALT
I like to use regular kosher salt here, but feel free to use a flakier salt (like Maldon) if you want. I don't recommend table salt, since it adds too much saltiness and not enough crunch.
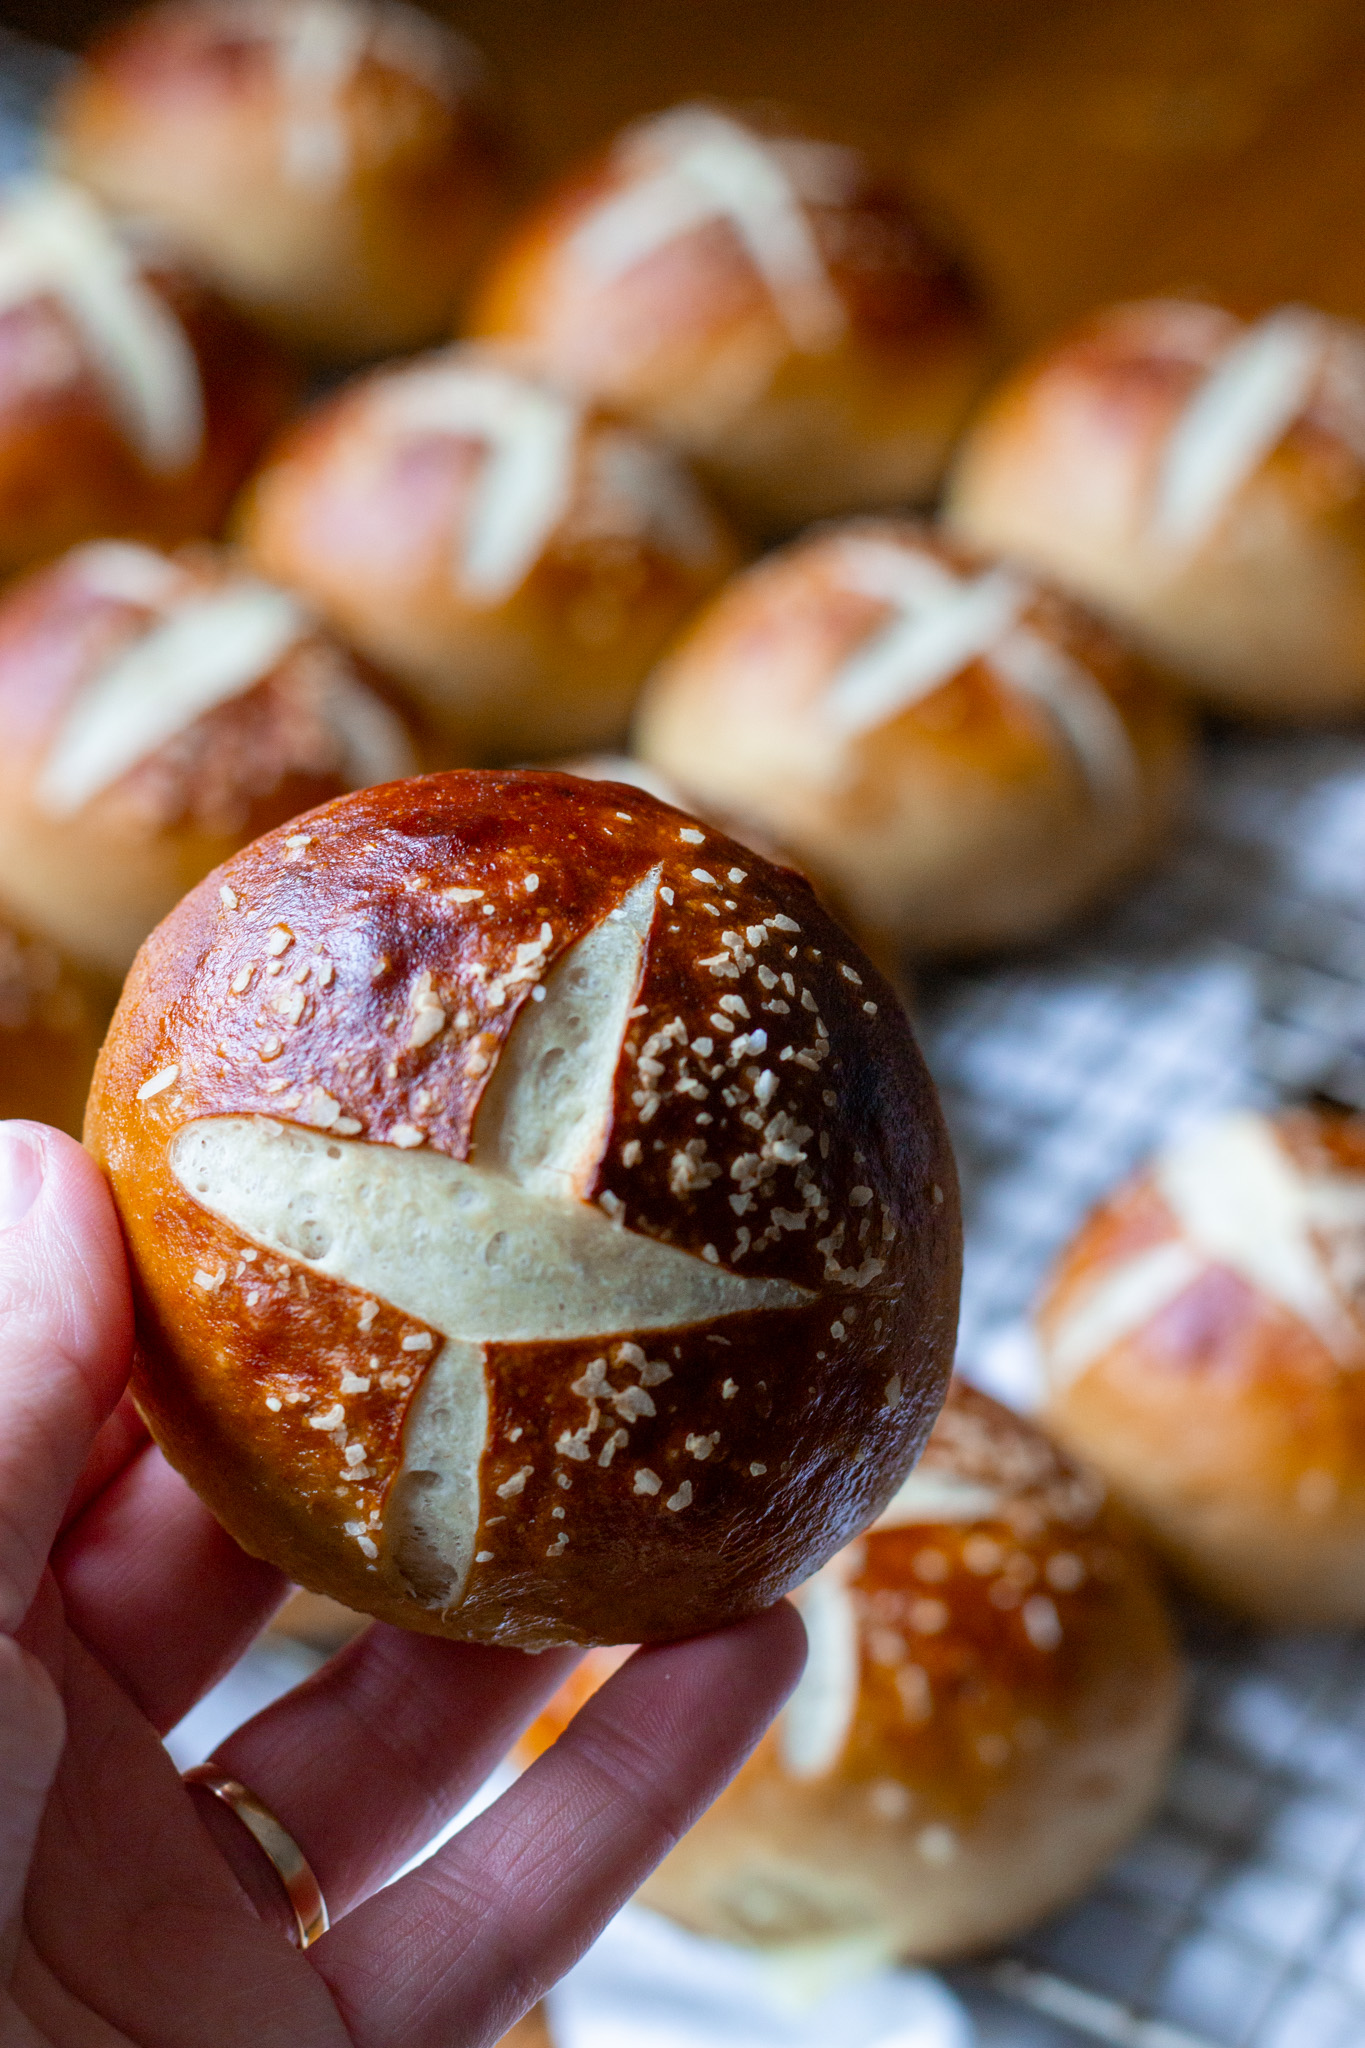
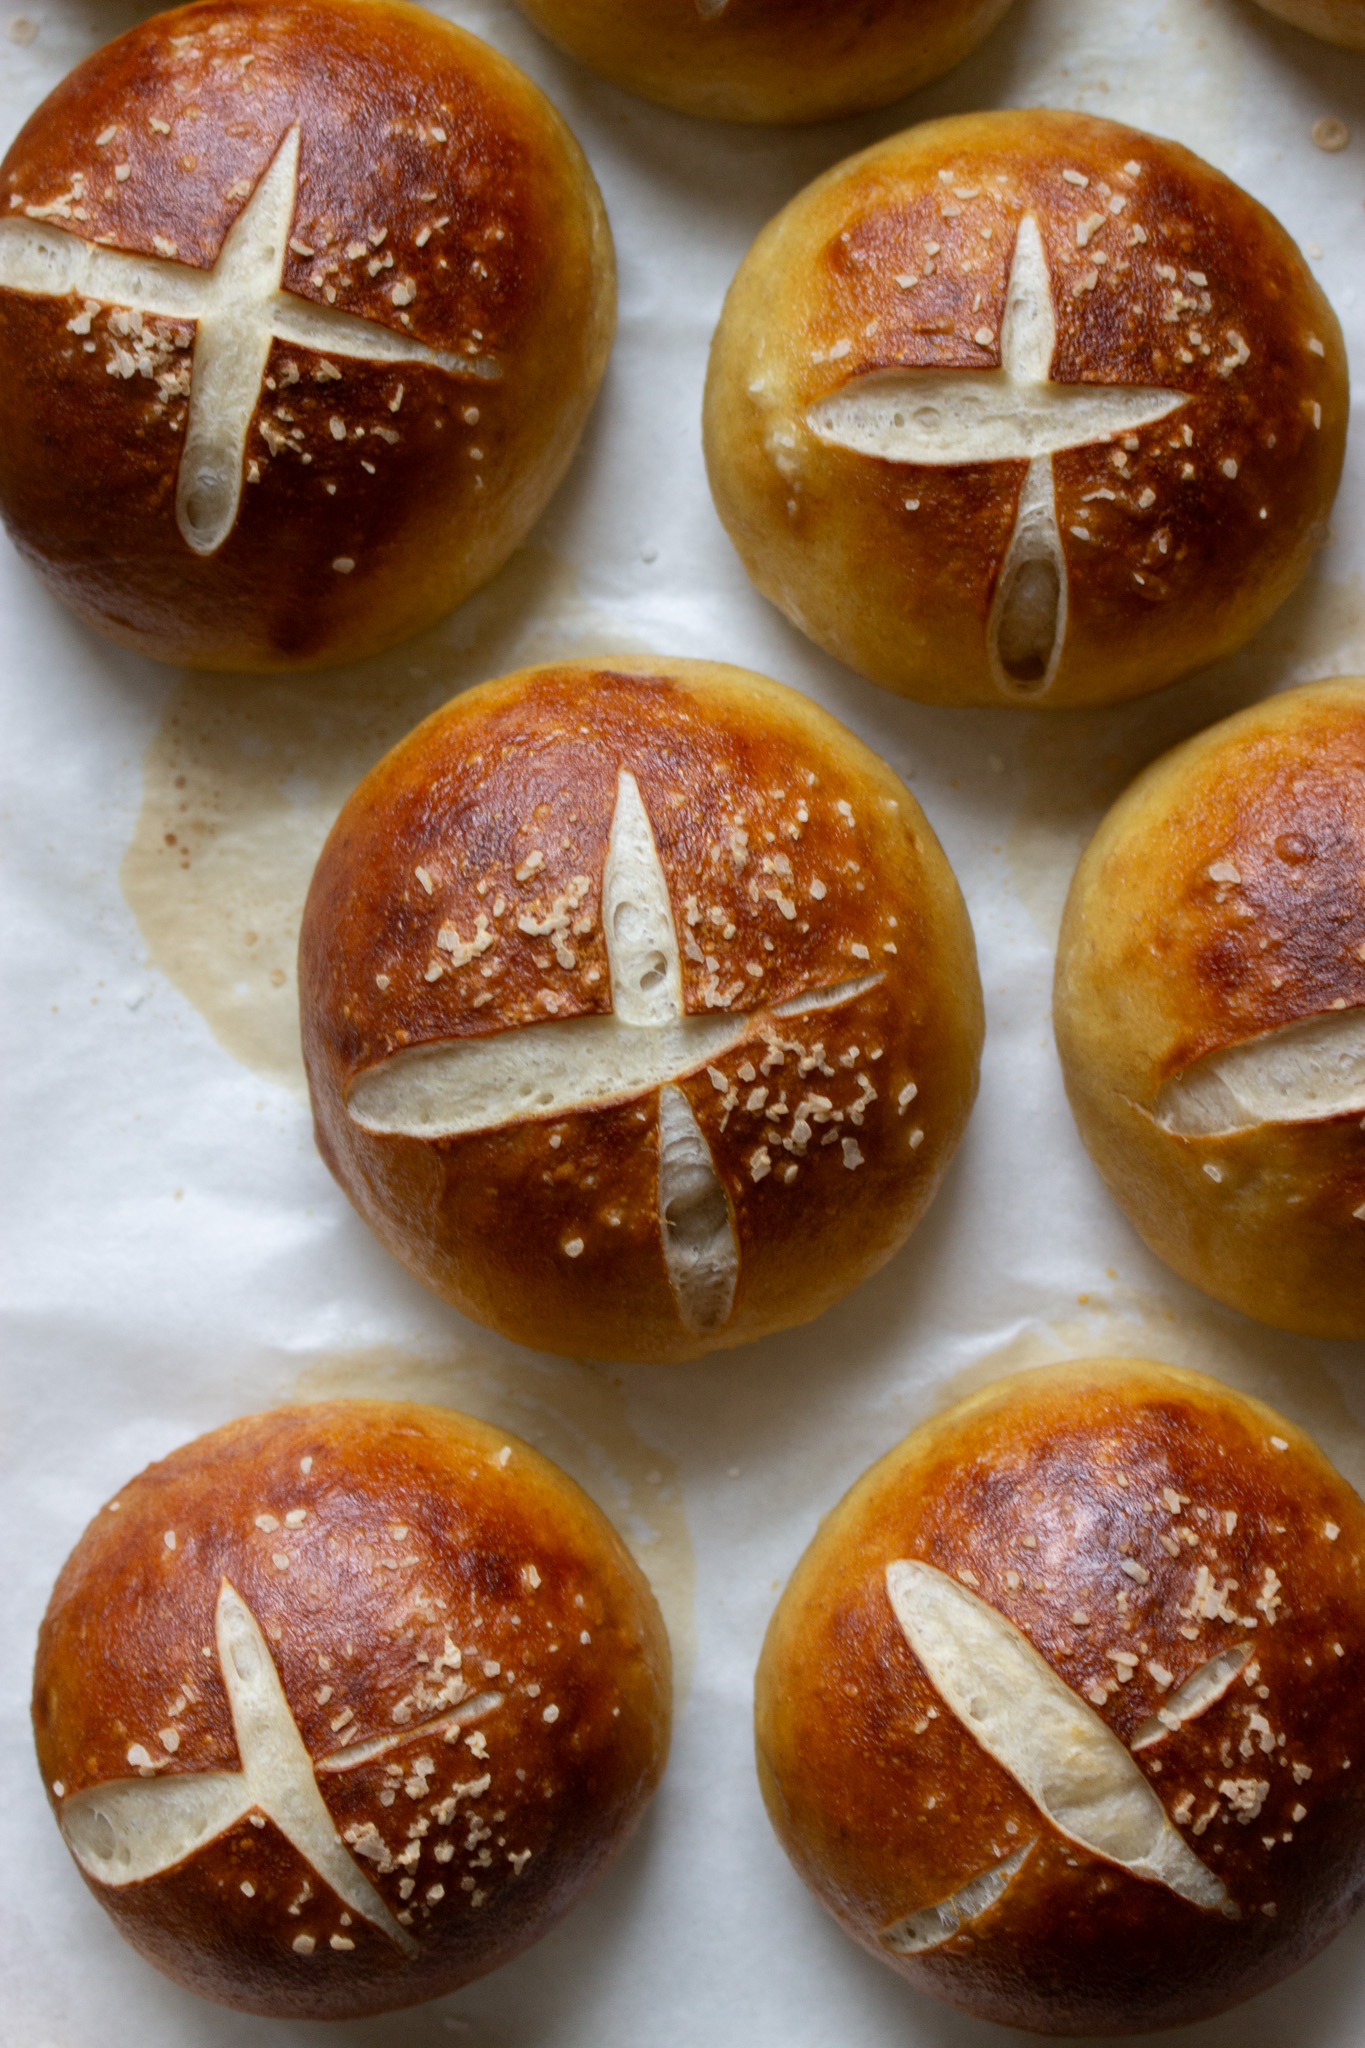
Sprinkle the salt on the tops of the buns. However much you like is the right amount!
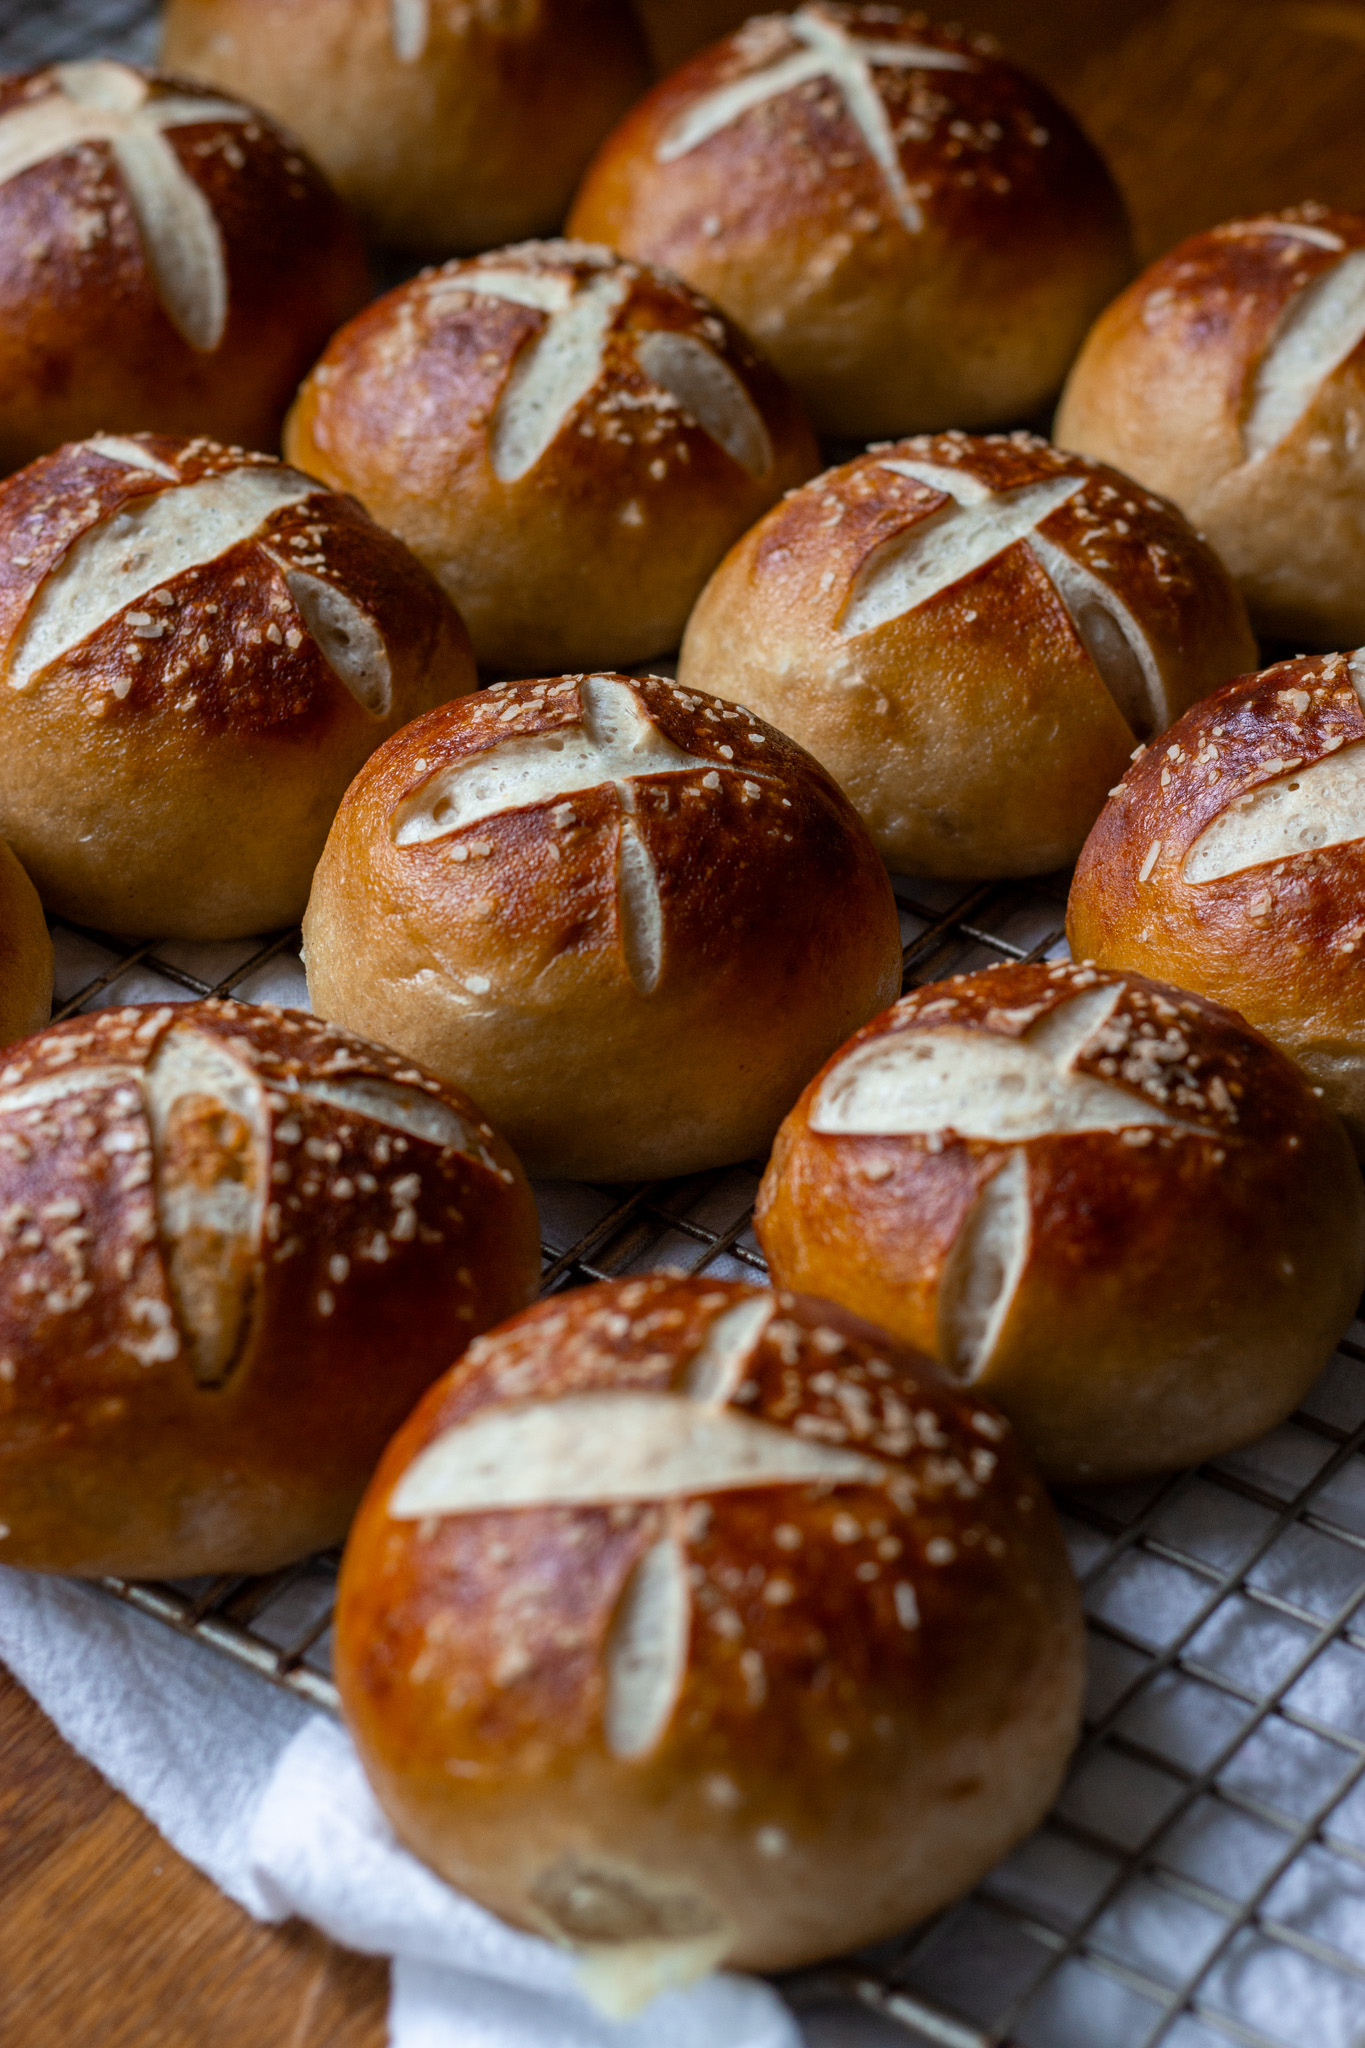
Okay, now that they've been boiled, brushed with egg wash, sprinkled with salt, it's time for them to be scored. Do a deep X for a classic pretzel bun look, or a couple of slashes if you want something easier.
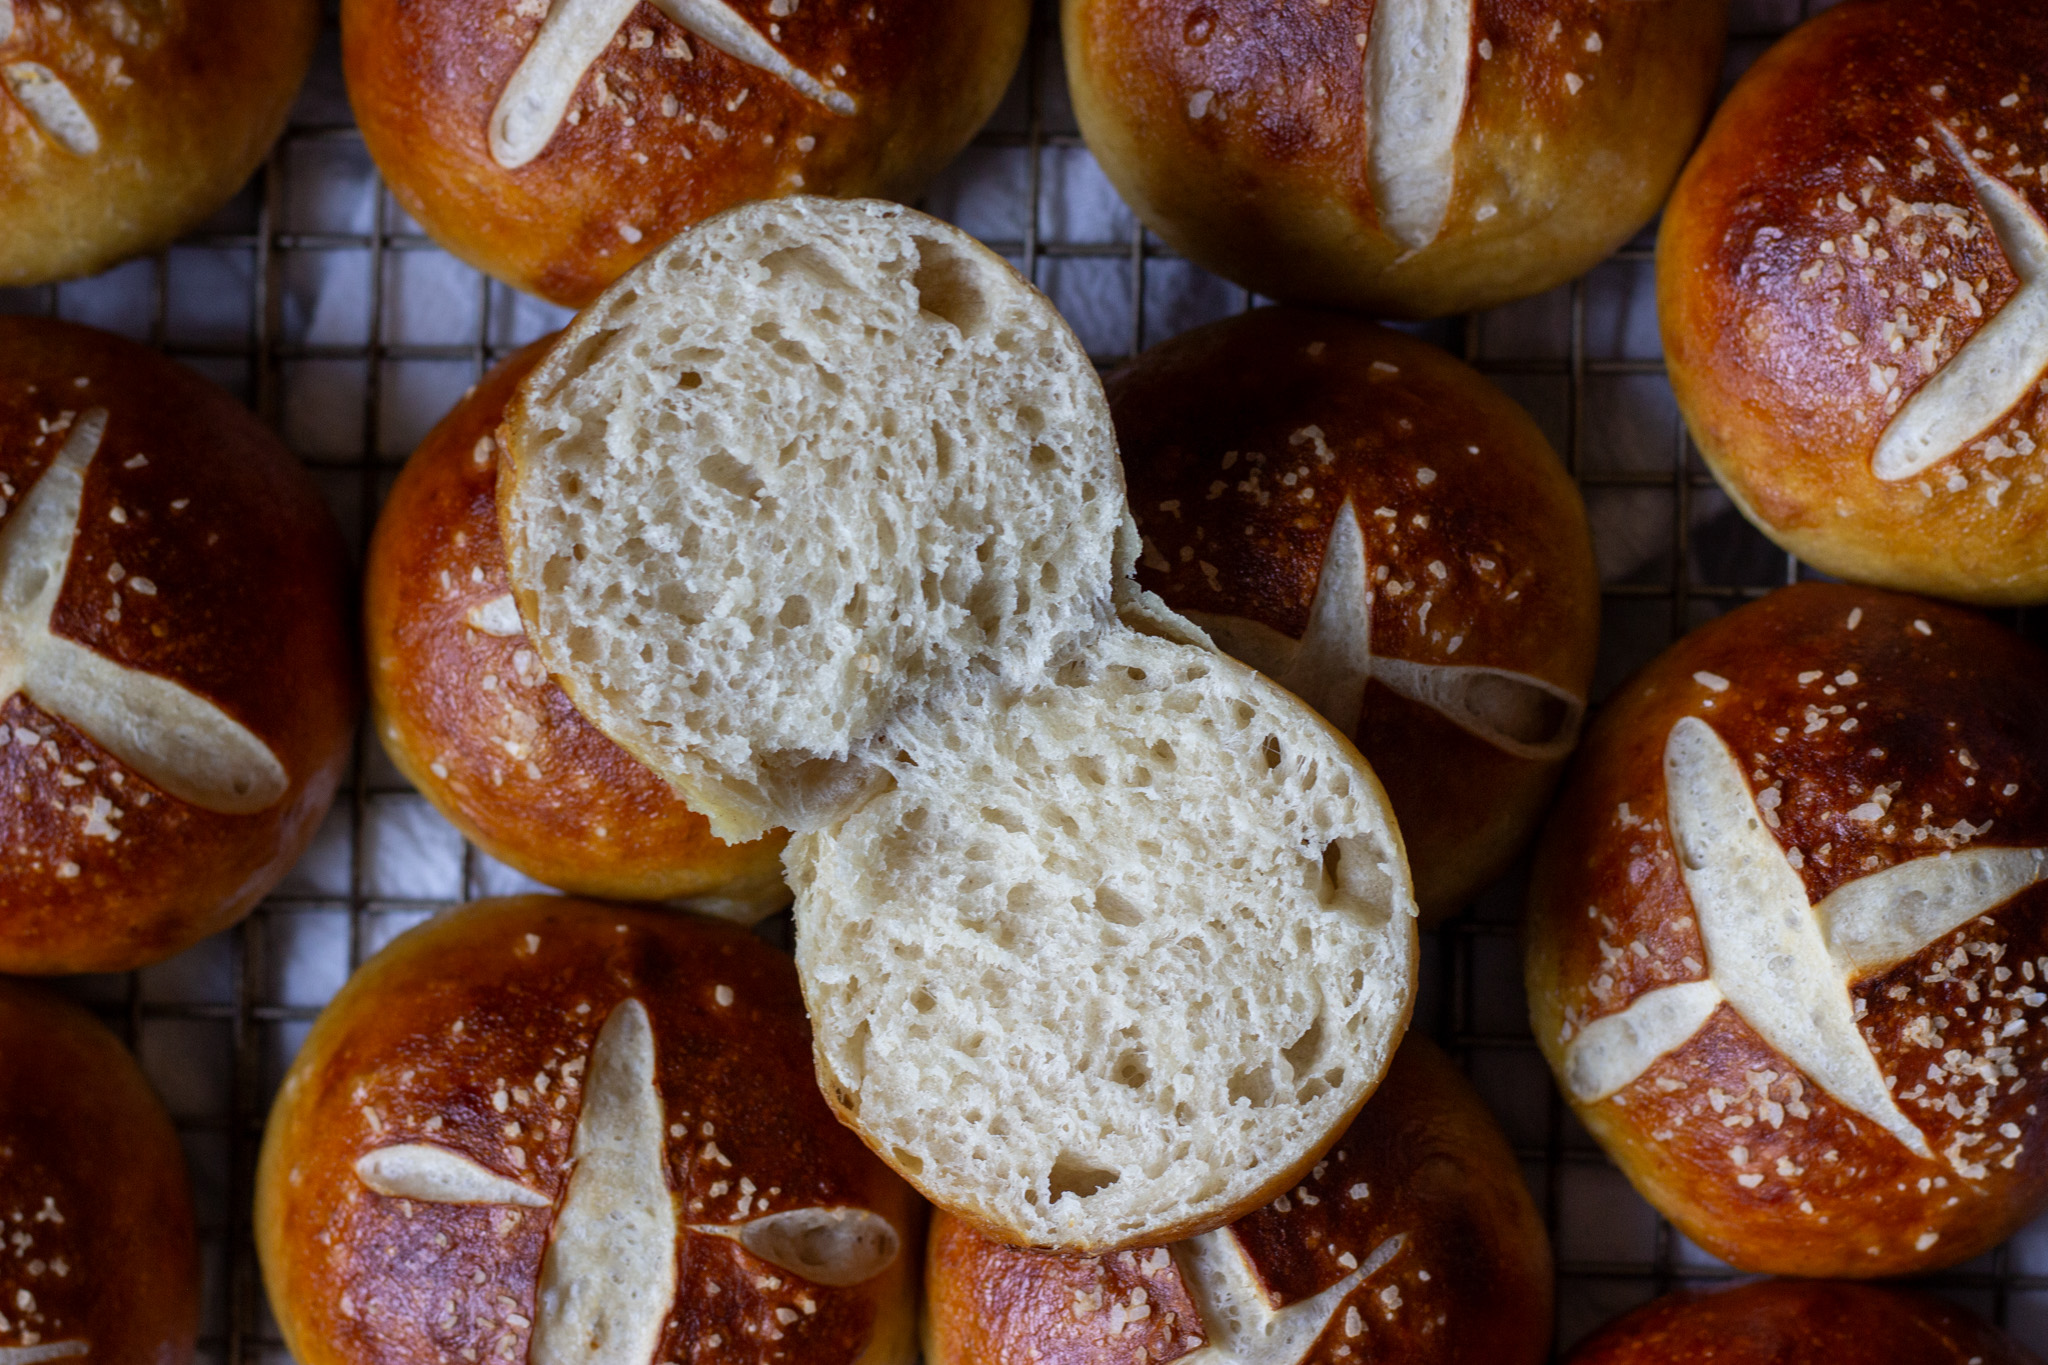
Finally, bake on the lower half of your oven at 450 degrees for 14-16 minutes, until they're baked through and browned to your liking. If you want them browner, move them to the top portion of the oven for the last few minutes of baking.
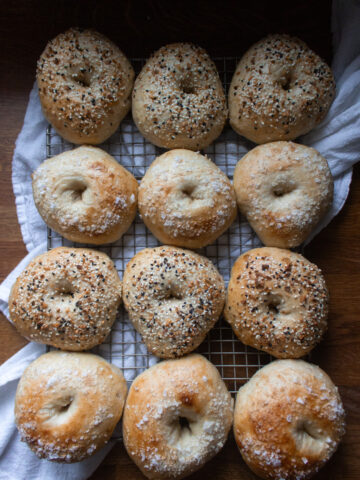
Let them cool for a few minute before removing to a wire rack. Enjoy one (or lots!) warm, preferably with an assortment of mustards to dip in.
tips
- If you're not eating these within the same day they're baked, I recommend leaving the salt off. The salt will dissolve into the buns when they're stored and form a soggy layer in its place.
- If you're making baked sliders with these, pull them from the oven once they're fully cooked but not browned yet - about 2-4 minutes less than the bake time listed in the recipe. They will finish browning when they go back into the oven.
the best things to do with pretzel buns
Some inspiration for you:
- eat them like regular dinner rolls - these are such a fun variation on a regular dinner roll, plus, people go nuts for them! And they really work with so many meals.
- have them as a burger option at your next cookout.
- cold sandwiches: chicken salad sandwiches, any type of deli meat.
- hot sandwiches: pulled pork, and how good would a reuben be on these??
- baked sliders: these are perfect for baked sliders! Ham/swiss/honey mustard, and roast beef/sharp cheddar/horseradish are favorite combos for these!
more pretzels!
All my pretzel recipes are inspired by Alton Brown's soft pretzels, which I had been making for years when I decided to try adding in some sourdough discard. That gave way to these pretzel bites and these full size pretzels. Can't get enough soft pretzels here!
Sourdough Pretzel Buns
Ingredients
- 4 tablespoons unsalted butter, melted (see note)
- 275 grams water
- 100 grams active sourdough starter
- 16 grams brown sugar
- 575 grams all purpose flour
- 10 grams salt
For Boiling
- 5 cups water
- ⅓ cup baking soda
For Topping
- 1 egg, beaten with 1 tablespoon water
- Kosher salt
Directions
- Combine the melted butter, water, starter, and brown sugar in a large bowl. Add the flour and salt and mix very well until dough is fully combined and no dry spots remain. This dough is stiff! It will take a good 3-5 minutes of hands-on mixing to get it to come together fully. Cover and let rest 30-60 minutes, then do a round of stretch and folds to form the dough into a ball. Cover and let rest until doubled in size - about 8-12 hours.Line a baking sheet with parchment paper and set aside. Turn dough out onto a (very!) lightly floured surface. Press into a disc, popping any bubbles that have formed during the first rise. Use a bench scraper to divide dough into 16 pieces by cutting across through the center 8 times. Take one piece of dough at a time and form into a ball. Place on the prepared baking sheet. Cover well and let rise until puffed up - about 2-4 hours. Preheat oven to 450 degrees. Combine the water and baking soda in a small saucepan and bring to a boil over high heat. Add 2-3 rolls at a time and boil for 30 seconds, flipping halfway through, then return to the baking sheet. Once all the rolls have been boiled, brush lightly with the egg wash, sprinkle with salt, and score a deep “x” on the top of each. Bake in the lower half of the oven for 14-16 minutes, until cooked through and browned to your liking.Cool for a few minutes, then enjoy warm.


Leave a Reply