

The easiest sourdough ever, in volume measurements!
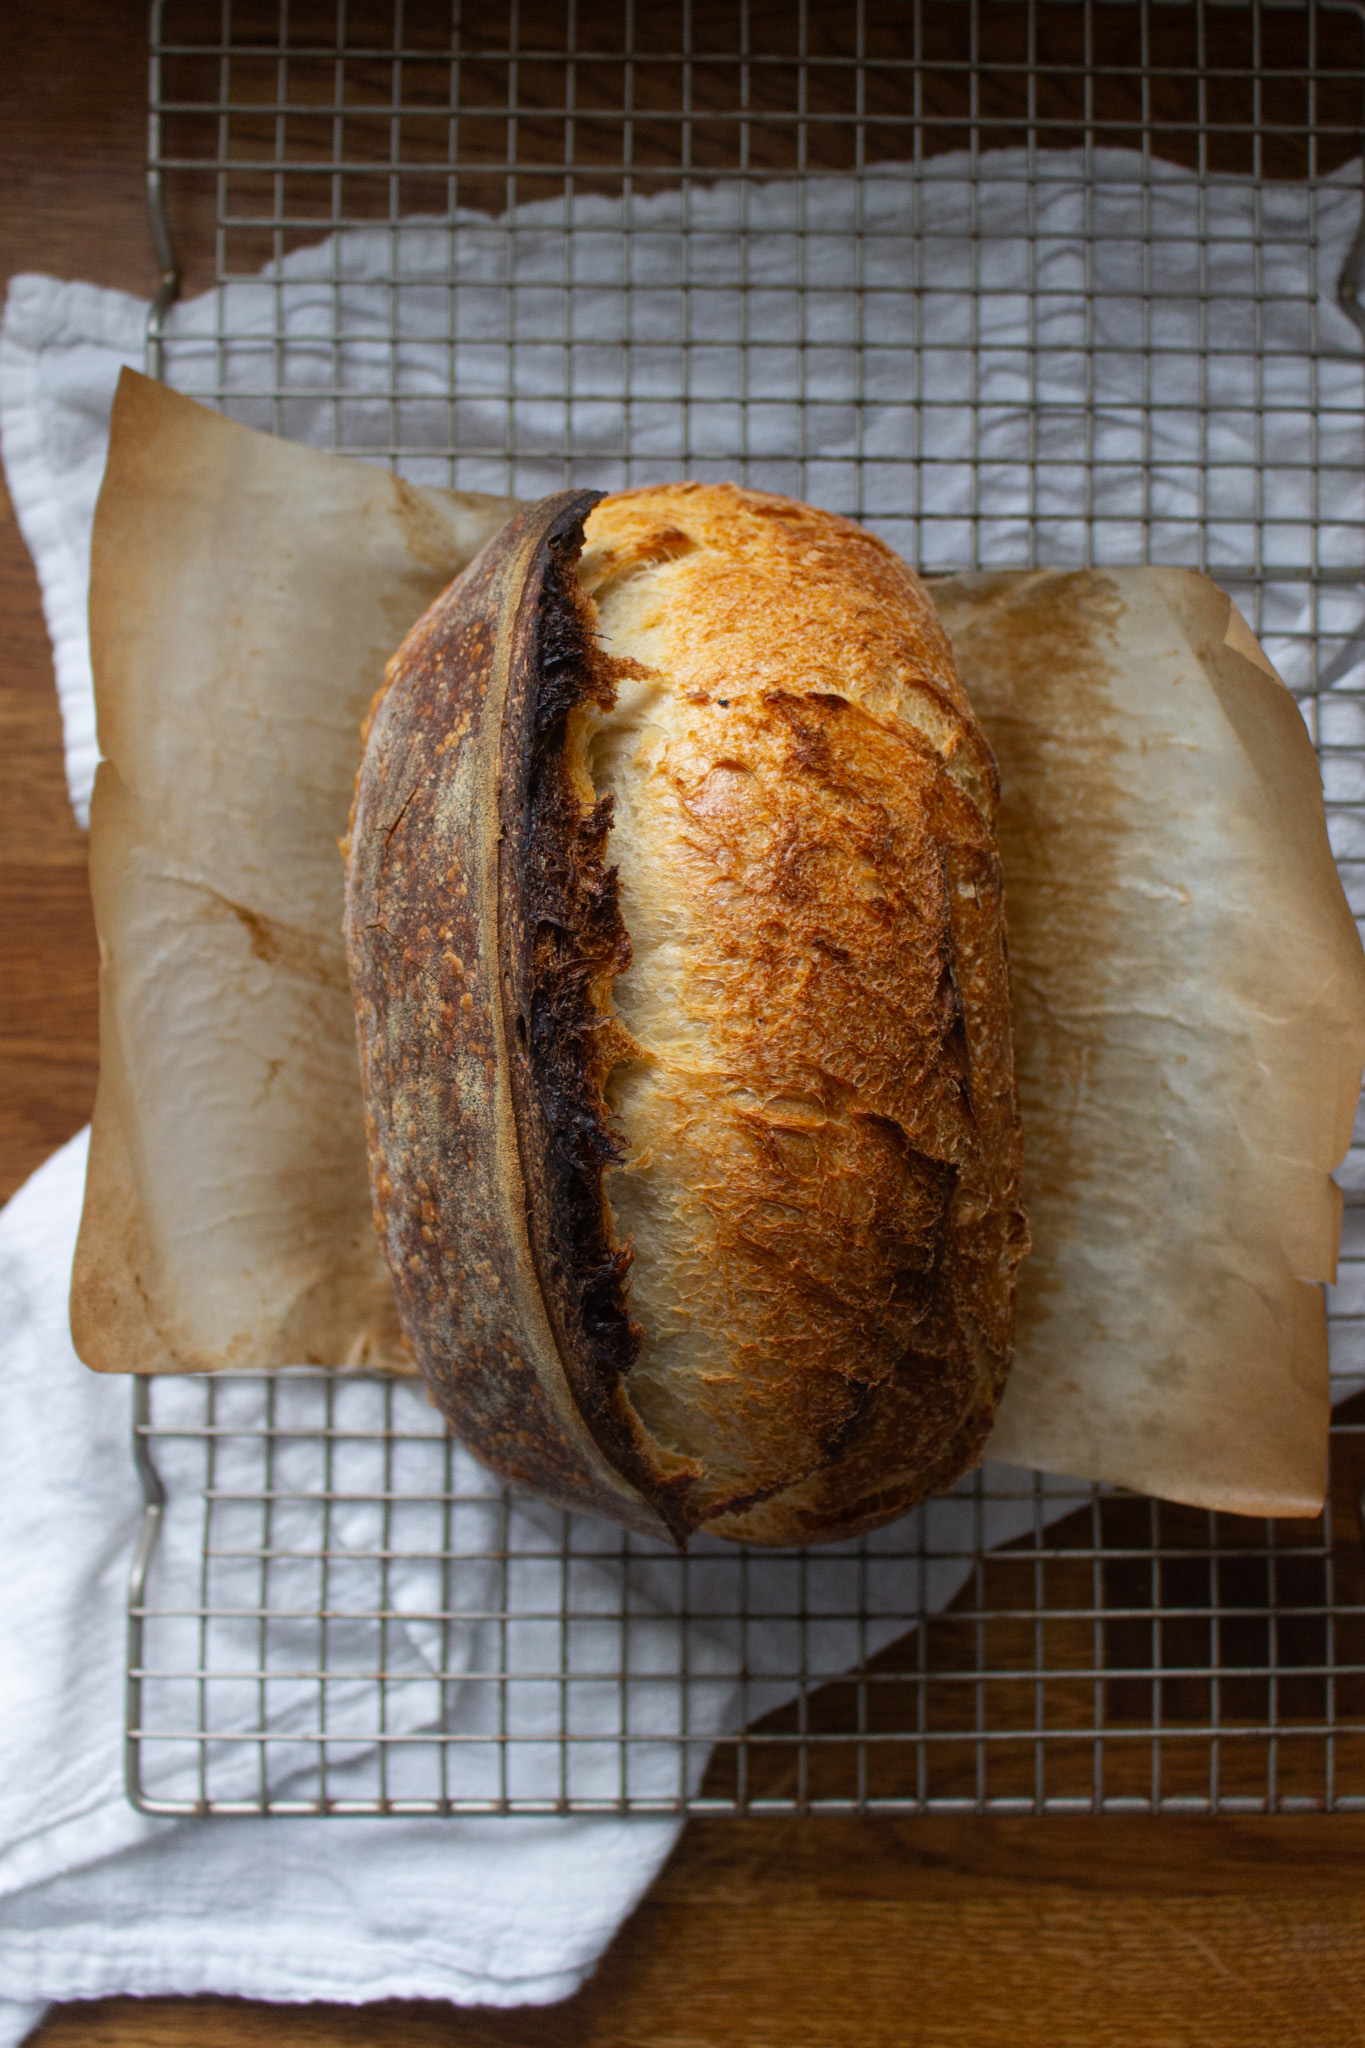
This is the classic sourdough recipe that I keep coming back to. Not only does it always produce amazing results, but it’s also so easy, it’s kind of mindless: I can mix a loaf together in minutes without referencing any ingredients or amounts.
While I’m a big proponent of using a scale when making sourdough, sometimes it feels simpler to just throw a few scoops of ingredients together and call it good.
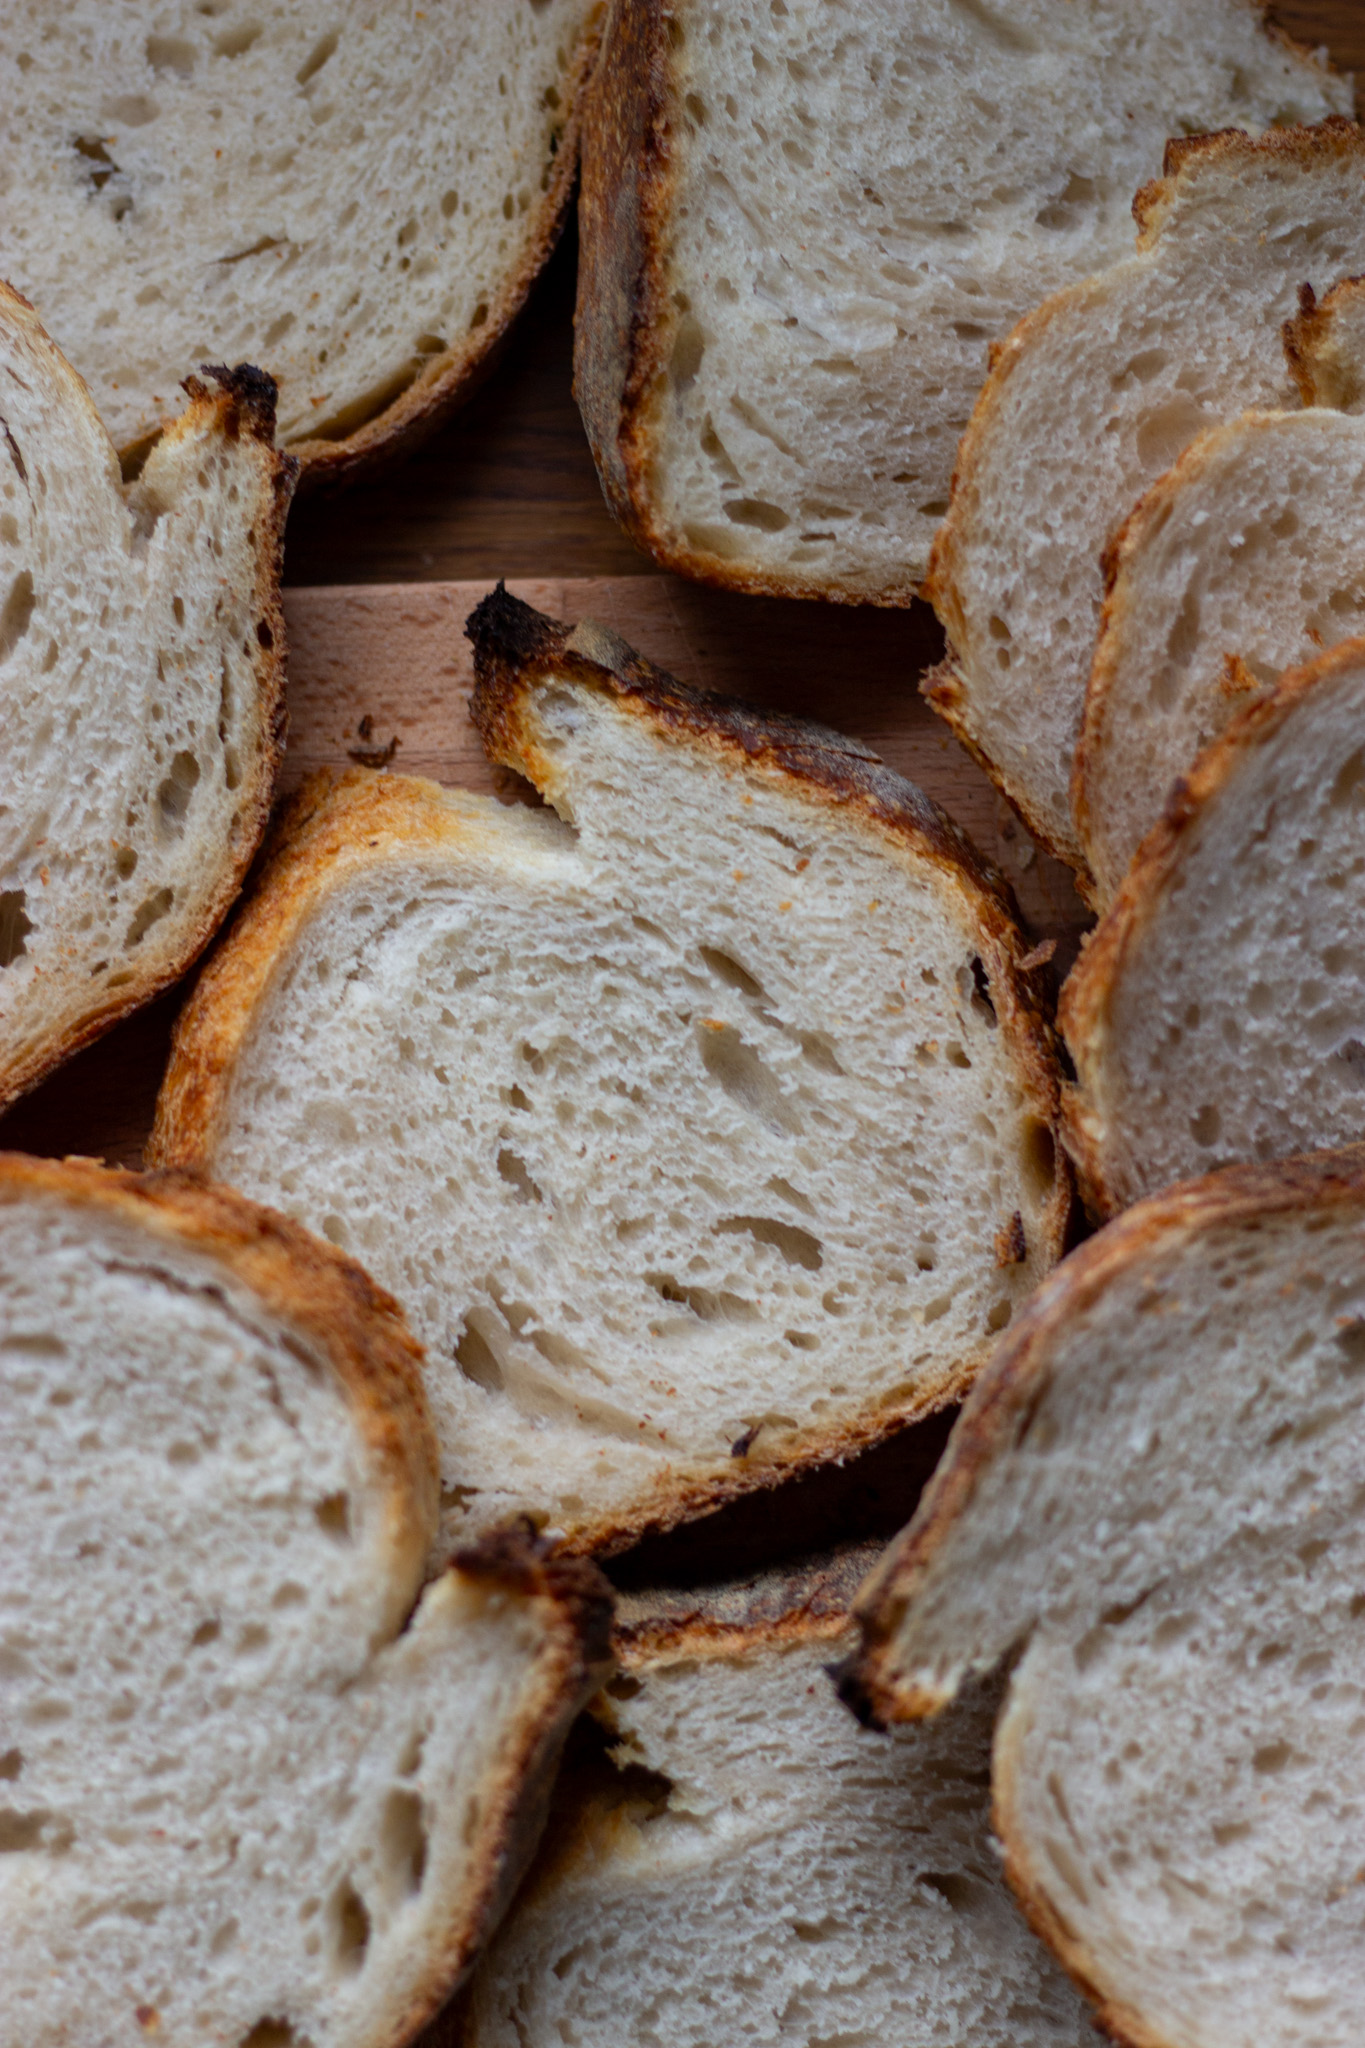
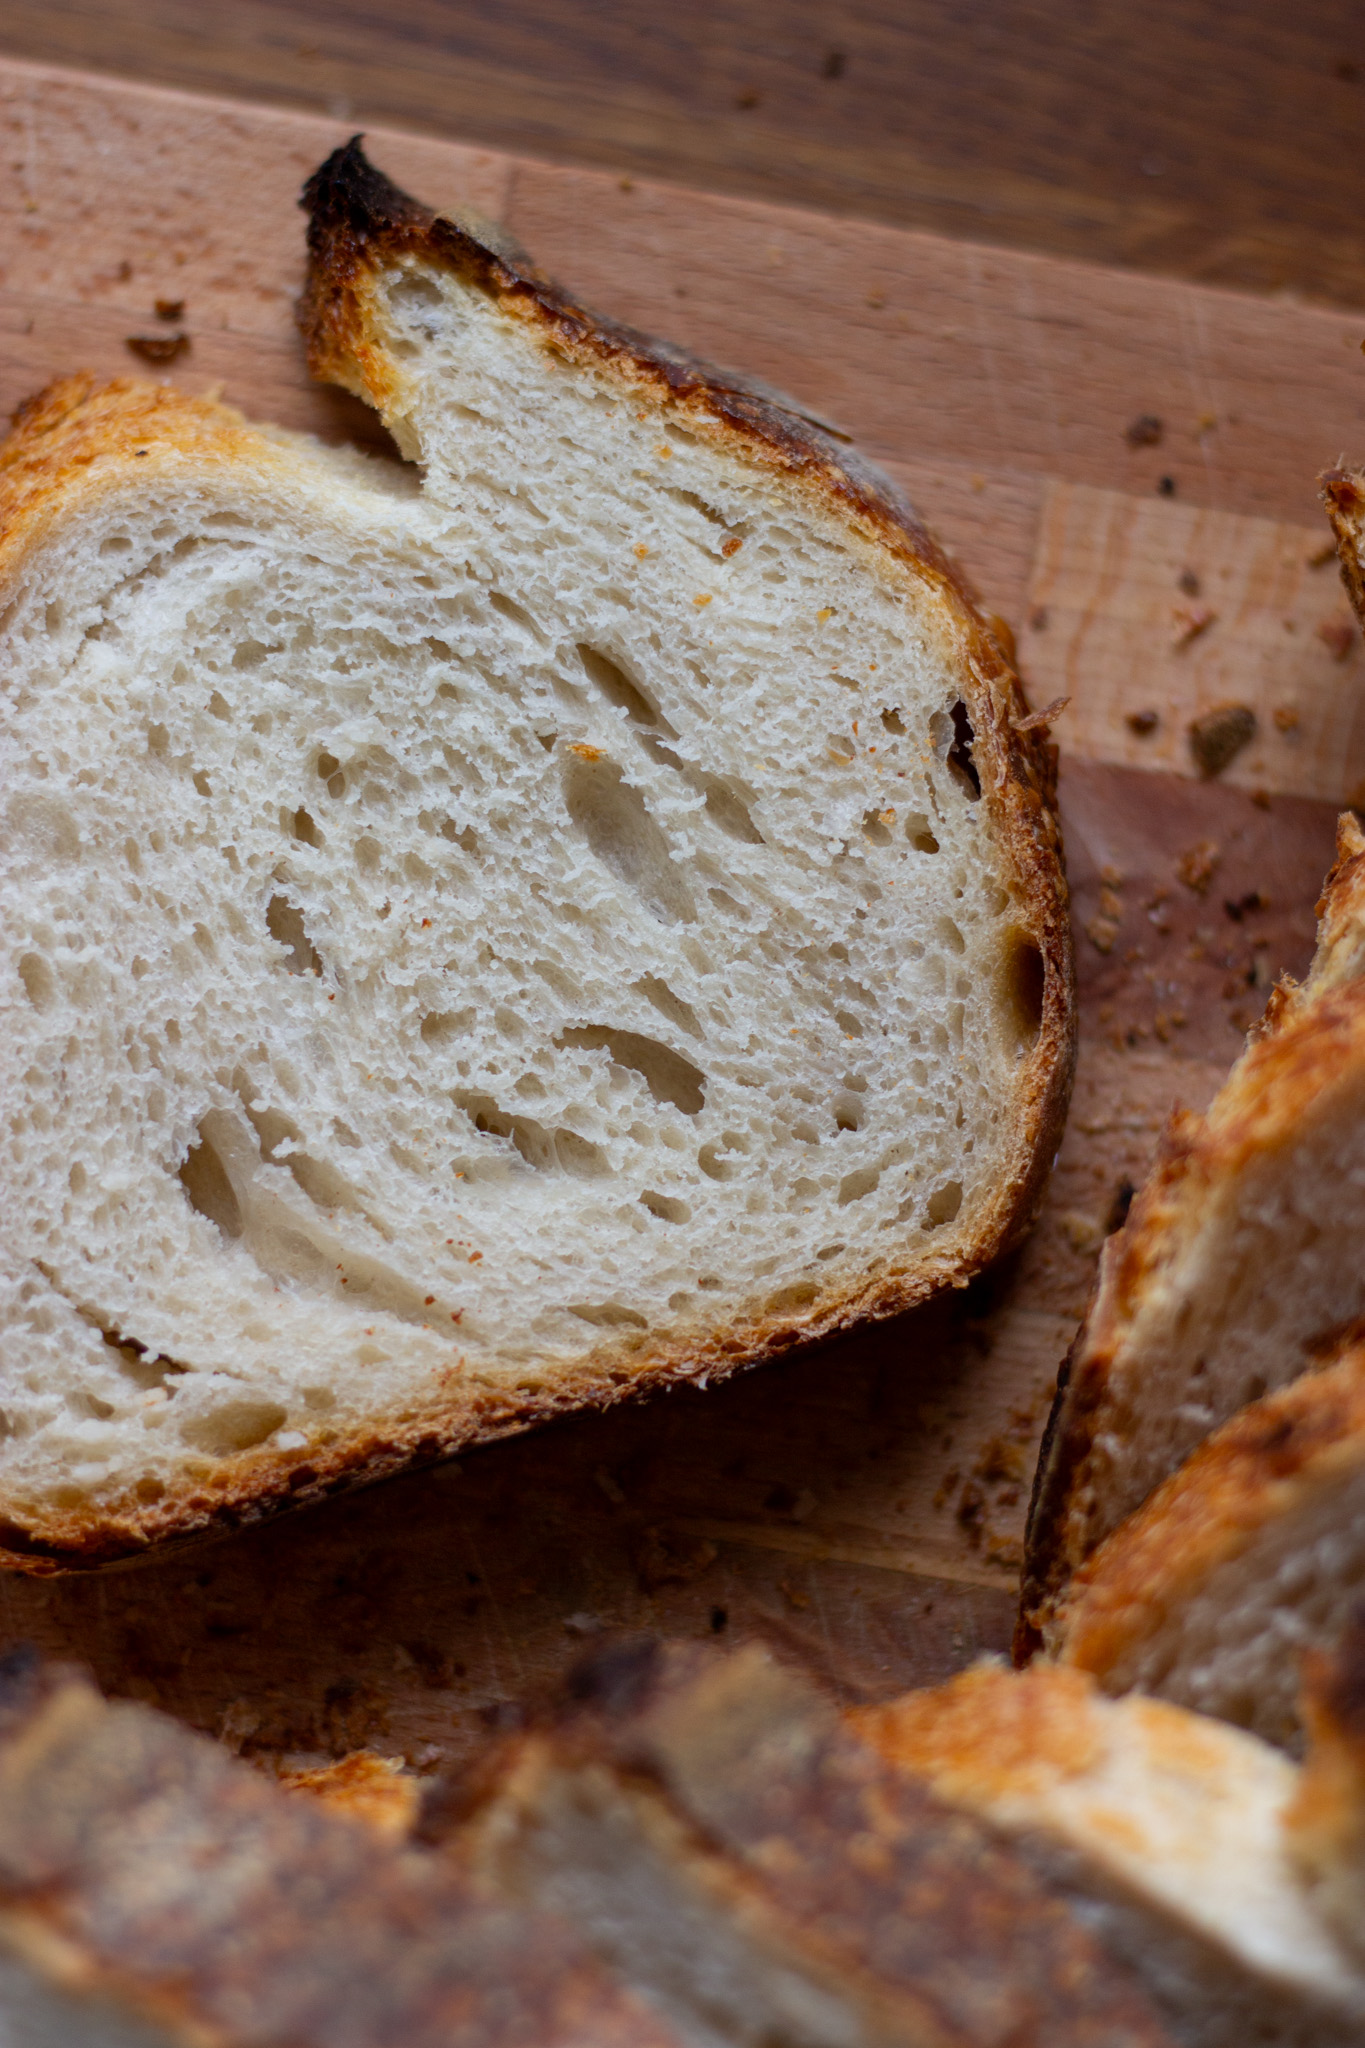
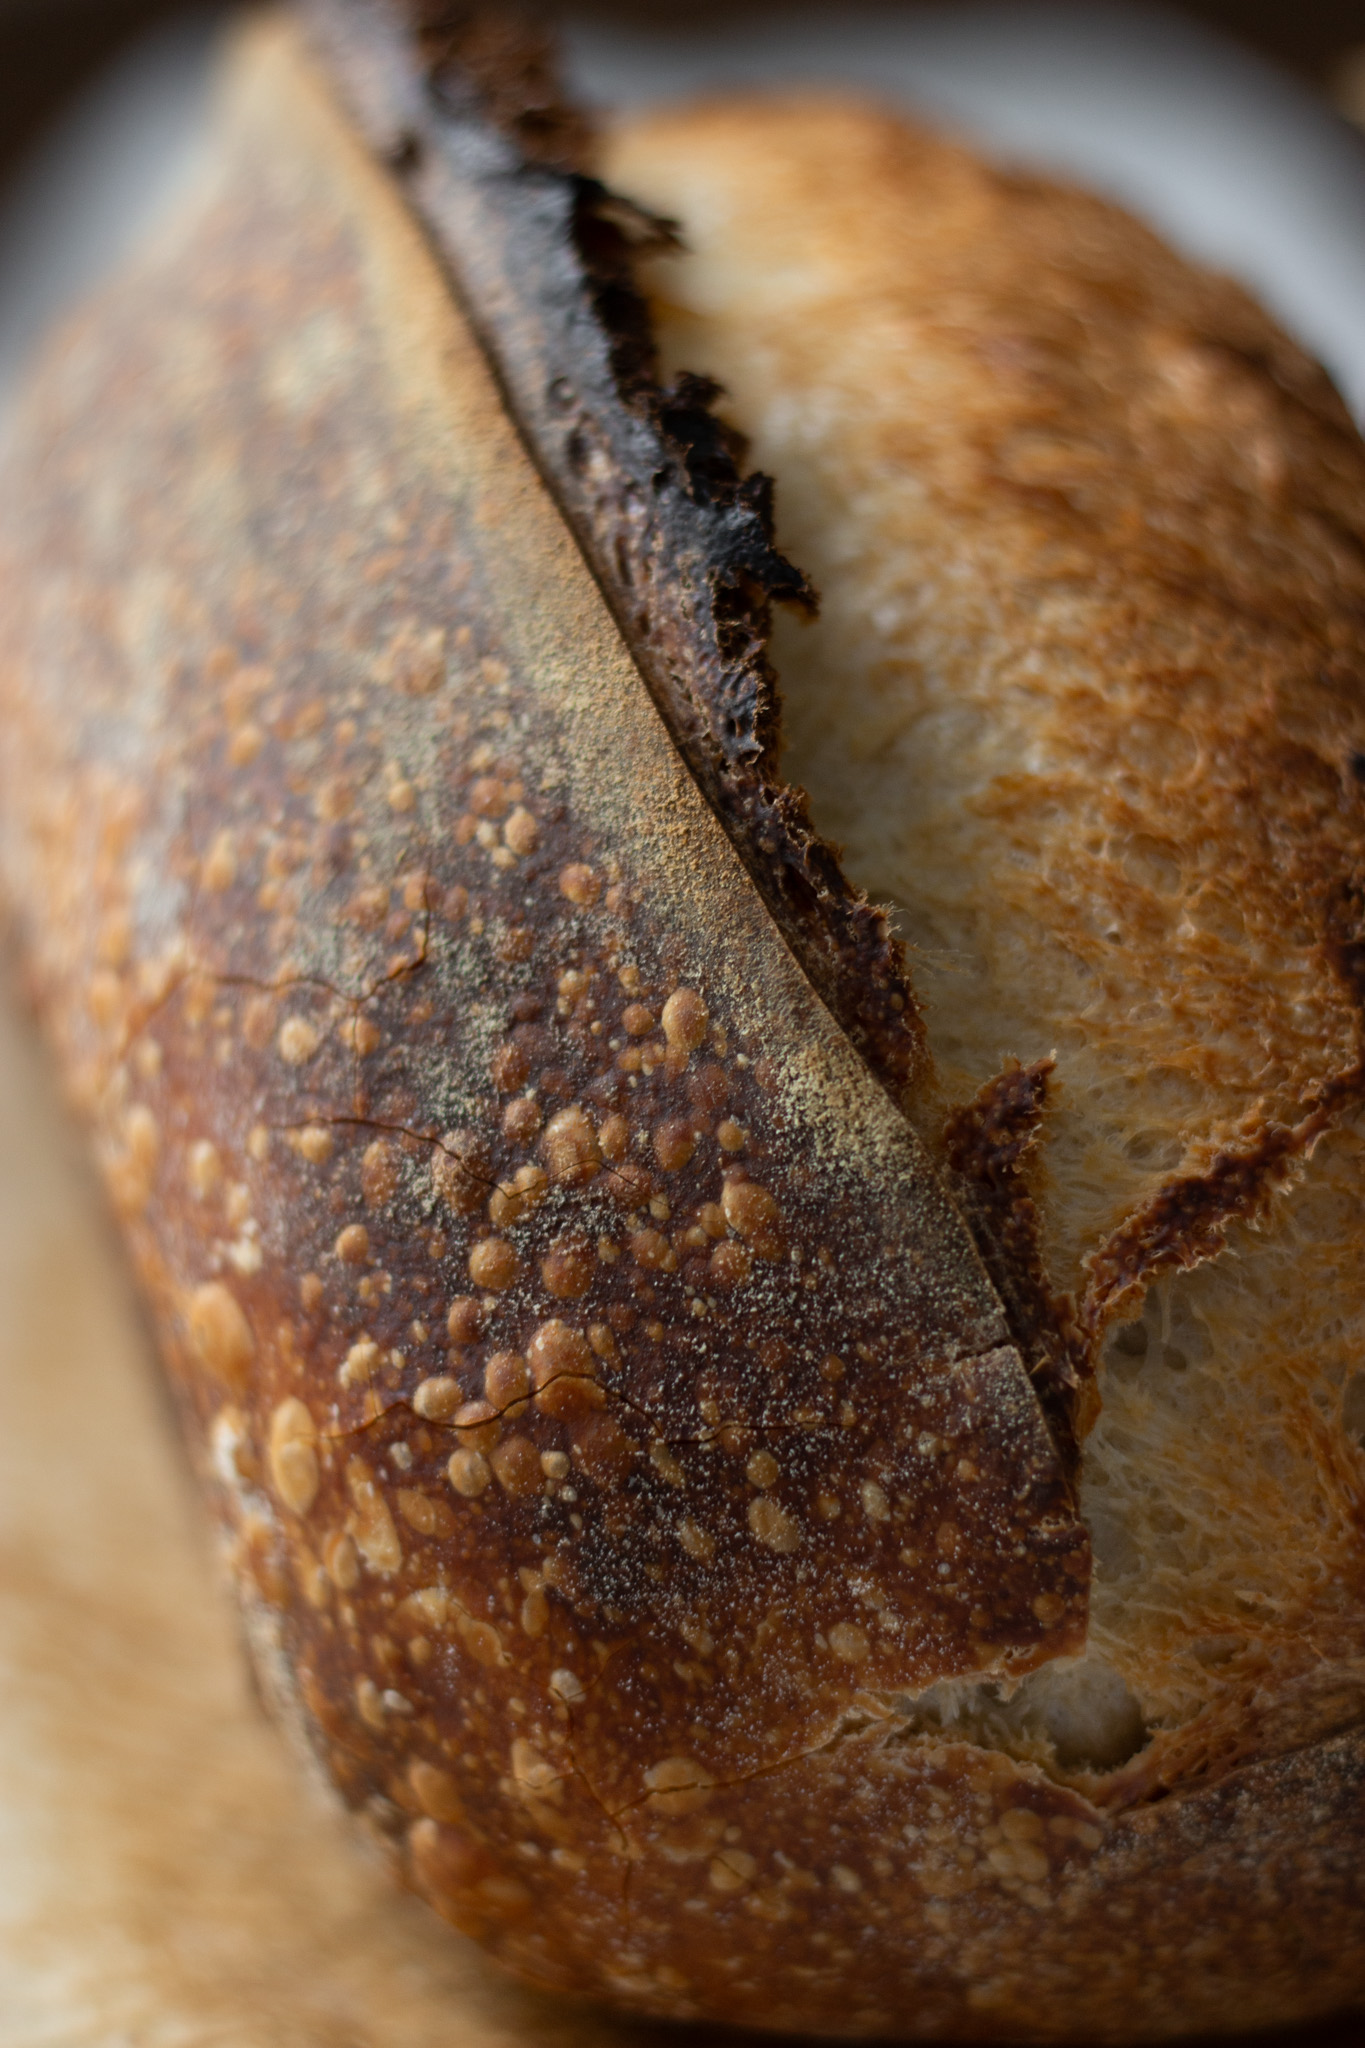
This recipe makes a dough that is REALLY EASY to work with, but still delivers all the things we love about sourdough - a flavorful bread, a blistered crust, a soft interior, and an open crumb.
What makes this sourdough the easiest?
Well, I’m glad you asked.
- Measurements in cups - this recipe uses easy volume measurements, for when you just can’t be bothered with a scale. (But I’ve included weight measurements as well!)
- Low hydration - this is not a sticky dough, so it’s really easy to handle.
- It’s (mostly) hands-off - no coming back for endless stretch and folds. Just do one round if you can swing it, then let it rise!
- A flexible timetable - need to cut the first rise short? Need to stretch out the second rise? Need to put it on pause because you don’t know when you’ll be ready for it? You can do all of those with this recipe.
- Baking in a loaf pan - no Dutch oven? No problem! Two loaf pans create the perfect steamy environment for sourdough, plus it takes some of the pressure of shaping correctly off.
- No changing oven temperatures - you’ll bake this loaf at 450 the whole time.
Sourdough with no special tools required!
A Sourdough Recipe For Everyone
I think sourdough bakers of all levels of expertise will enjoy making this. It’s particularly great for:
- Beginners - If you’re just getting started with sourdough, this recipe is great because you don’t need any special tools to make it. It’s also a really easy dough to work with.
- Medium - If you have a good amount of sourdough experience, this is a great loaf to make while you fine tune different aspects of sourdough baking (fermentation, shaping, etc.).
- Expert - Even if you’re a sourdough pro, this is a great loaf to go back to the basics with.
How to make the easiest sourdough loaf of your life
Let me walk you through a general outline of making this bread. I’m going into a lot of detail so if it’s your very first time making sourdough, you’ll (hopefully) have all your questions answered. If you’re a sourdough pro, this will be redundant. And really, this recipe is so flexible that you shouldn’t feel constrained by these guidelines!
Mix the dough
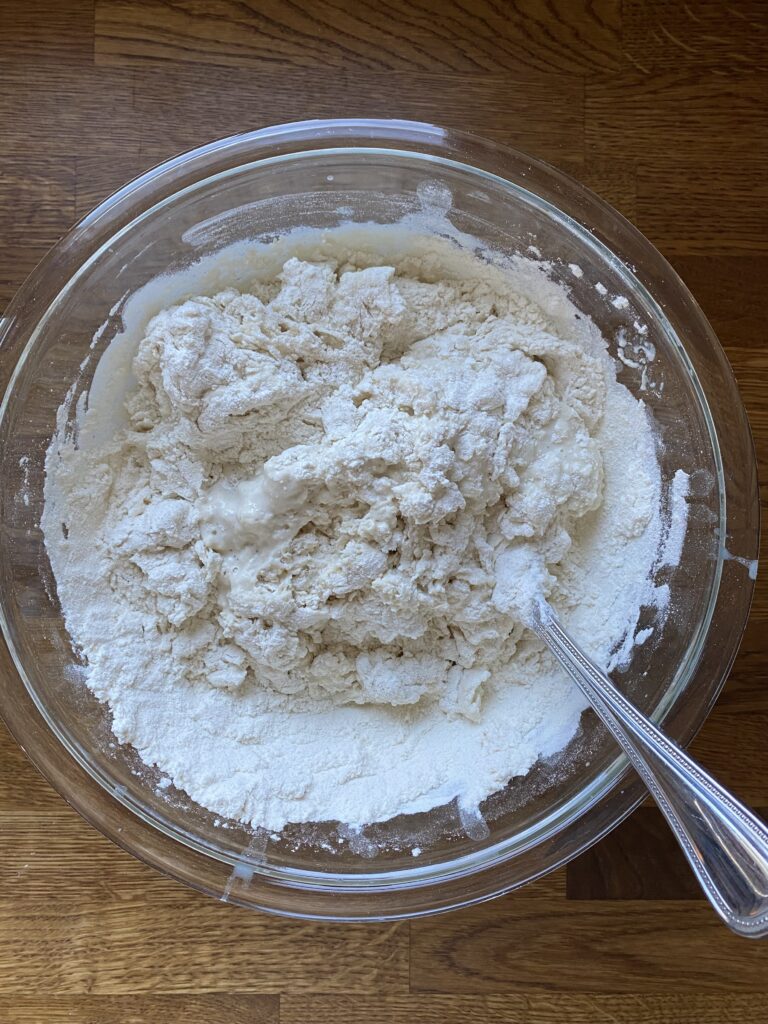
Start by mixing 1 cup of water and 1 cup of starter in a large bowl with a fork. Then add the flour and salt and mix until it’s fully combined and no dry bits remain. Since this dough is on the drier side, you will need to get in there with a clean hand to mix it really well.
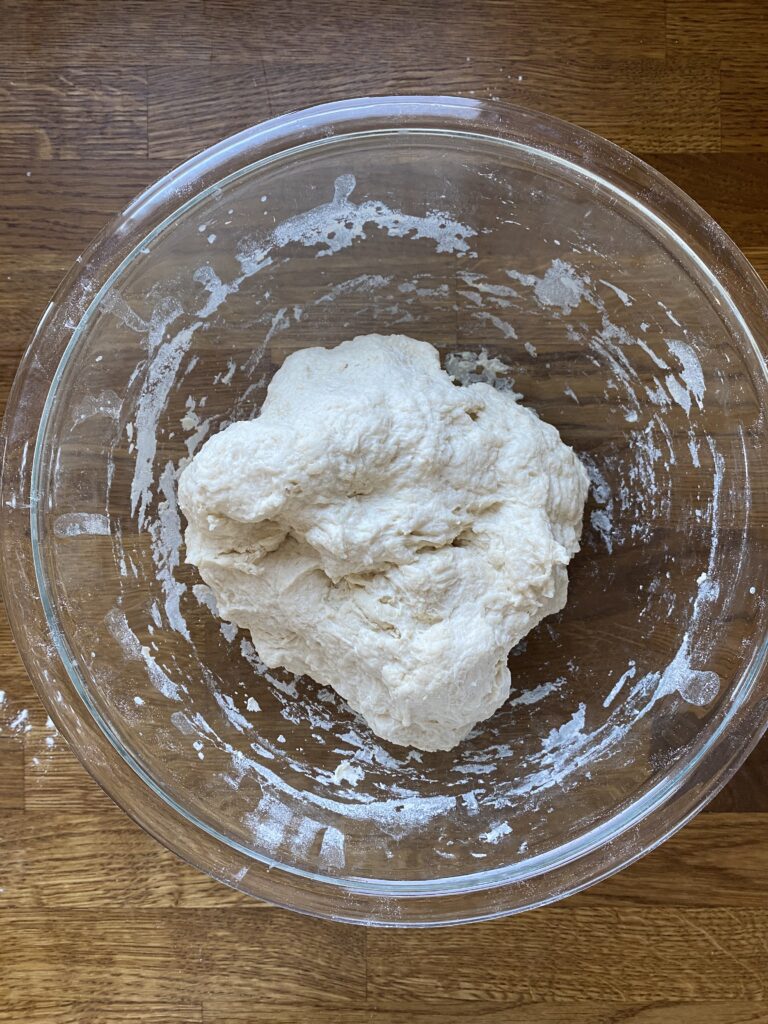
Ingredients:
It’s the regular cast of characters in this bread:
- Water - room temperature, whatever you feed your starter with.
- Bubbly, active starter - you want a strong starter here. If you’re using starter that’s past its peak, you may want to do a scant cup.
- Bread flour - I prefer bread flour for this, but if you only have all purpose flour, that will work too!
- Salt - Regular table salt. Don’t forget it!
A note about measurements - Volume measurements are not the most precise, and that is okay here! I’ve made this bread many, many times and it has always turned out. There is a LARGE margin for error with measurements in this recipe.
(Having said that, I’ve also made this bread with the exact weight measurements listed in the recipe, so if you prefer to go that route, I’ve tested it too!)
Stretch and folds
Once your dough is mixed, you’ll cover it and let it rest for 15-60 minutes, whatever works best for your schedule. This will allow the flour to fully absorb the water in the dough and for the gluten to relax a bit, allowing for better stretching.
Then, do a round of stretch and folds. To do this, you’ll grab one side of the dough and stretch it to the opposite side of the bowl, being careful not to stretch it so far that it tears. Turn the bowl a quarter circle and repeat. Do this all the way around the bowl to form the dough into a nice ball.
Bulk fermentation
Time for the first rise! Cover the bowl and let it rise at room temperature until roughly doubled in size. This typically takes 4-6 hours in my kitchen. Keep in mind this dough uses a lot more starter than typical sourdough recipes so it will rise more quickly.
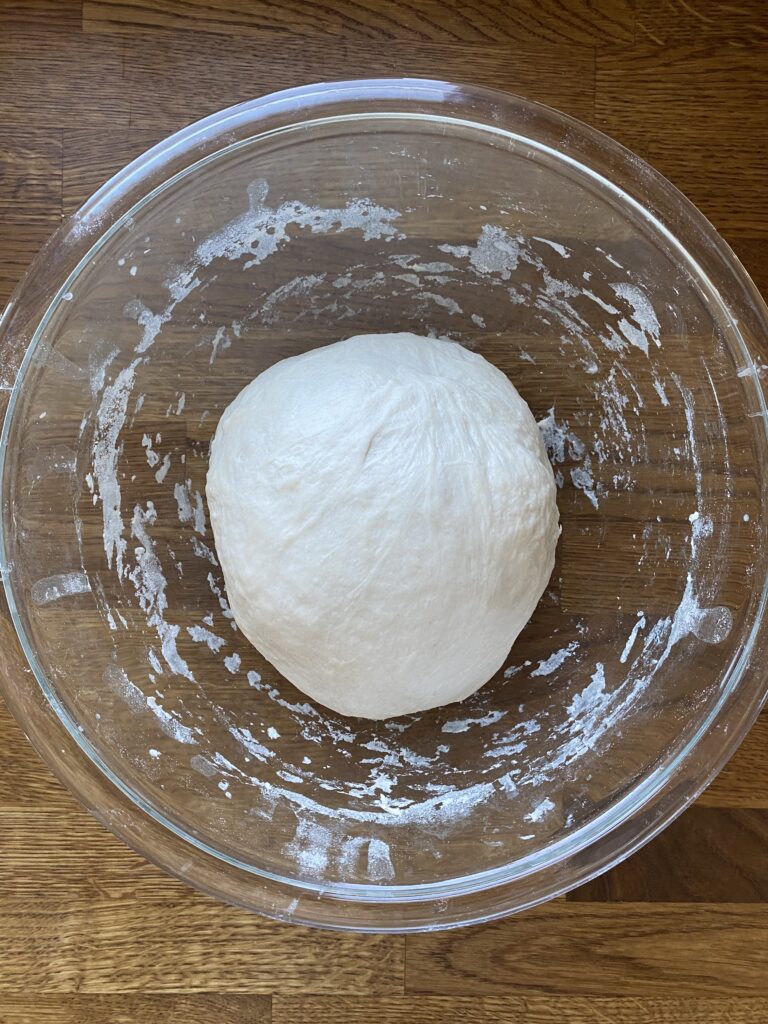
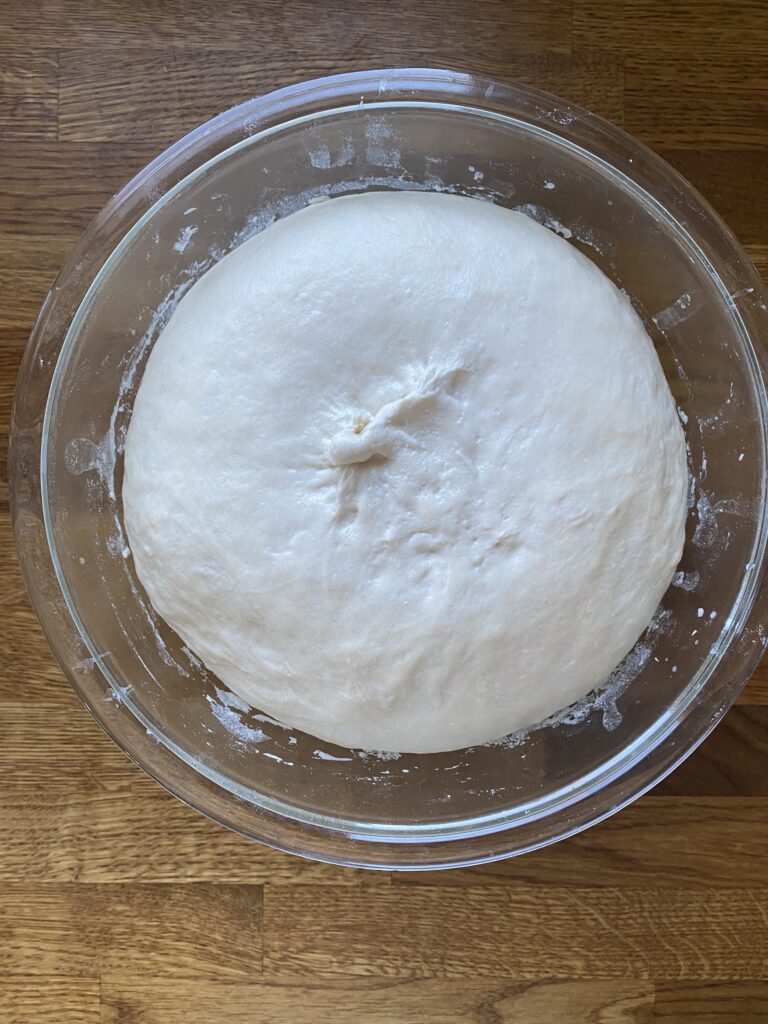
How to tell when bulk fermentation is done
As always, go by visual cues rather than times when making sourdough. A few signs to look out for to tell when bulk fermentation is done:
- The dough has roughly doubled in size.
- The top of the dough is domed.
- If you shake the bowl, the dough moves similarly to jell-o.
- There are bubbles throughout the dough (you’ll need a glass bowl to assess this), and a few on the top of it.
Shaping
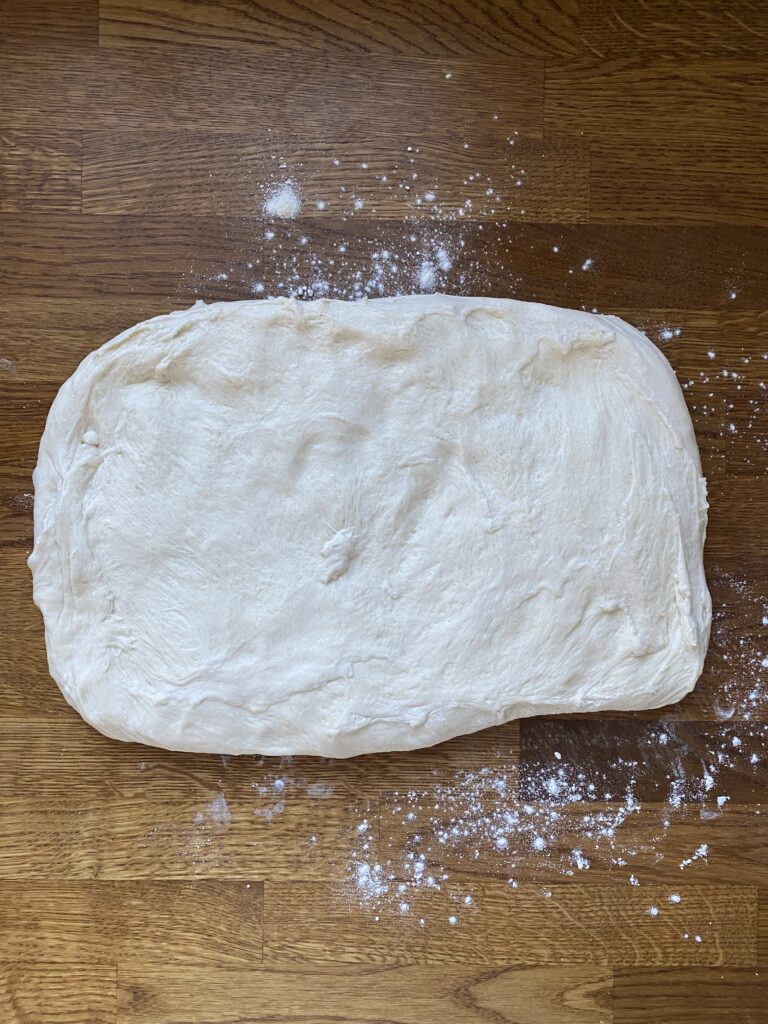
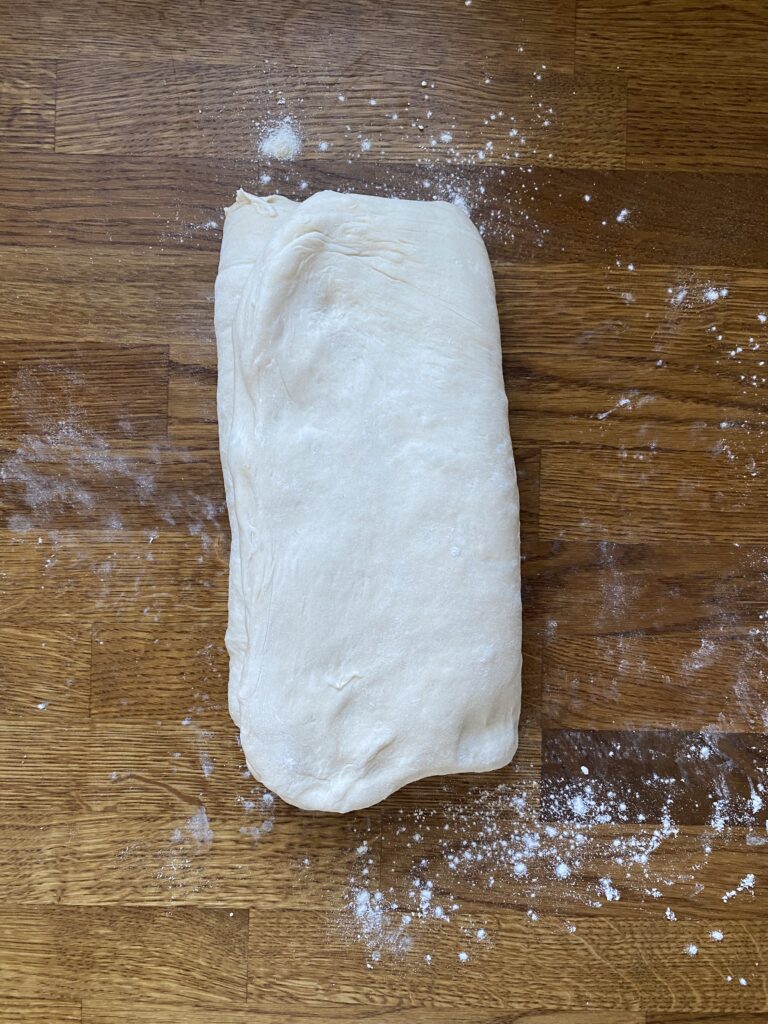
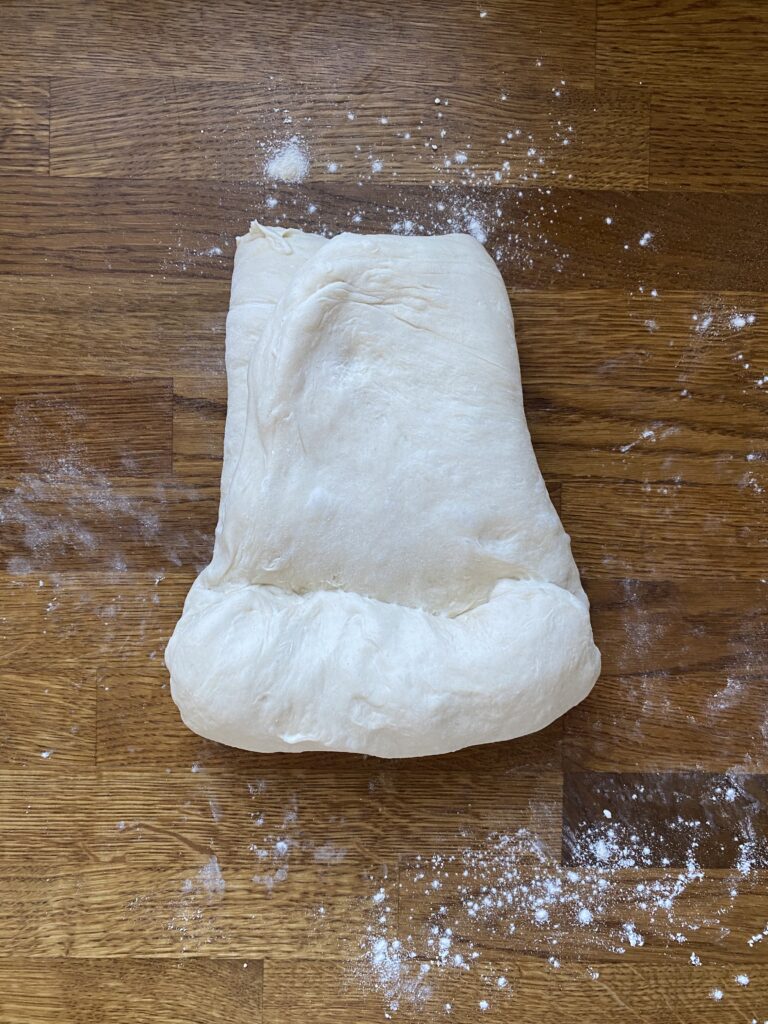
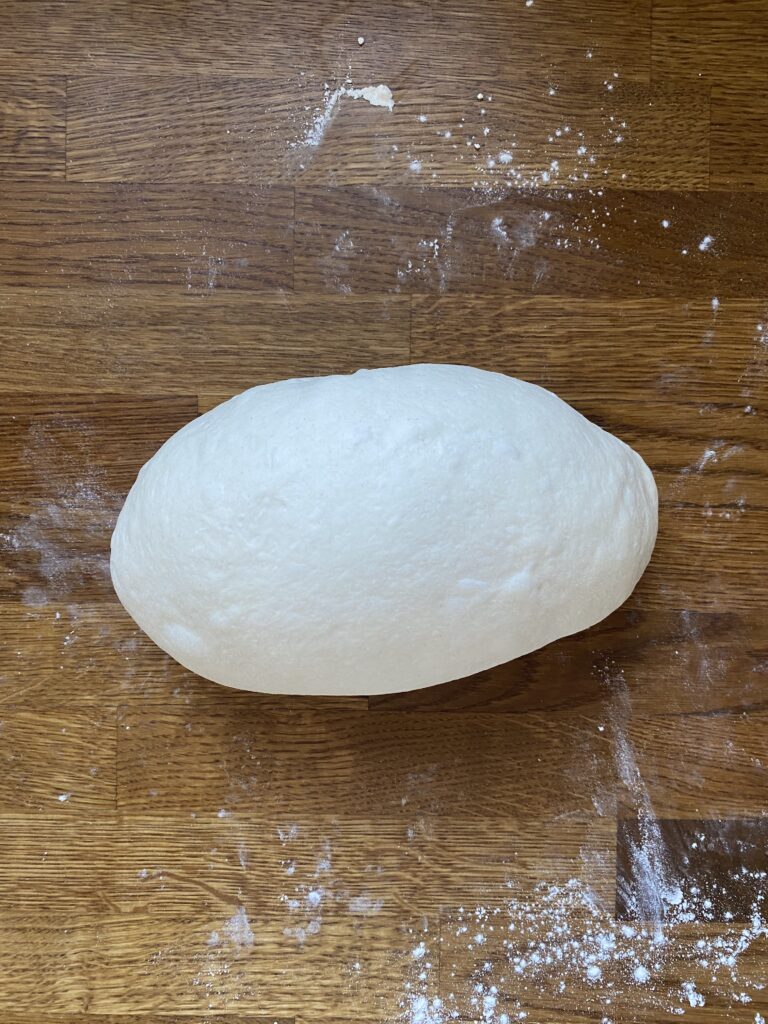
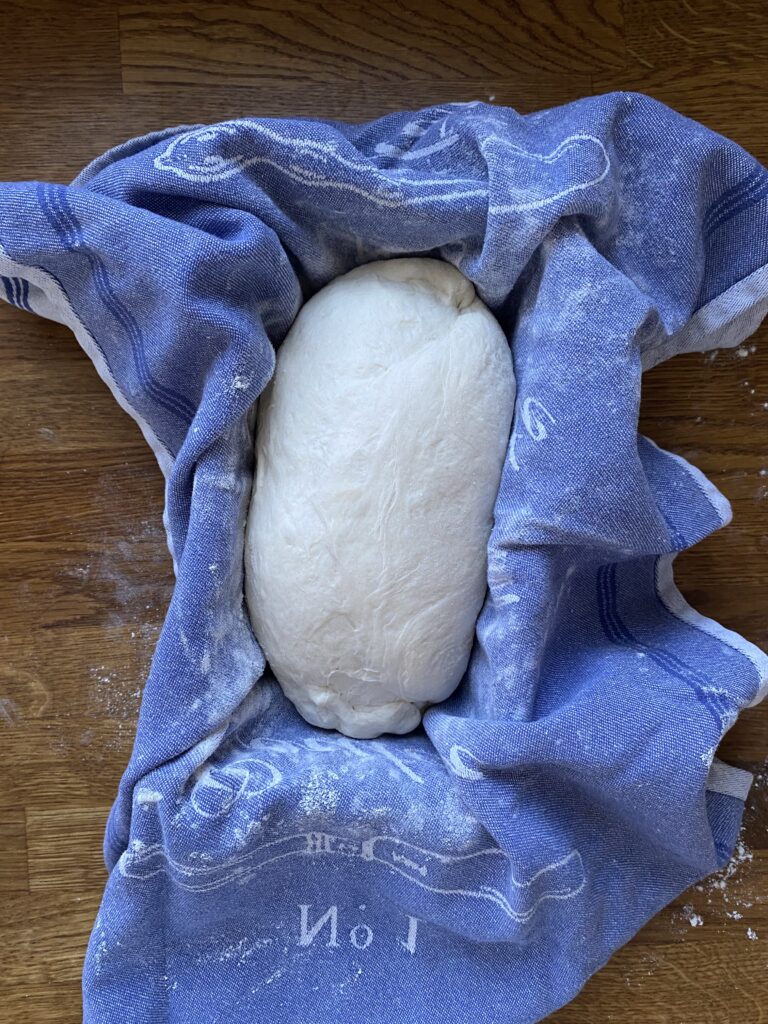
Turn the dough out onto a lightly floured surface. Press it into a rectangle, popping any large air bubbles as you come across them. Fold the dough in thirds envelope style, then roll into a log. Pinch the edges and seam to seal, then place seam side-up on a floured tea towel, gather up the edges, and place in a loaf pan.
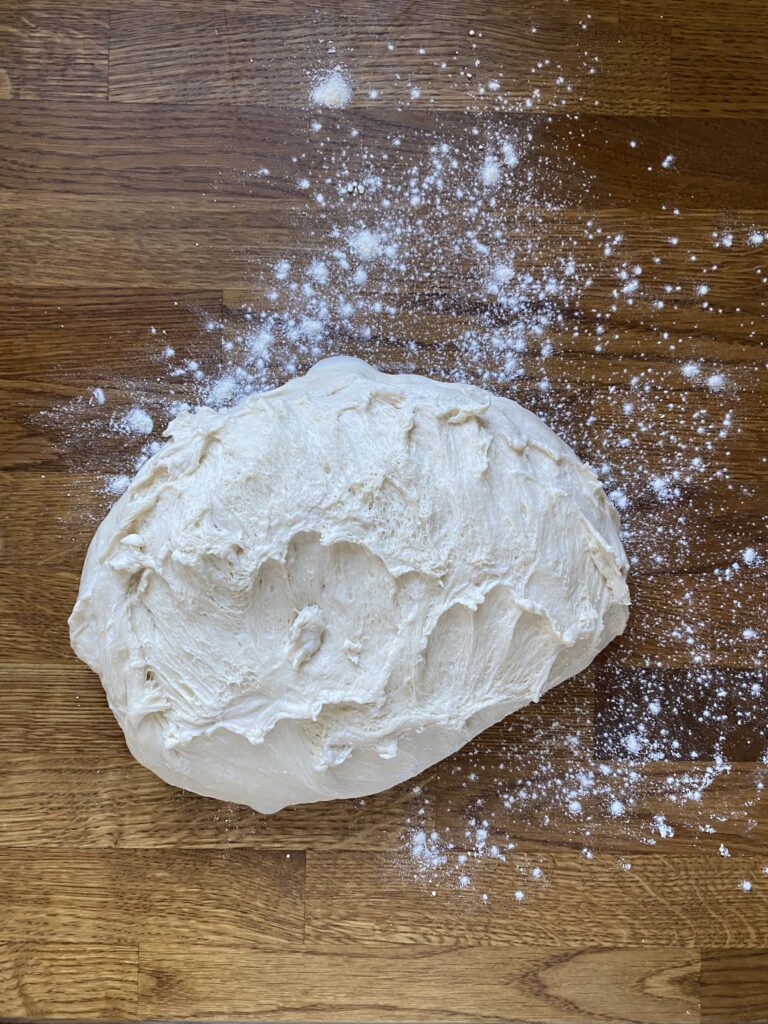
The final proof
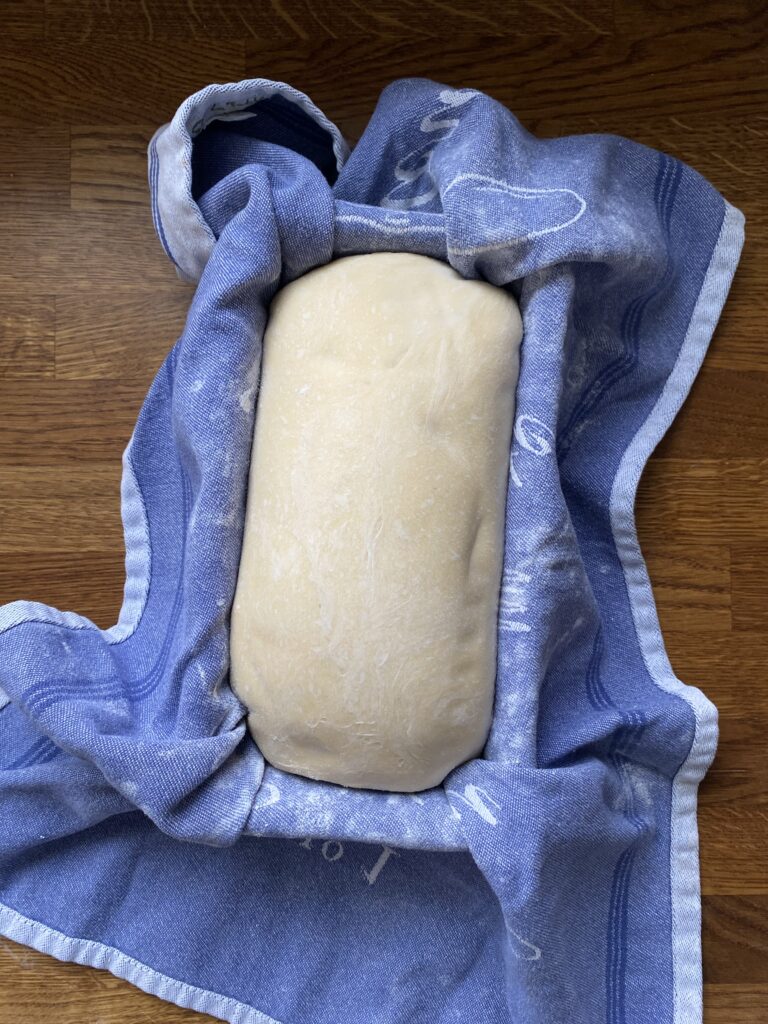
You can do the second rise at room temperature for 1-2 hours, or in the fridge for up to 48 hours. Again, go by visual cues rather than set times here.
How to tell when the second rise is done
- The loaf is much bigger
- If you poke the dough with a finger, the indentation fills in slowly and not all the way. If it springs back immediately, it’s not ready yet. If it doesn’t fill in at all, it’s over proofed (but bake it anyway!).
Baking
This loaf bakes at 450 the whole time it’s in the oven, so get your oven preheating when the second rise is close to the end.
Scoring
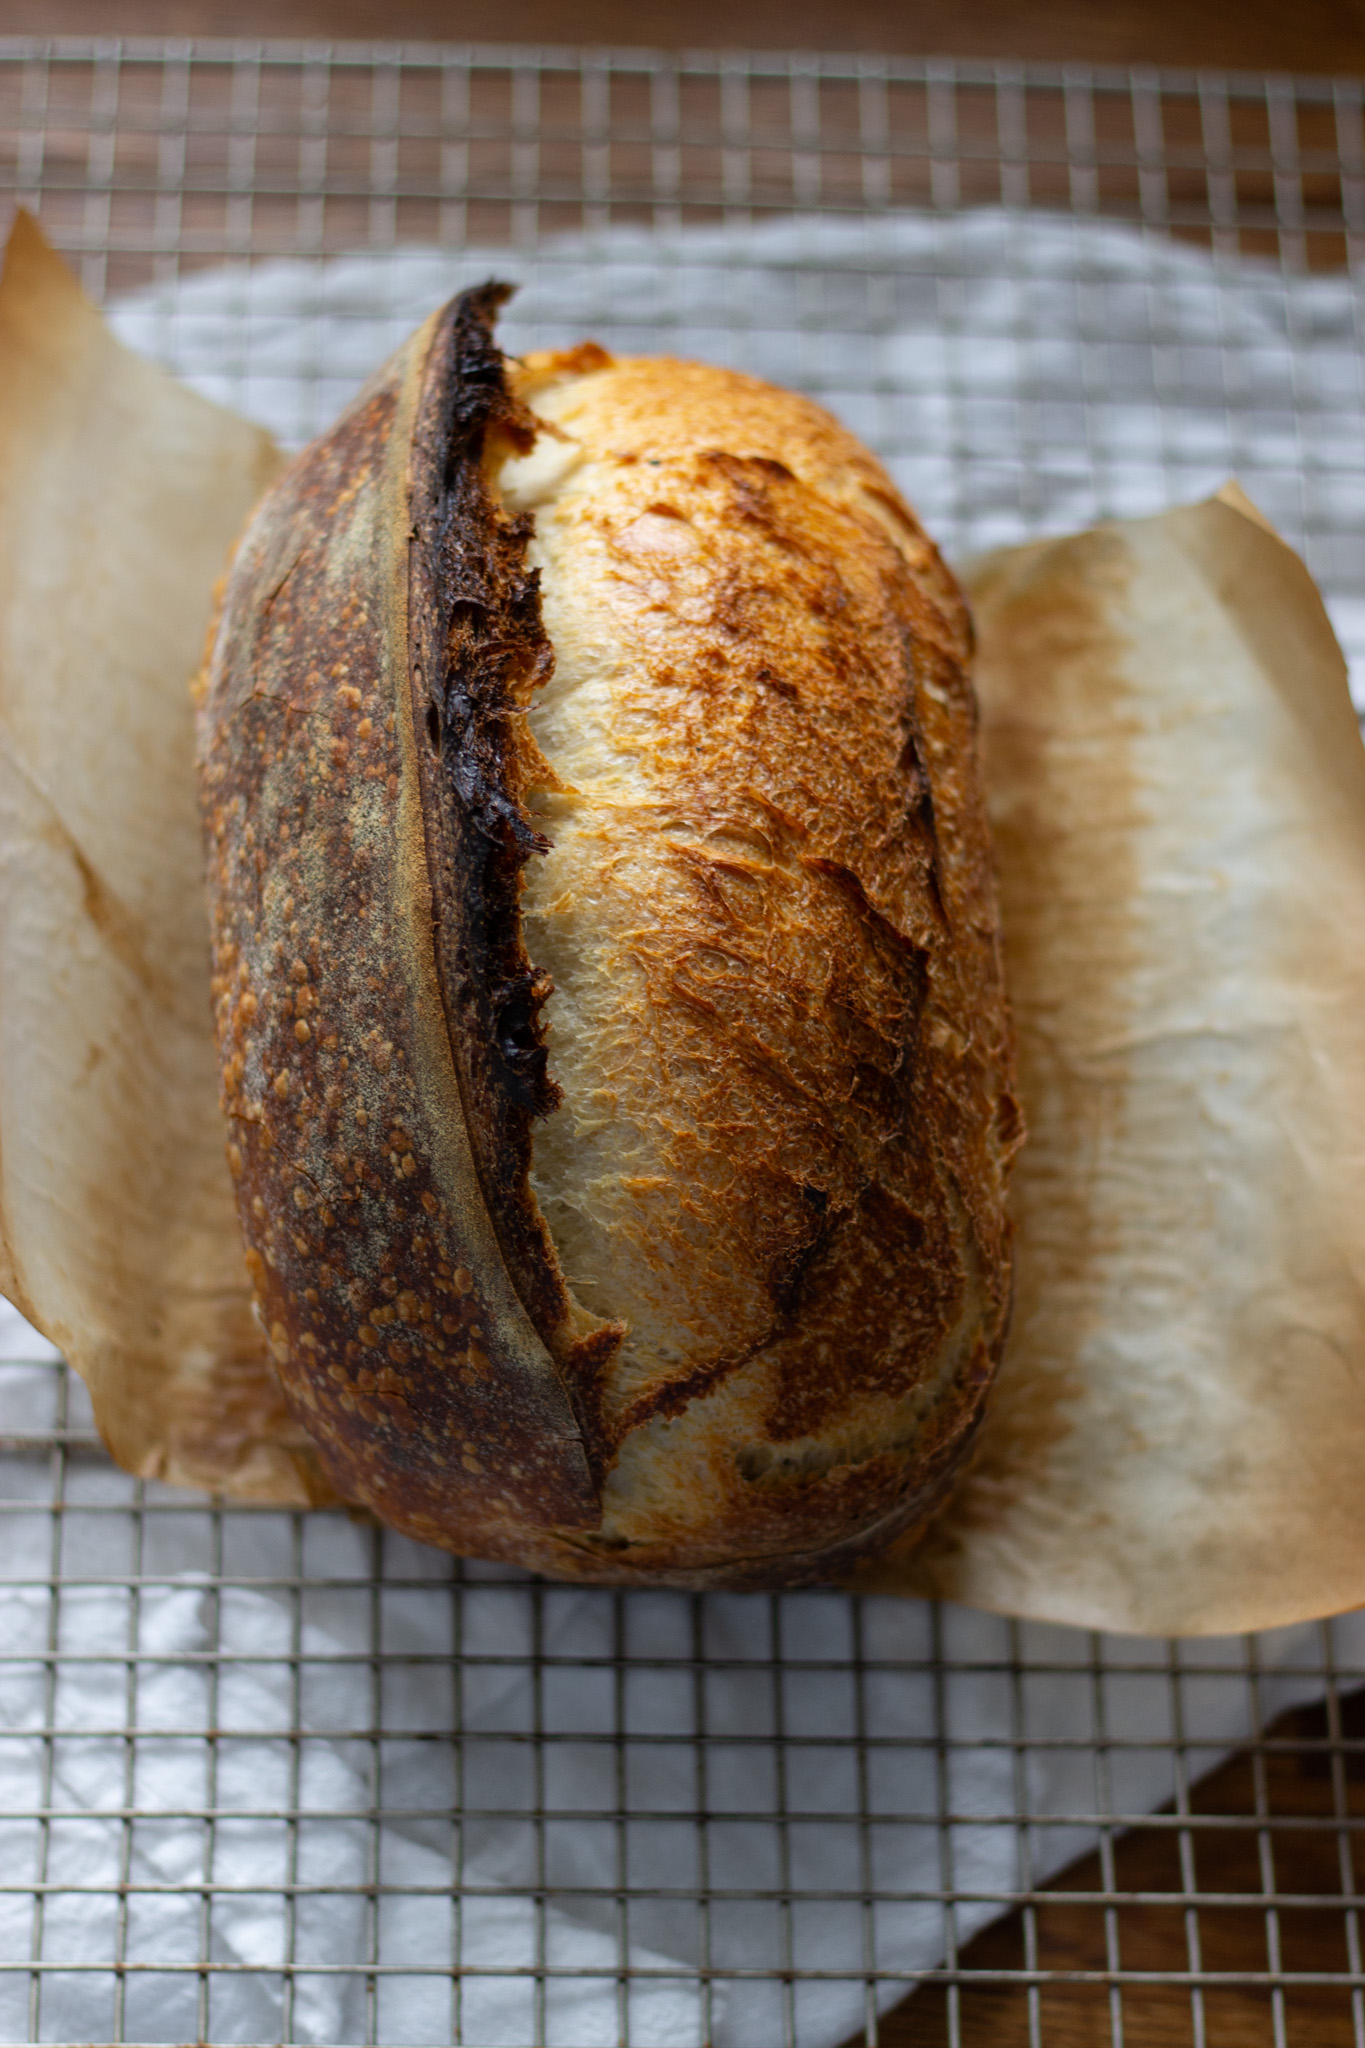
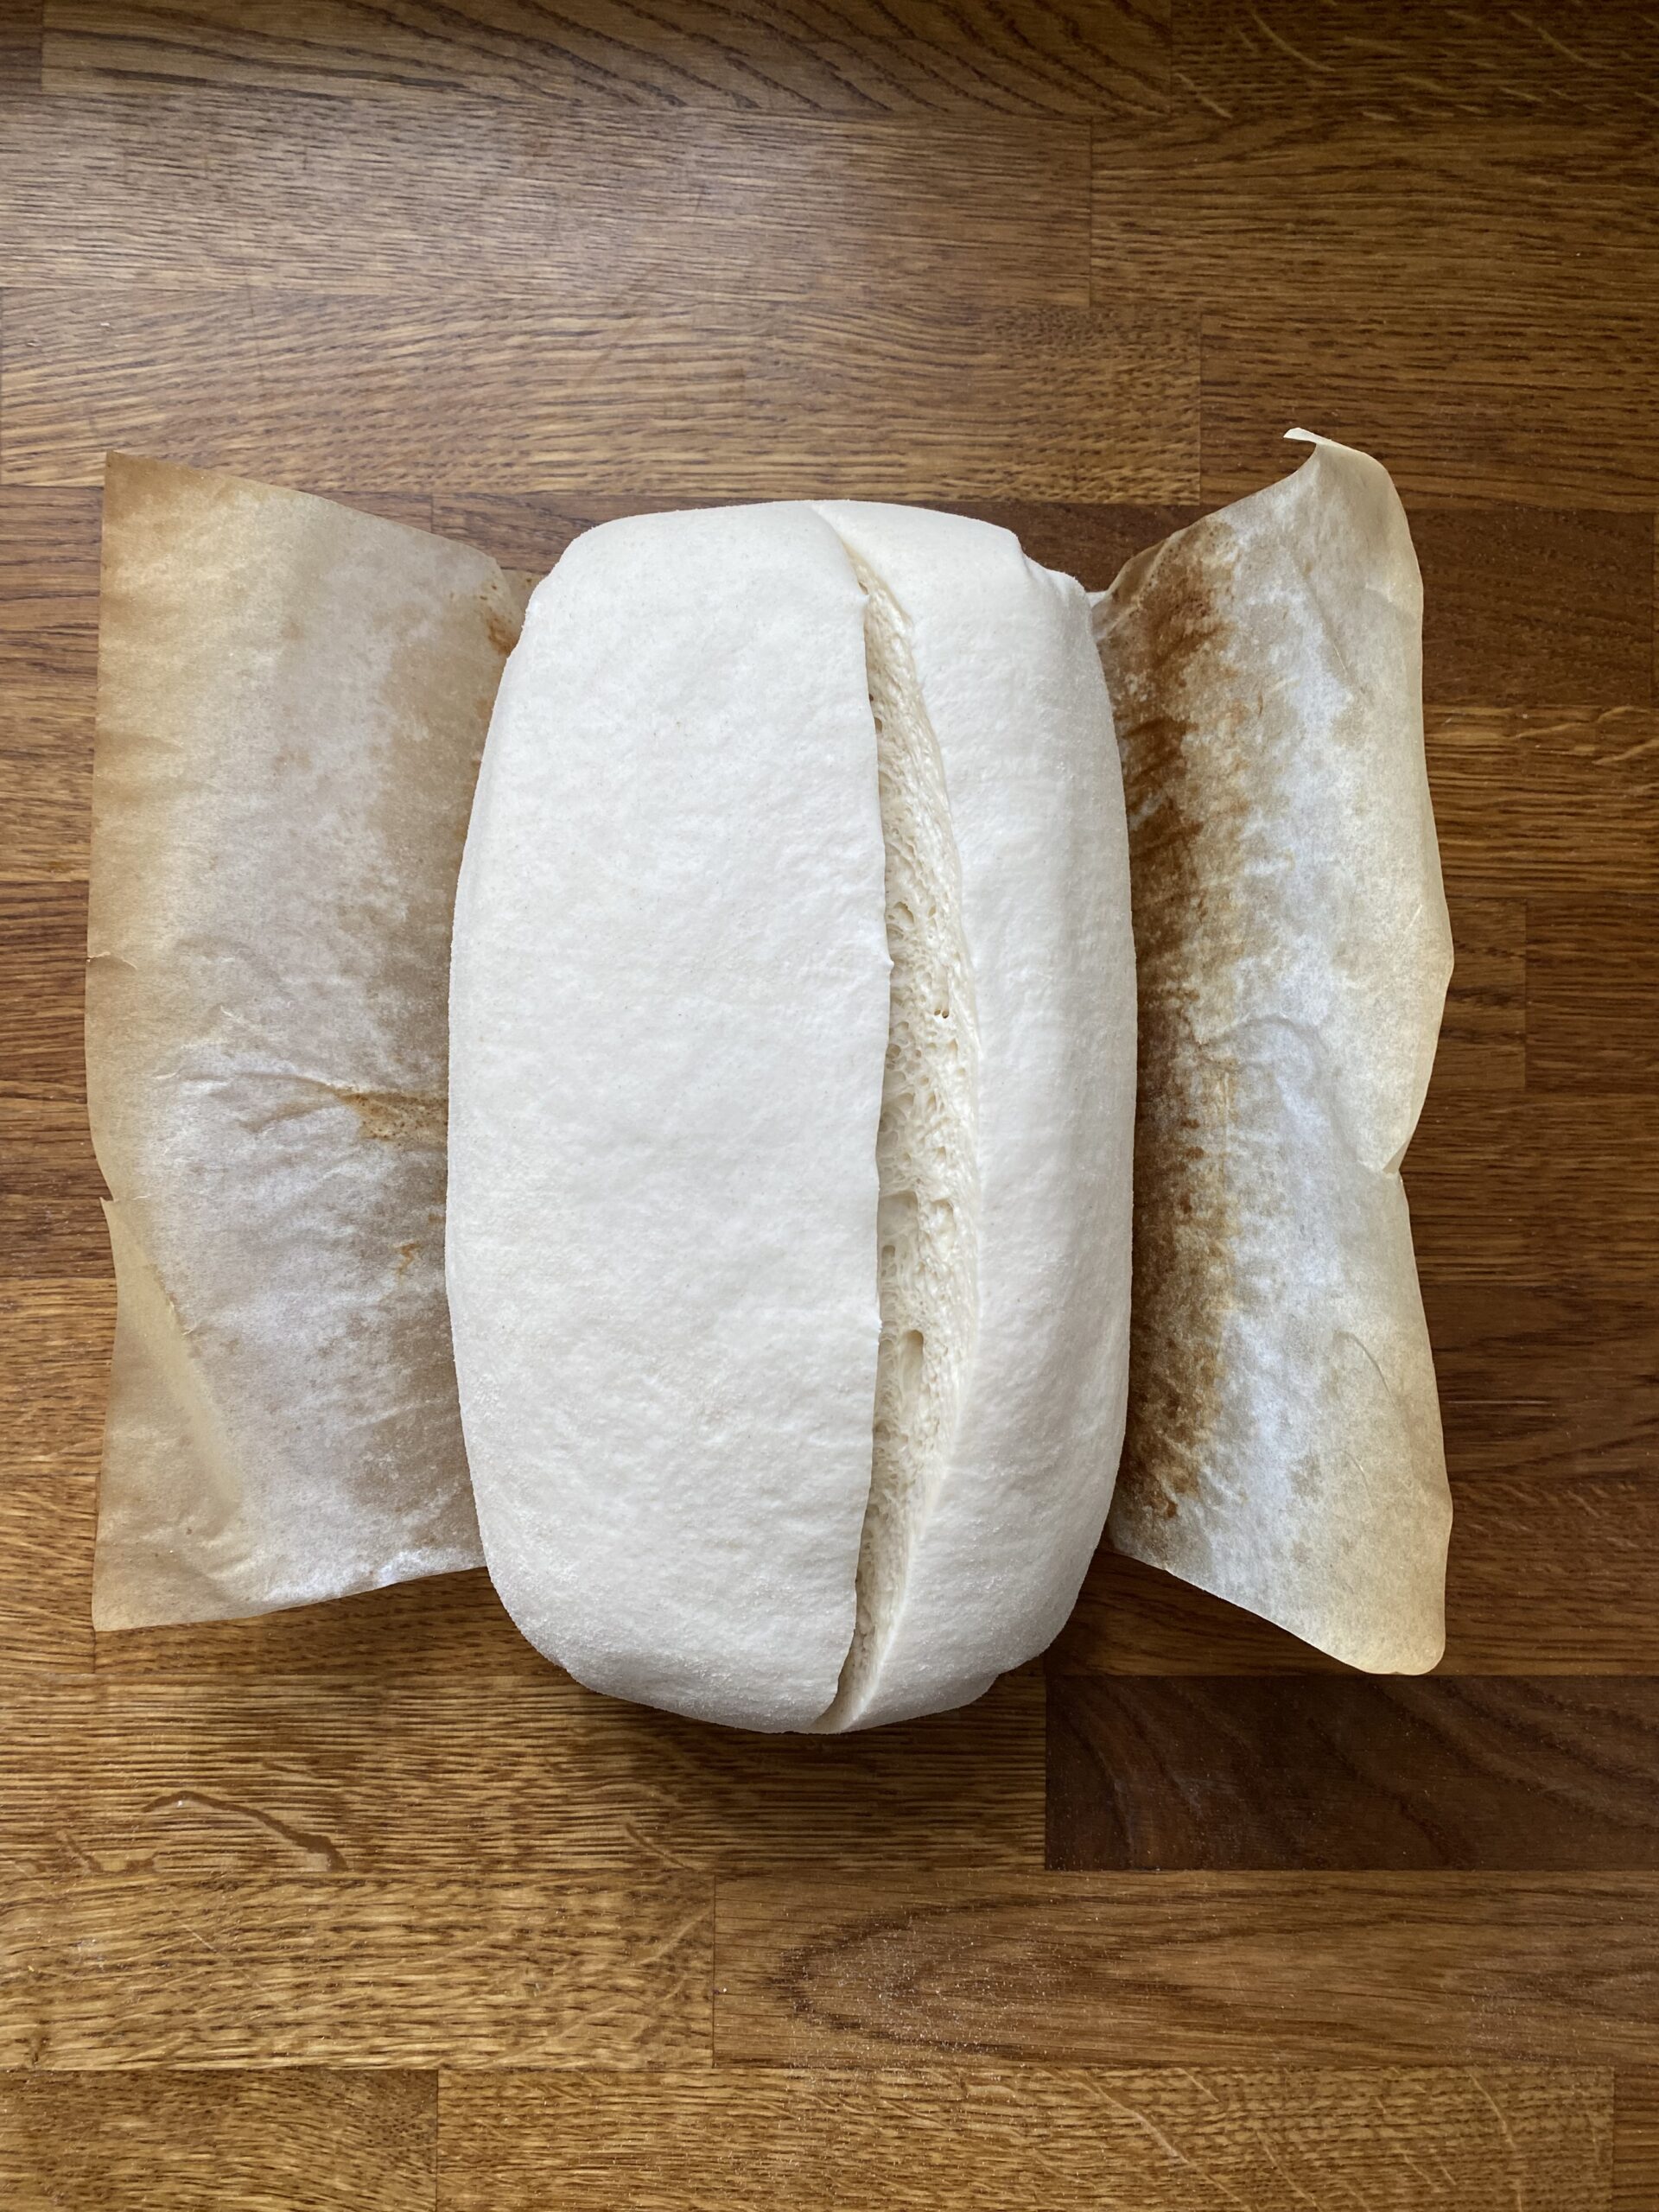
Turn the shaped loaf out onto a piece of parchment paper cut down to fit into a 9 by 5-inch loaf pan. Score it deeply at a 45 degree angle (this will give you the best ear!), then lift the sides of the parchment paper to transfer the loaf into the loaf pan.
Baking in a loaf pan
Place a second loaf pan upside down on top of the first pan to create a lid. This creates the perfect steamy environment for the first part of the bread’s bake. Bake for 30 minutes, then take the top pan off and bake for 15-20 minutes more, until the crust is browned to your liking and the bread is baked through.
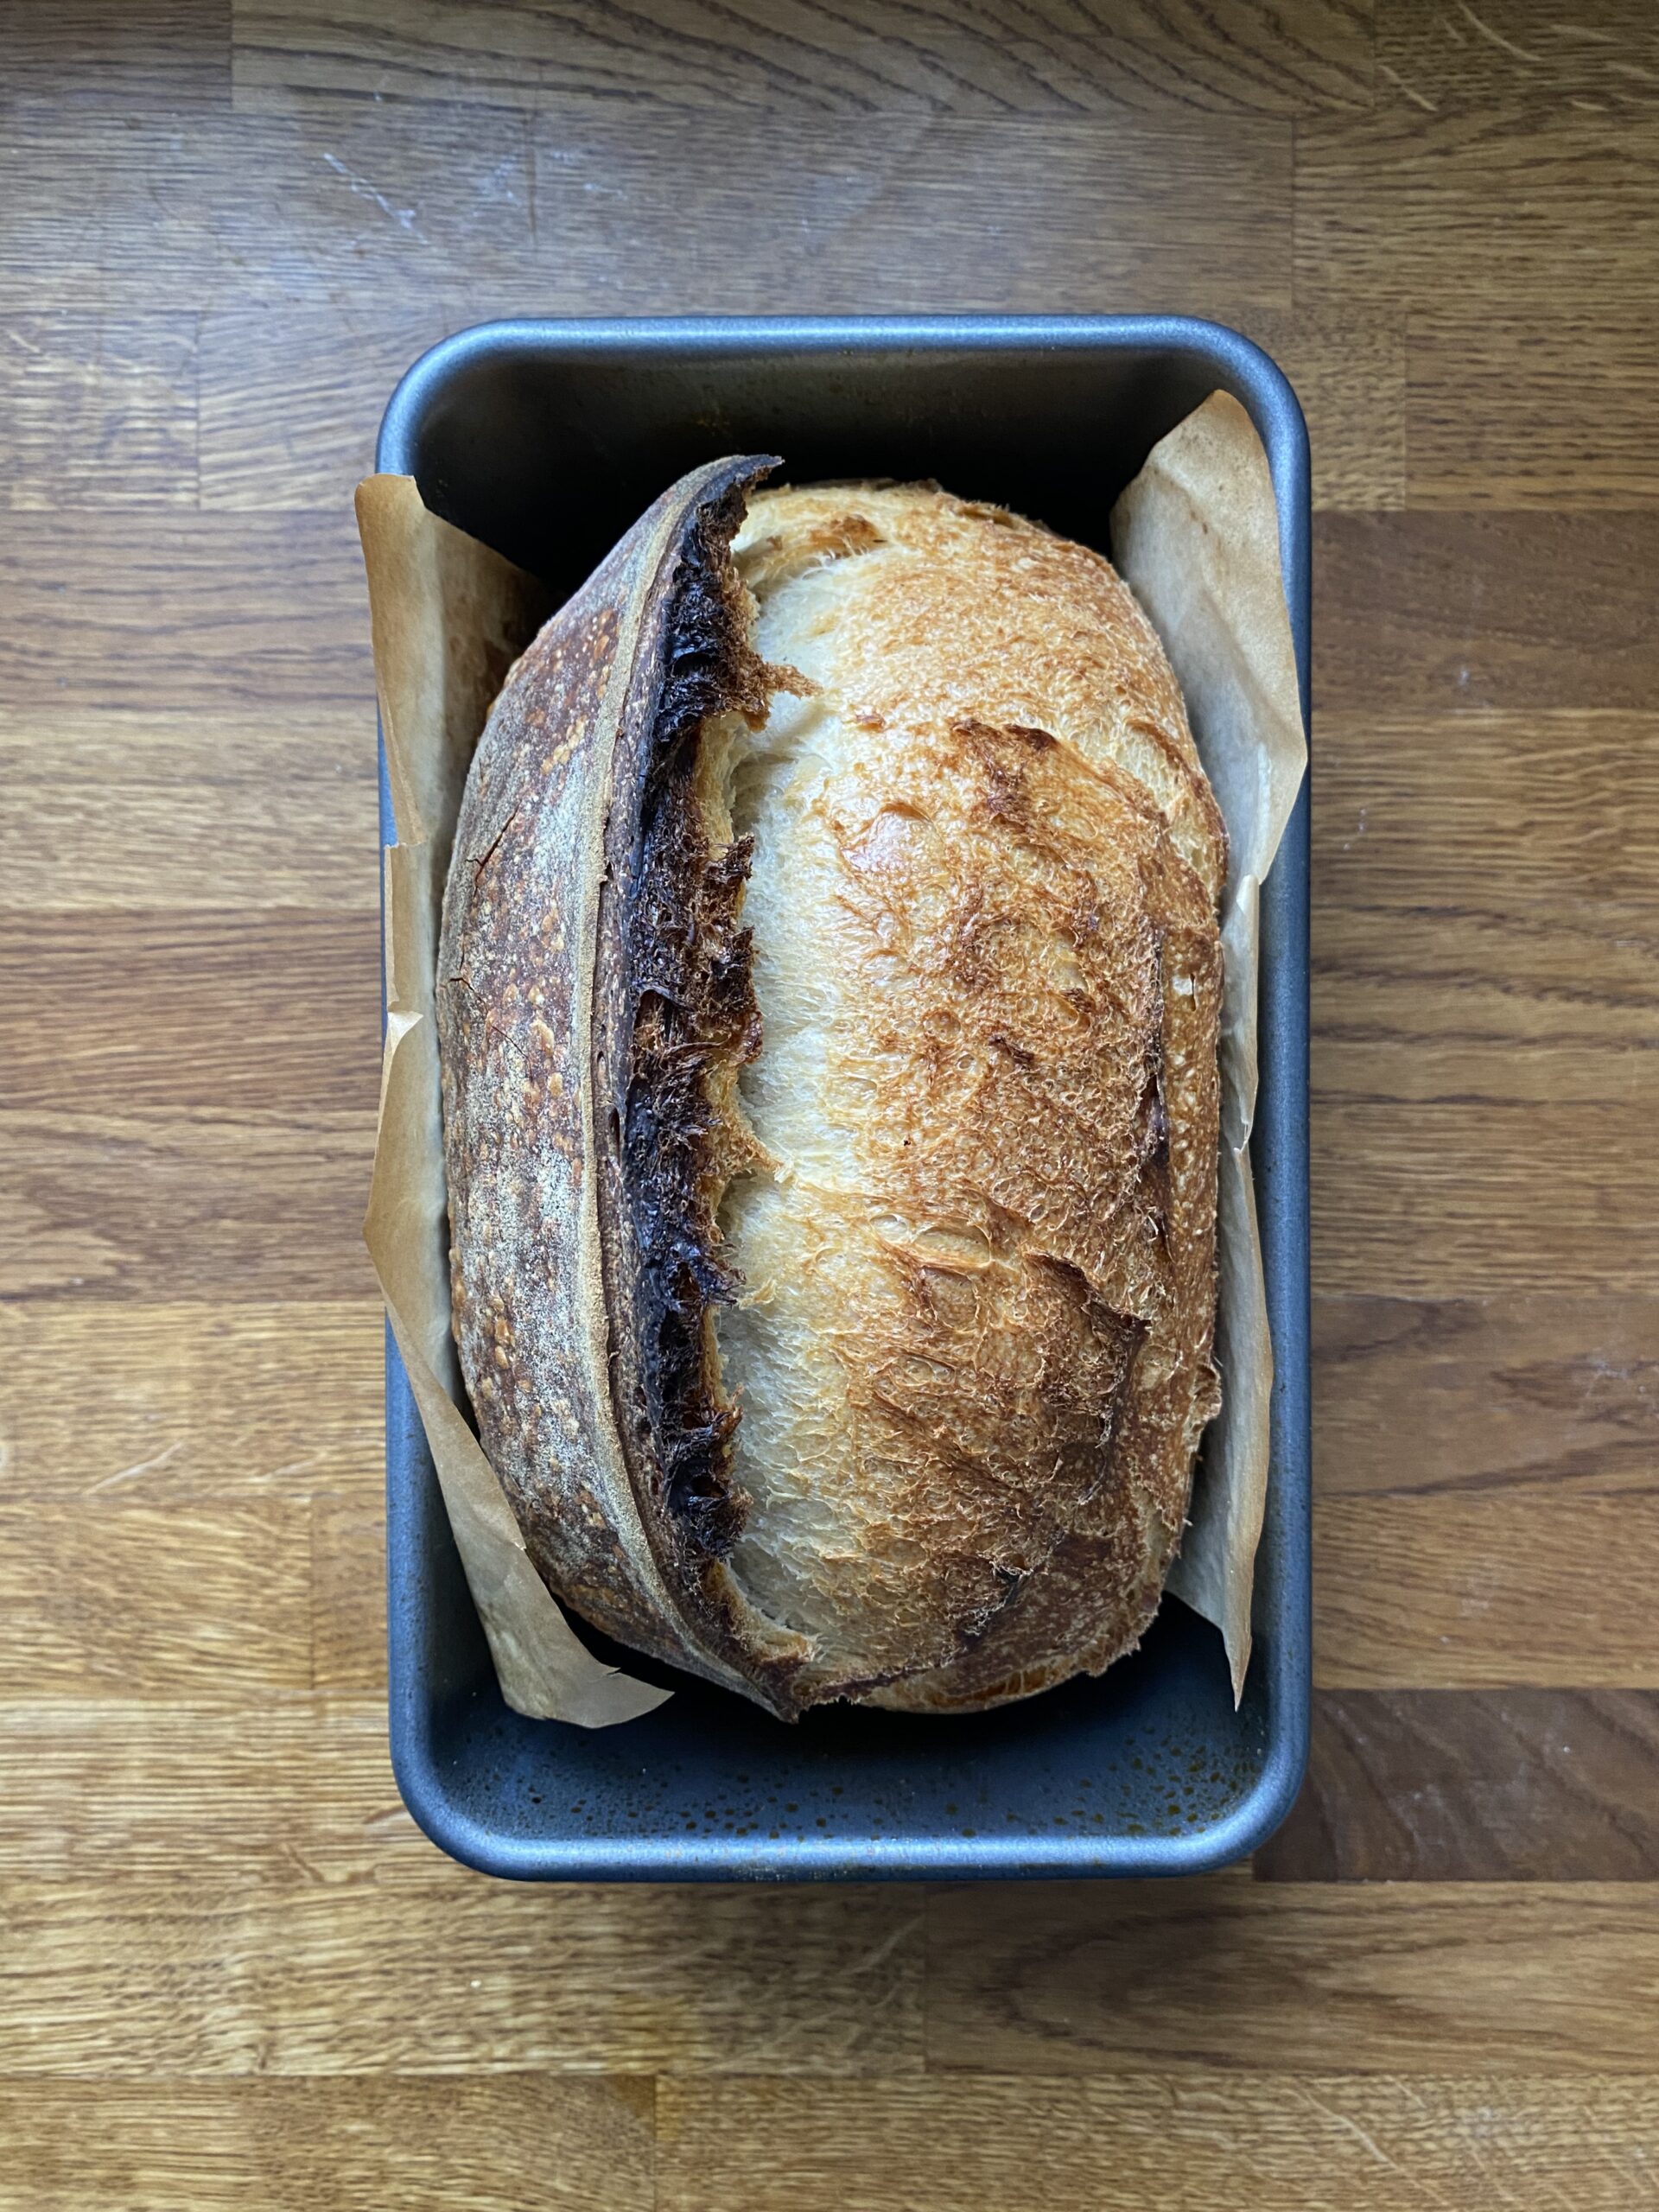
Let this cool for at least an hour before slicing. Fair warning that this bread sings the loudest of any I’ve ever made while cooling!
Storage
This bread will keep in a plastic bag at room temperature for up to 1 week, though it’s freshest in the first 3 days.
Sample timetables
A few options for fitting this bread into your life:
- You work a 9-5: Feed your starter in the morning. Mix the dough once you get home. Shape it before bed and put it in the fridge. Bake the bread the following night or the night after.
- Same day(ish) sourdough: Feed your starter in the evening, mix the dough in the morning (8ish). Shape it around 1, then let it rise at room temperature for 1-2 hours. Then bake and let it cool.
- 2-day sourdough: Feed your starter in the morning. Mix the dough in the afternoon/evening. Shape it before bed and put it in the fridge. Bake it whenever you’re ready in the next 2 days.
Tips for success
- You can actually use any variation of a standard size loaf pan for this, it will just impact how tall your loaf is.
- If you have a variety of loaf pan sizes, I like to do the second rise in my smaller pan, then bake in a larger one.
- Don’t have time for a stretch and fold? No problem - just spend an extra couple minutes mixing, then gently shape the dough into a round.
- If you’re planning to do a long second rise in the fridge, you’ll want to cut the first rise short a bit.
- Any time you need to hit “pause” on this recipe, you can pop your dough in the fridge and come back to it later.
The Easiest Sourdough Ever!
Ingredients
- 1 cups (230 grams) water
- 1 cup (220 grams) bubbly, active sourdough starter
- 3 cups (440 grams) bread flour
- 1 ½ teaspoons (12 grams) salt
Directions
- Combine the water and starter in a large bowl. Add the flour and salt and mix until no dry bits of flour remain. You will need to mix with your hands to get it thoroughly combined. Cover and let rest anywhere from 15-60 minutes.Do a round of stretch and folds to form the dough into a nice ball. Cover and let rise again until doubled in size - about 4-6 hours.Prepare a tea towel by dusting generously with rice flour (you can also use all purpose or bread flour if you don't have rice flour). Set out a 9 by 5-inch metal loaf pan. Turn dough out onto a lightly floured surface. Press out into a rectangle, popping any air bubbles that formed during the first rise. Fold it letter style into thirds, then roll it into a log (see post for photos of this). Pinch the ends to seal, then place seam side up onto the prepared tea towel. Gather up the ends and place in the loaf pan. Let rise 1-2 hours at room temperature, or up to 48 hours in the fridge. If you're doing a longer rise in the fridge, you will also want to cover the pan with plastic wrap to prevent the dough from drying out.Toward the end of the second rise, preheat oven to 450 degrees. Grease a second 9 by 5-inch loaf pan and cut a piece of parchment paper to fit like a sling along the longer sides. Turn the shaped loaf out onto the parchment paper, and remove the tea towel. Score deeply. Transfer to the greased loaf pan, and place the loaf pan the bread did the second rise in upside down over it. Bake for 30 minutes covered, then remove the top loaf pan and bake 15-20 minutes more, until bread is baked through and browned to your liking.Lift the loaf out of the pan using the parchment paper overhang, and allow it to cool for at least an hour on a wire rack before slicing.


Leave a Reply